
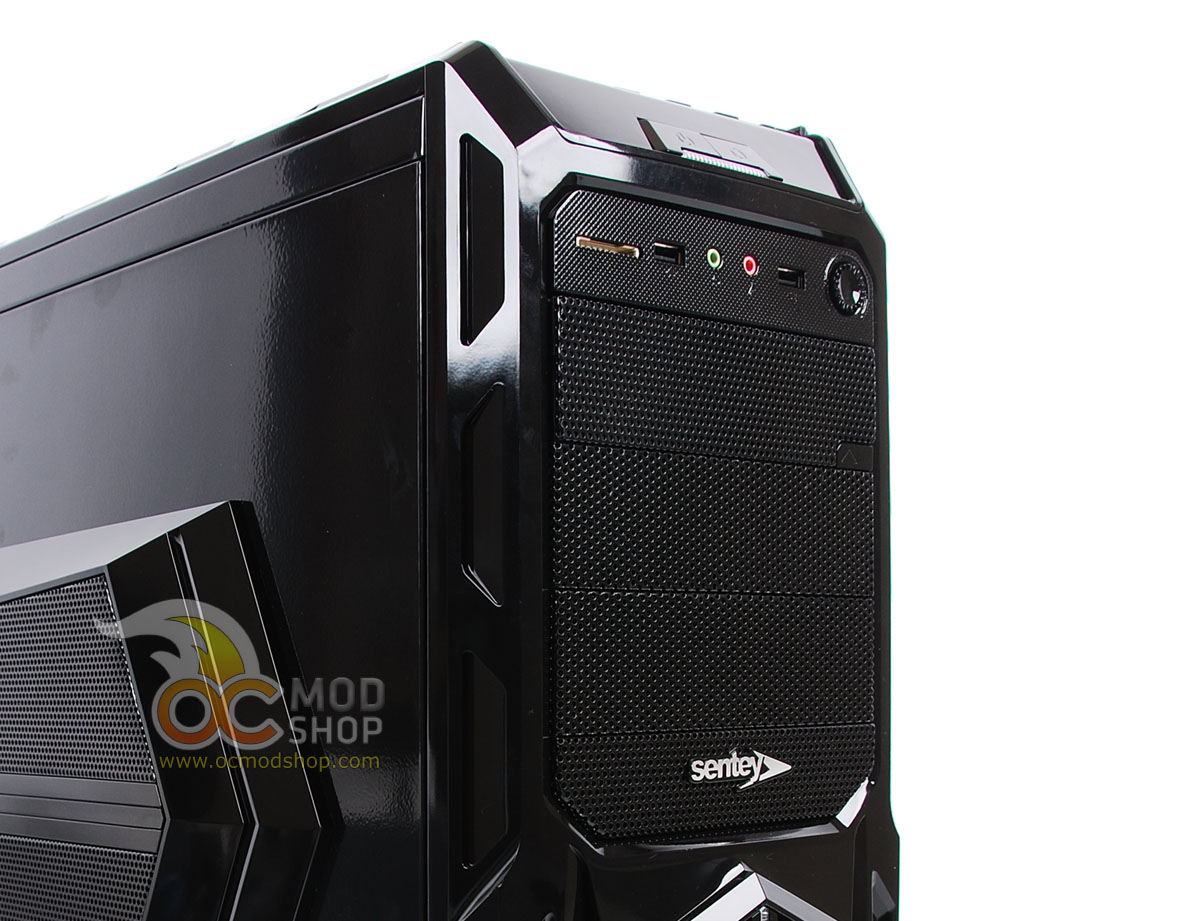
Installation is easier than you might imagine, thanks to the thoughtful tool-less and cable-management features. There isn’t a whole lot of room in the case if you opt for a full-sized motherboard, but you will have a little more room if you use mini-ATX or smaller mainboards.
There are lots of options when it comes to routing your cables, and there is adequate room on the backside between the motherboard tray and the exterior panel. No adhesive mounts are required, as you can use cable-ties to secure wires from your power supply and data cables.
The power supply area is pretty standard, as far as bottom-mounted PSUs go. I would highly recommend a modular power supply, and only use the cables necessary for the install, which will help reduce cable clutter in the bottom of this case. You can route your power cables up the right side of the motherboard tray and tie them down so everything looks nice and neat.
As mentioned before, you can install your optical drives and other 5¼” devices with the quick tool-less hinge, but I highly recommend that you use standard case screws on the left and right sides of your devices.
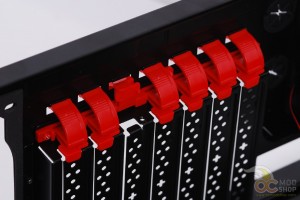
The option card area allows for tool-less installation. You just push the pin to release the mechanism and then pull the pin up. You have to pull out the integrated card covers, but only pull out the ones you need because this case doesn’t come with extra slot covers. Once a card is installed you just push the pin down to secure it in place. I really don’t trust tool-less pins such as these for video cards with heavy heatsinks, which is probably the most likely option that a PC builder will install. I would highly recommend using screws to secure your cards into place.
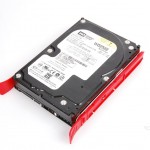
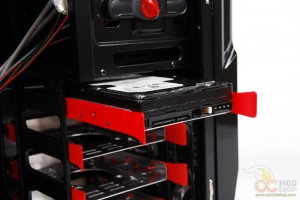
Installing hard drives is pretty simple, and is completely tool-less. The red plastic rails are hinged at the top of the drive tray. Just pull the rails to the left or the right, and they will pop off, with the top hinge remaining attached. Just place your drive in the tray, and then push the rails back in, which forces the red plastic pins into the drive’s mounting holes. Then just slide the tray into the drive bay until you hear a satisfying click. The drives are very snug and won’t be going anywhere.
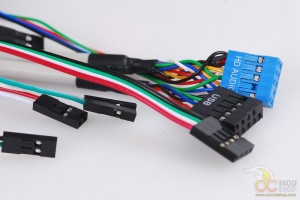
The front panel I/O has lots of cables that can be routed to your motherboard, and they all have adequate length to get to where they need to go. The HD audio and USB port cables are pretty standard, as is the USB lead for the integrated media card reader.
On the next page we render our conclusion.


5 comments
[…] Senty Optimus Mid-Tower Case Review @ OCModShop […]
[…] Senty Optimus Mid-Tower Case Review @ OCModShop […]
That's a pretty sweet case you have there.
[…] Master HAF 932 Advanced Case Review @ Rage3D Rosewill Blackhawk Mid-Tower Chassis Review @ Techgage Senty Optimus Case Review @ OCModShop NZXT Sentry Mesh Fan Controller @ OCModShop Be Quiet! Dark Rock Pro CPU Cooler Review @ Kitguru […]
[…] Senty Optimus Mid-Tower Case Review @ OCModShop […]
Comments are closed.