

Included with the case are plenty of screws and mounts—more than enough for the number of free slots and bays. A standard power cord is included for the power supply. The manual doesn’t help much beyond telling you that to use the case you’ll have to open it and probably use some screws at some point. It gives a skeletal outline for installing the motherboard, drives, and thermal display. Any real problems or troubleshooting will have to go elsewhere for help.
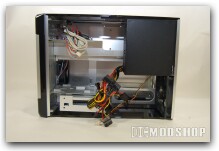
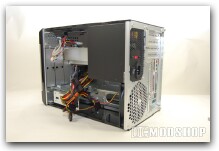
To get inside the case you’ll just need to slide the top backward, and then remove the sides by pulling them up and out. First thing to do is remove the motherboard tray. You have to remove several screws from the back to slide it out, but it is not loose and may take some effort to remove. After mounting any standard micro-ATX board to it using the screws provided with the case, you can slide it back in. The tray doesn’t seem to enjoy this, though, and will put up a fight. It’s very easy to bend the back of the tray if you are not very delicate.
The metal bends easily, but gently pushing on one side and then the other will get it back in. Hopefully you won’t be swapping motherboards often. Even when not swapping a board, it is necessary to pull the tray out at least partially to install expansion cards (the case has four slots). This is a marked difference from am ore traditionally-shaped mini-tower whose side-panel comes off to give you all the access you need.
A small rack for two hard drives slips out for easy access. Just install up to two hard drives and then screw the rack back into the case. There is even an external 3.5” bay which can be used for a third hard drive if needed. The covers for the 3.5” and 2 5.25” external bays are easily pried off with a screw driver. Nothing in the case is excessively sharp which is very important in a small case.
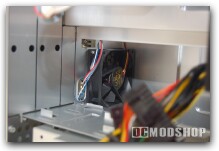
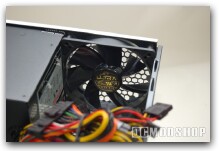
The front panel of the case has 2 USB 2.0 ports and a Firewire port. Both connect to the motherboard cleanly, with all the jumpers bound together. The Firewire is especially nice for people used to installing a PCI card to gain Firewire support. The front also has headphone and microphone jacks but the jumpers for these are less tidy. They are all separate, but clearly labeled. It’s just a hassle to match each individually to the right pin.

