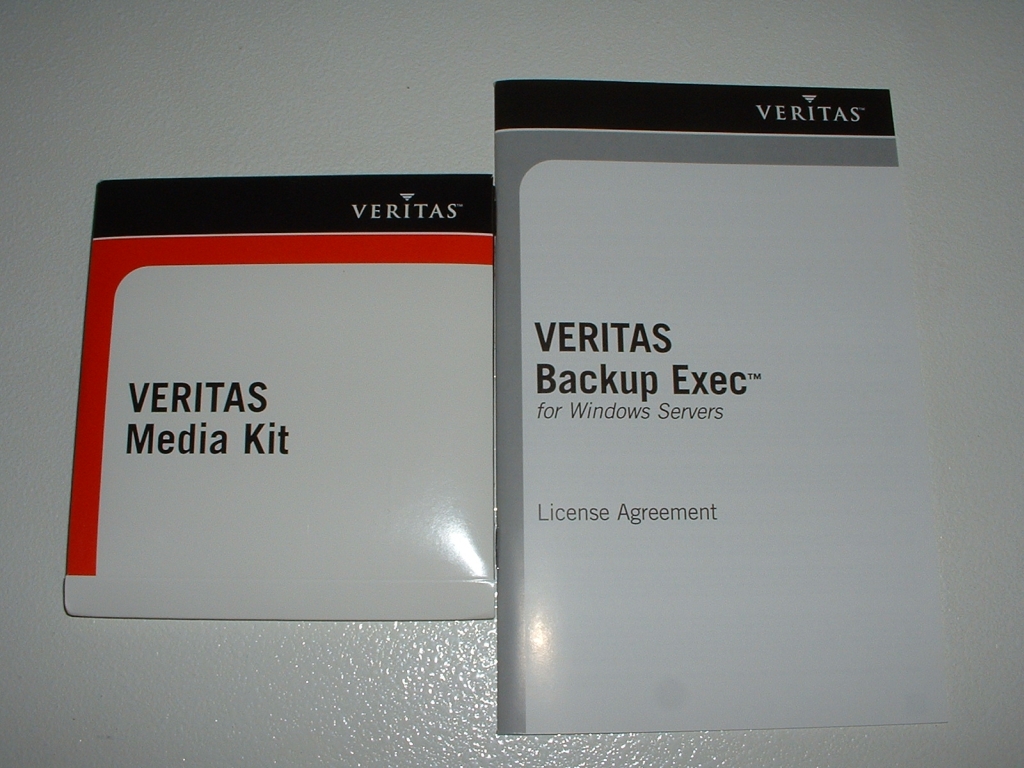
The installation wizard starts with a welcome screen like most do. Clicking next takes you to the license agreement which you have to accept before you can proceed to the next step.


There are three options for how you want to install the software. You can install Backup Exec and options which is the actual server. You can install the console which would be installed on another workstation to remotely administer the server. Or you can do a remote installation which pushes agents and media servers to other servers. For now I just went with installing Backup Exec to my server locally. Backup Exec is driven by SQL so you will either need the Microsoft Desktop Engine or SQL 7/2000. Since I am running Microsoft SQL 2000 on my server I am just going to add the BKUPEXEC database to it.


The next screen is where you can put in all of your serial numbers. Backup Exec and the agents have
separate serial numbers. So if you just buy Backup Exec 9.1 and put that serial number in you will only be able to backup Data. If you want to backup Microsoft Exchange for example you would need to
perchance a license for that and add that in here. Once you have done that you would then be able to backup Exchange.

There are quite a few options and agents that you can install with Backup Exec 9.1. I had a Not For Resale serial number which unlocks all of the agrents. I just want everyone to understand that you don’t get all of these options with Backup Exec 9.1. If you want these other options you will need to buy them separately.
For my installation I will be installing tape device drivers, the documentation, the ExecView Communication module, Advanced Open File Option, agent for Microsoft Exchange, and agent for Microsoft SQL. There are plenty of other agents that can be installed to backup just about everything including Oracle, Domino, SAN, and much more. For my server the agents and options that I have chosen to install will backup everything I need.


The service account needs to be setup next which Backup Exec will use to authenticate with. You will put in the desired username, password, and domain that you want to use. You also need to choose how to handle the drivers for your tape device. I chose to go with the Veritas drivers over the Windows 2003 drivers since it is recommended.


Before installing it will give you a summary of what will be installed and where incase you want to change anything. When you click next it will install all of the software, drivers, and setup the database. When it finishes it will take you to the final screen where you can choose to register, view the readme, and create a desktop shortcut.