
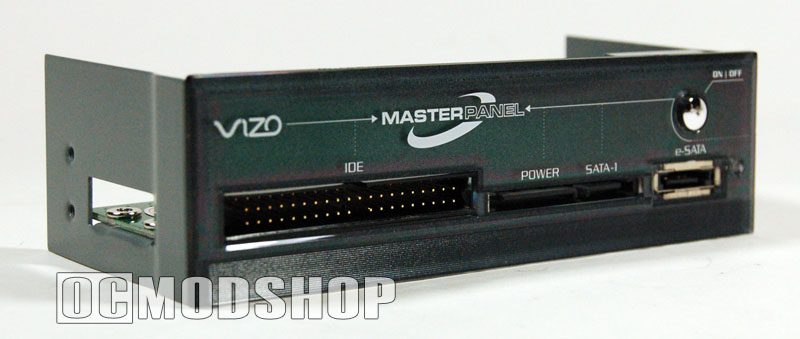
The MasterPanel was really easy to install into my computer. I just had to pop out the one front access panel cover I had left and put in four screws. Attaching the device to the system board was just as easy. The MasterPanel utilizes three SATA connectors to bring the functionality of your motherboard to the front of your case. If you are not planning on using the eSATA interface, you can easily leave that connector disconnected, decreasing the demands on your motherboard SATA connectors to two. The ATA interface on the front of the panel utilizes an SATA connector and has a built on SATA-to-ATA bridge chip to convert the signals.
After I got the MasterPanel mounted, the two SATA cables installed (I chose to not connect eSATA) and the floppy style power plug attached, I was ready to start testing. Total installation time was just a few minutes. Without any drives attached, I powered up my computer, followed by the MasterPanel. This is when my frustration started. During POST, my SATA controlled reported a “device configuration error”. I was stumped. I had not done anything besides install the MasterPanel and power on everything. After this error, my computer would not boot and just stayed on the SATA error screen. I powered off the MasterPanel, and hit RESET on my computer. The computer booted flawlessly.
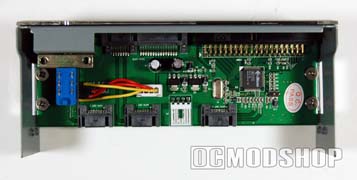
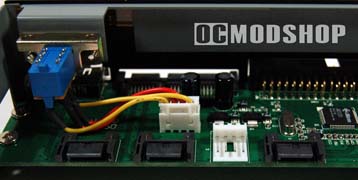
Thinking the first error was a fluke, I restarted the computer, and powered on the MasterPanel again. I received the same error message. I thought “maybe the ATA port on the MasterPanel does not like the SATA controller it is on”, so I powered everything down, opened my case again, and switched the SATA connector to another port on my motherboard. I powered up everything again and received the same error. Again, I powered off the computer. Time for another test. I retrieved the ATA-133 drive I was going to be testing with, attached the external power cable to the front of the MasterPanel, attached an IDE cable to the MasterPanel and the drive, and again powered on everything. This time I received no error message and the computer booted into Windows without a problem. Now I have learned that if I have the MasterPanel turned on and want to boot my computer, I MUST have an ATA drive attached to the ATA port on the front, or have the SATA port disabled in the BIOS. This is not stated anywhere in the manual. To test this theory yet again, I once more powered down the whole system. I opened the case, and again switched the ATA port to a different SATA controller port on the motherboard. I disconnected my external ATA-133 drive and powered up. Again with the “configuration error” message. So the theory is now proven fact in my mind. My guess is that this has to do with the SATA-to-ATA bridge chip.


1 comment
I've been waiting a long time for someone to come up a product like this where can I Purchase this item, I need one right now.
Comments are closed.