

Before installing a heatsink, you must apply a thin amount of thermal paste to the processor core. Just add a small drop to the center of the core, and use a spreader to coat a thin layer over the processor. I used Arctic Silver III to achieve the highest possible thermal transfer between the processor and heatsink, as it has a higher thermal transfer than copper, and therefore no possibility of additional resistance.
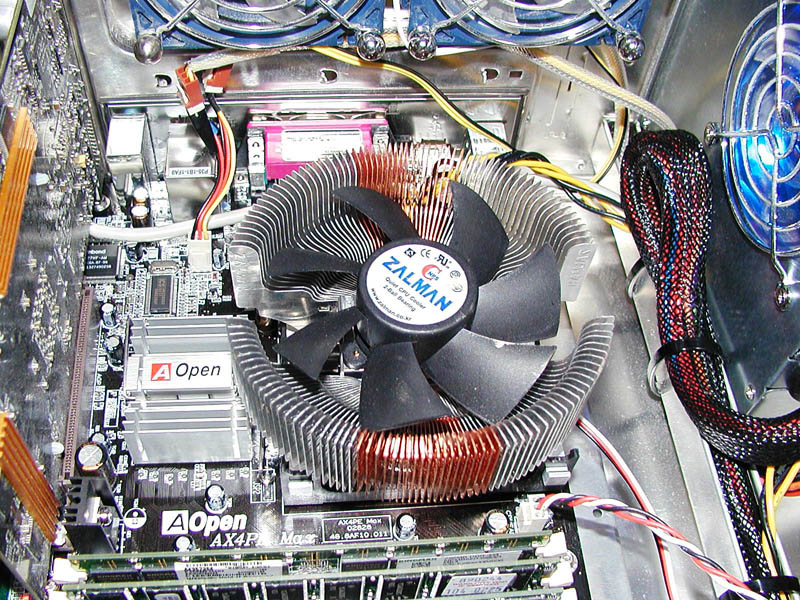
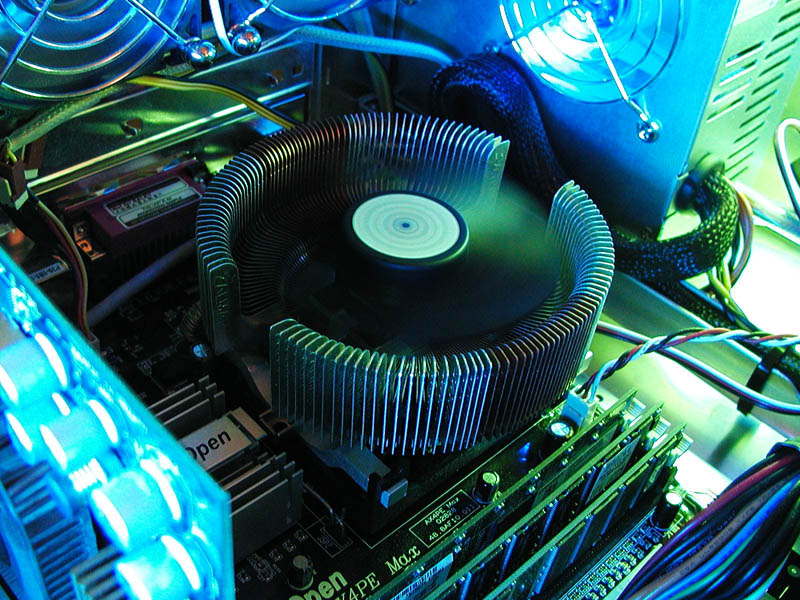
The Pentium 4 mounting frame was designed to allow tool-less installation, but this cooler requires a screwdriver to install properly. You also have to fit the screwdriver between the fan blades when tightening, as they are in the direct path of the mounting holes. The heatsink is built like an inverted cone, and the end diameter extends beyond the area intended for a Pentium 4 heatsink. The dimensions are 109x109x62 mm. Some motherboard components may interfere with the installation, or the cooler may block some memory slots, depending on your motherboard layout.
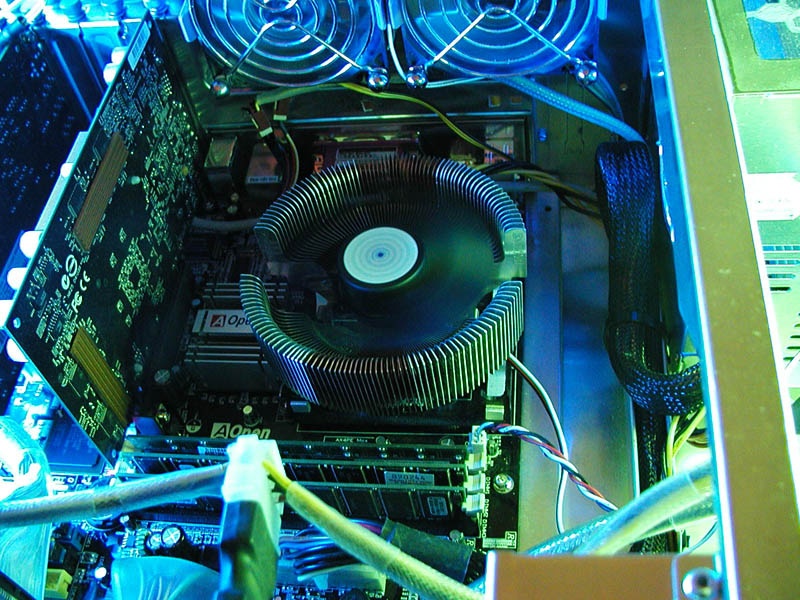
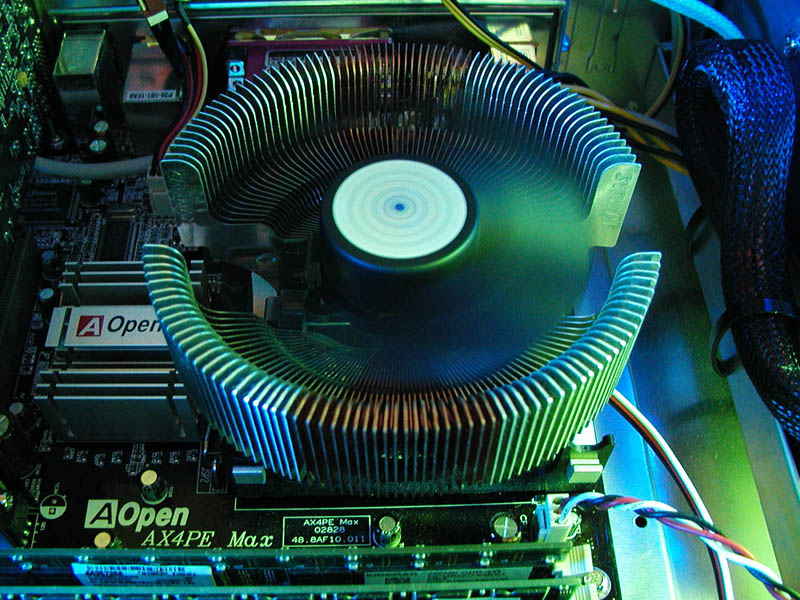
The installation feels very secure, but the aluminum brackets give a slightly springy movement. You can view a flash animation on this installation here. If you require a step by step description, read on.
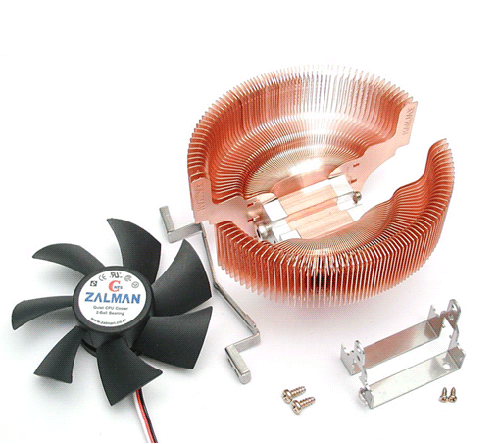
- Install the aluminum brackets into the P4 frame by inserting into the clip holes.
- Place a screw into one of the heatsink’s mounting hole.
- Place the heatsink onto the processor core while aligning the screw with the mounting hole
- Tighten the screw, which will see-saw the other end of the mounting bracket up.
- Now you must use a little force to push the other mounting bracket down onto the aluminum clip. While holding this down with your thumb, place and tighten the next screw. The cooler will probably glide around on the processor surface, so it may take a minute to align properly.
- Plug the fan lead to the FanMate, and the FanMate to your motherboard.

