

Installation on nVidia’s 8800 series warrants that the ZM-RHS88 ramsinks be installed first. Otherwise the card’s memory, RAMDAC, and other hot components would not receive any cooling, possibly ruining your expensive video card.
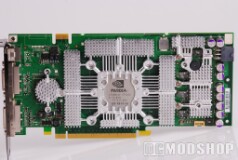
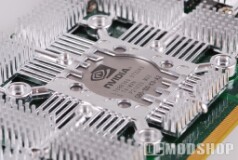
The stock heatsink must be removed first. Begin by removing all the main heatsink screws from the back of the card. There are also several screws around the GPU, which secures a square shim around the graphics processor. You must also remove the screws that attach the exhaust to the backplace. Once all of these screws are removed, the heatsink is pulled off easily. There will be lots of floppy thermal tape to clean up, which easily melts and disintegrates to the touch. Don’t worry if some of this melts between metal contacts, as this goo is non-conductive. Clean off the GPU, ram, and other components with cloth slightly moist with rubbing alcohol.
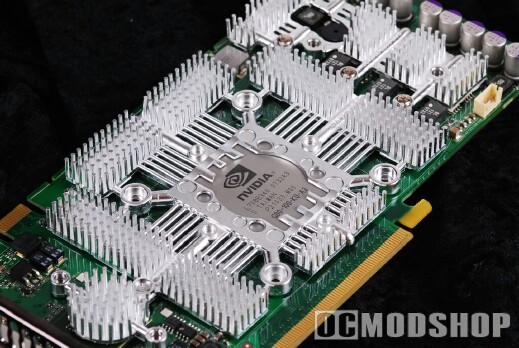
Attach the secondary ramsink plate, depending on which card you have. The plates fit together with screws. Then you can remove the protective plastic from the underside of the plate, which exposes the sticky part of the attached thermal tape. Also, put some thermal grease on the corners of the GPU where the main plate will make contact. The plate is then lowered onto the card, and everything should fit like a glove.
Flip the card over and you can begin securing the plate with tension screws. Place a plastic washer around the exposed post to protect the card, and then place a spring over the washer. You can then attach the thumbscrews and adjust tension until the ramsink is secure.
 |
 |
 |
||||||||||||||||
|
Nipple Installation Holes for Various VGA Cards
|
|
||||||||||||||||
 |
|
 |
||||||||||||||||
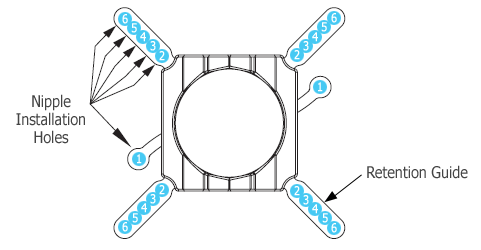
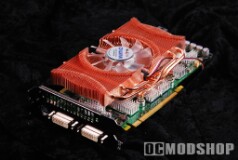
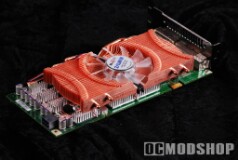
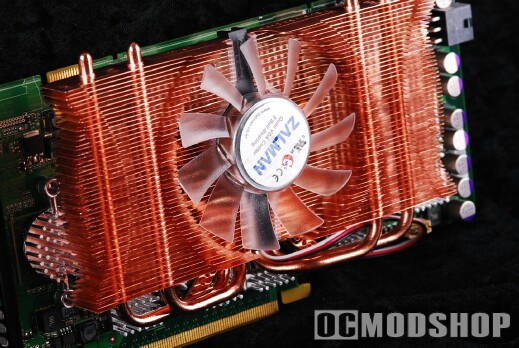
Next comes the main heatsink, the VF-1000 LED itself. At this point, installation is as simple as on any other card. Apply some thermal grease to the exposed GPU, and rub the excess into the shiny copper base. The heatsink base has several pre-drilled holes at different intervals that will couple with the included metal standoffs. Which holes you use depend on the video card being mounted. Since we are installing this heatsink to an nVidia 8800, we use the number 6 hole position.
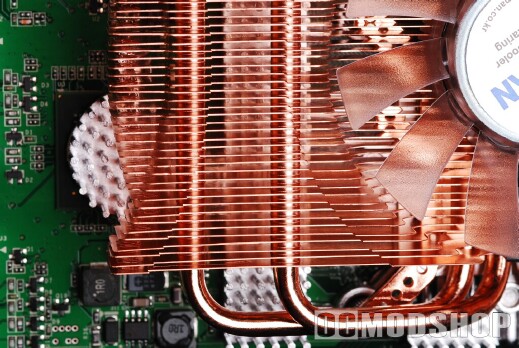
The standoffs are secured to the heatsink base, and then rubber gromits are attached to the underside. The standoff posts are then inserted through the holes in the ZM-RHS88 ramsink, and then secured with the same washer/spring/thumbscrew method. The copper heatsink now fits neatly over the aluminum ramsink plate, for a complete cooling system.



2 comments
The memory doesn't really get that hot, even when overclocking. The fan blows over the ramsinks, too so they stay nice and frosty.
nice heat sink lots of copper and heat pipes would of liked to see the ram sinks made of copper as well ..to bad they cheaped out and used aluminum ..
Comments are closed.