

I’m testing the Zen on the same system I used to test the Rosewill Z4 (reviewed here). I’m running an AMD Sempron 2800+ 1.6 Ghz processor, 2GB Elixer RAM, 320GB Seagate HD. And I traded in my 3D glasses for beer goggles. This is why I’m hot. I opened the box to reveal a little baggie with screws, fittings, thermal compound and instructions. There is also the 120mm fan and the heatsink itself.
Right away I noticed something unusual. Most heatsink/fan combos come with the fan already attached. This one had two bent pieces of wire that hook in at the top and bottom of the heatsink (similar to many Thermalright heatsinks), then snap across the screw holes of the fan to hold it in place.
I had concerns about stability, but it actually held quite nicely and my worries were soon proven irrelevant. I took the fan back off for the install. You can’t reach the retention screws to install if the fan is attached.
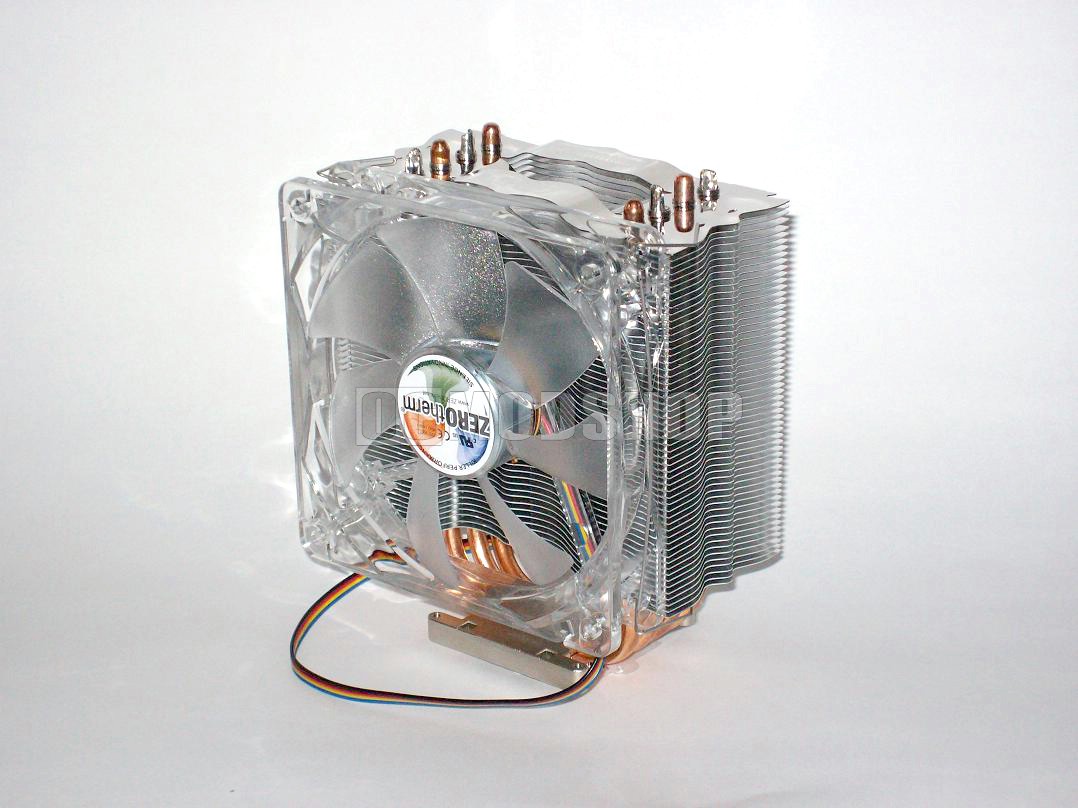
Unfortunately, installing this heatsink does require removing the motherboard from the case if you don’t have a compatible backing plate already on your board. Mine was compatible, but since I wanted to clean the mobo anyway, I removed everything and started fresh.
I started by removing the existing heatsink and installing the backing plate. Made out of a very stiff plastic, it comes with prestuck double sided tape. All I had to do was remove the stick cover and line it up with the holes of my motherboard and press down. I am a huge fan of convenience in case you didn’t know. I should warn you that if you are planning to take the plate on and off you should just leave the stick covers on. It’s hard to get this stuff unstuck.
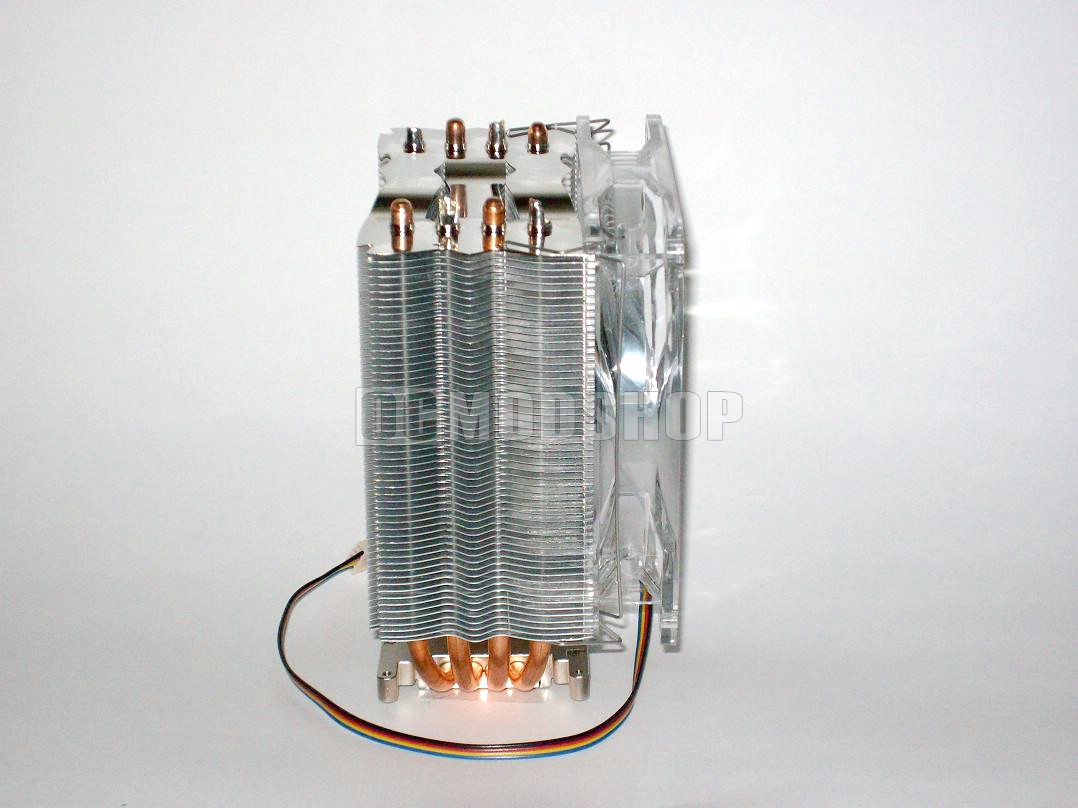
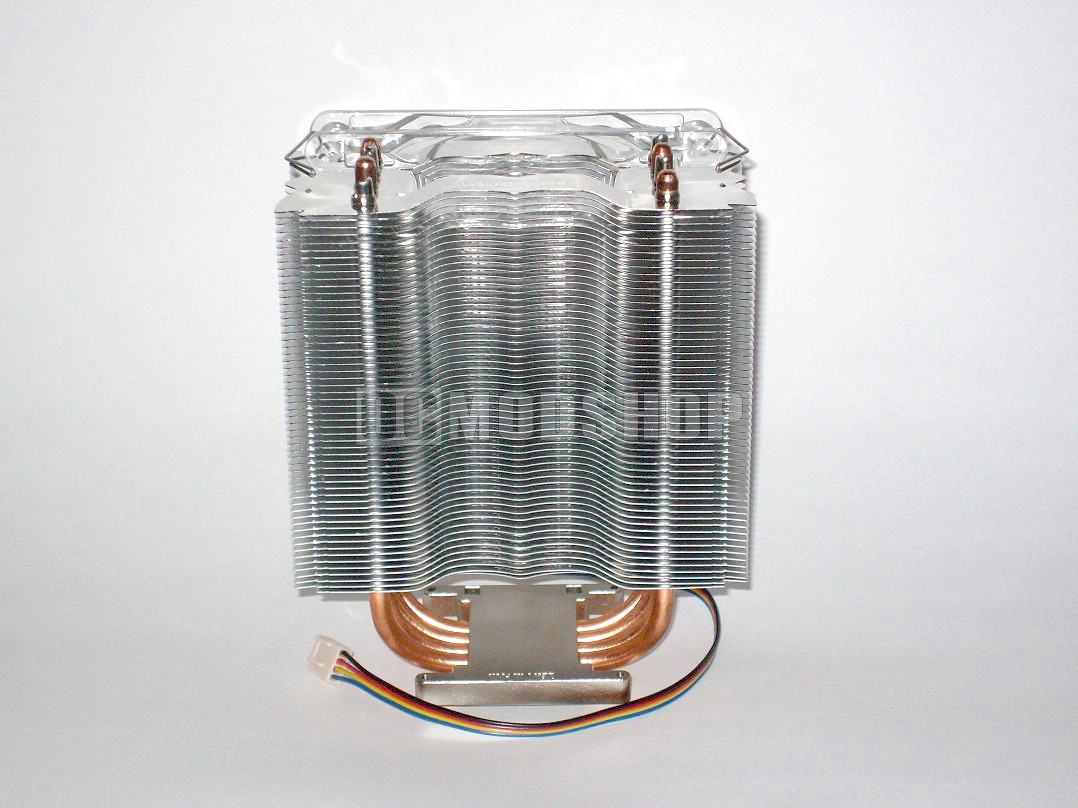
The upper part of the retention system attaches to the base of the cooler with 4 screws. The upper retention plate has 4 captured screws with springs. When using these types of retention systems it is quite possible to bend or even break a board. When tightening the screws remember to use the ‘X’ pattern approach and only tighten it to the point where the cooler is snug. The last thing you want to do is break your motherboard and realize you can’t sue anyone but yourself for not watching what you do.
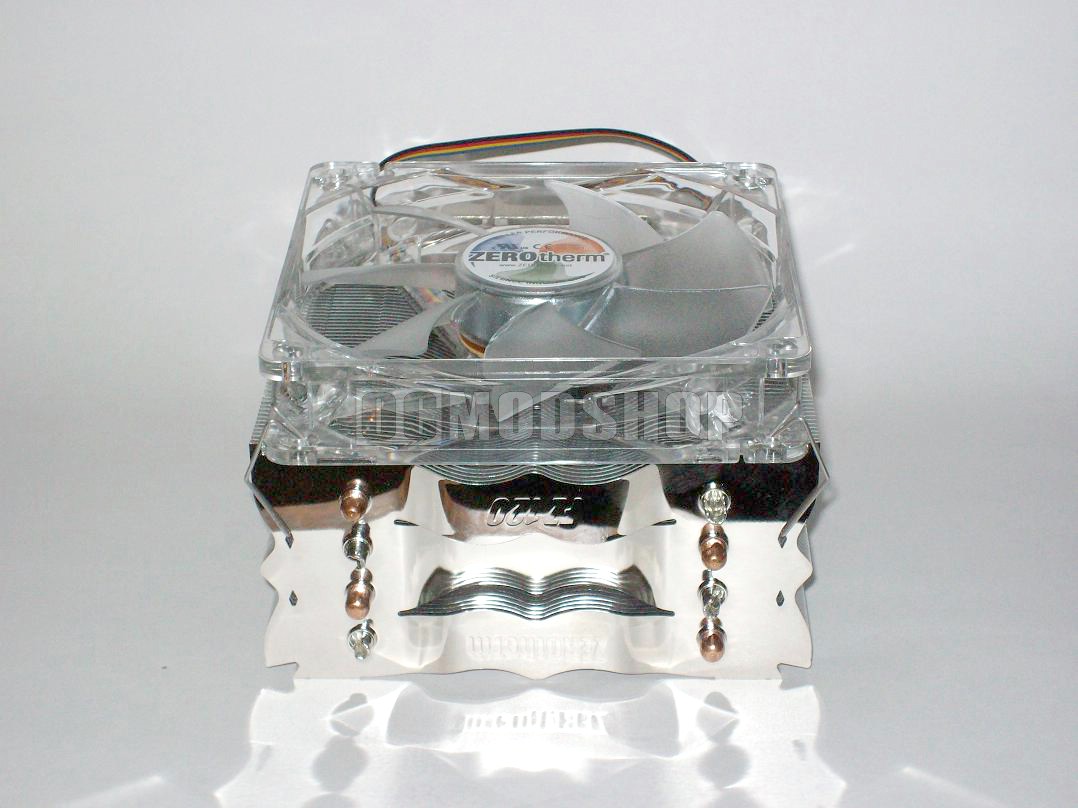
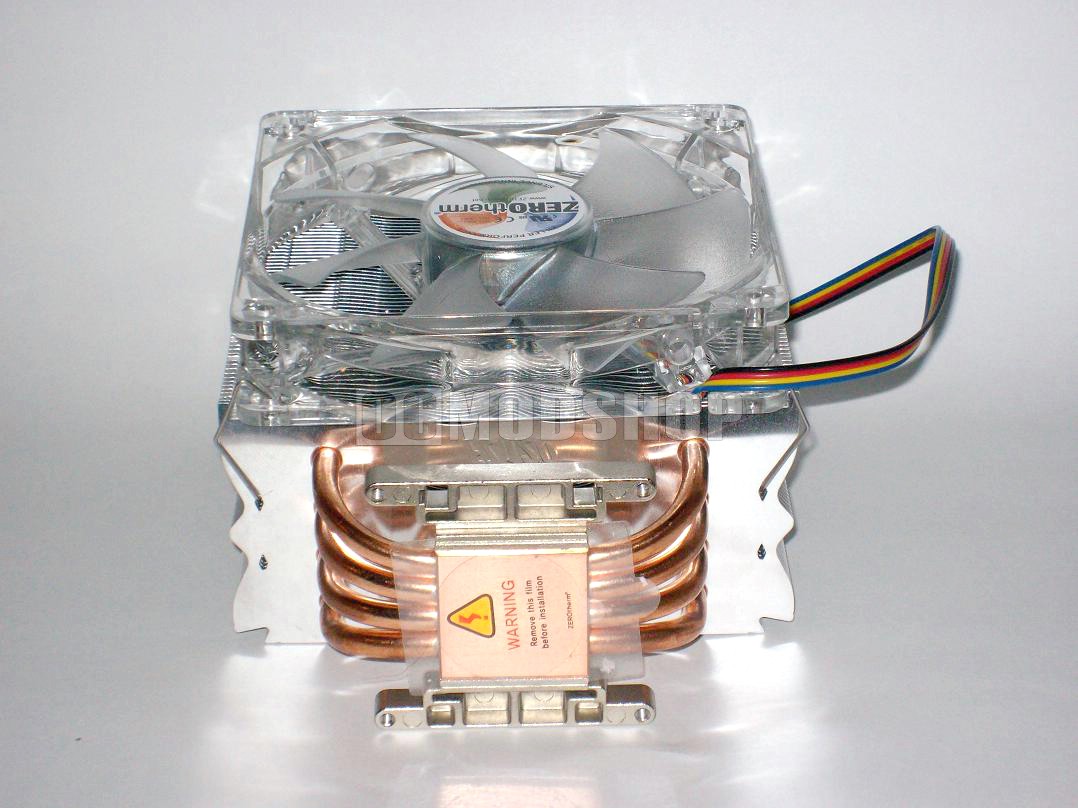
Okay, the backplate is on. You’ve attached the heatsink to the motherboard. The fan is attached to the heatsink. You’ve found Waldo. Now we connect everything and boot the computer up. I give it my usual 20 minutes to reach idle temperature and proceed to test the temperature of the cpu before heating things up for the real test.
The temperature of the test room is a steady 70 F. I decided to play F.E.A.R for a while to bring the CPU up to full load. It’s difficult to make a processor like the Sempron 2800+ handle a game with such high graphic content without generating massive amounts of heat. Let’s see exactly how great this Zen really is.

