
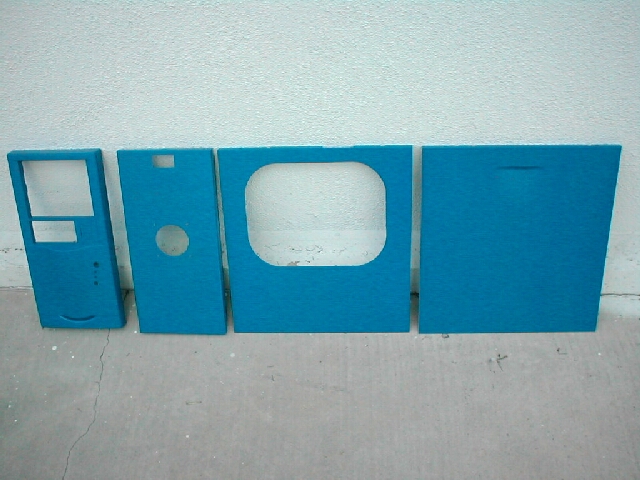
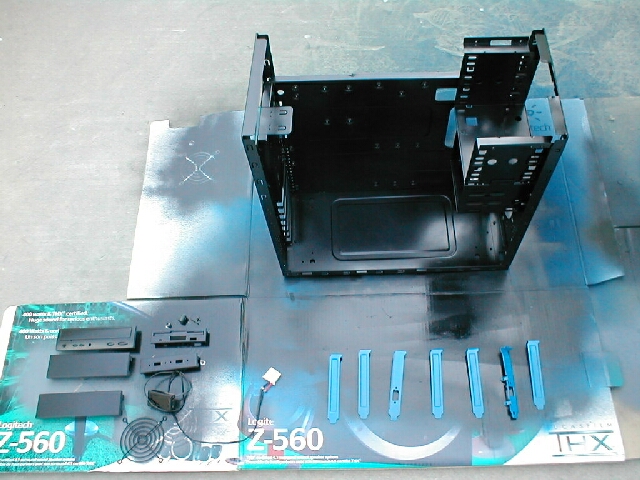
Now that your case has been painted and has had time to cure you can now put your work back together and see what it looks like. Here all of my pieces which are done and not put together.
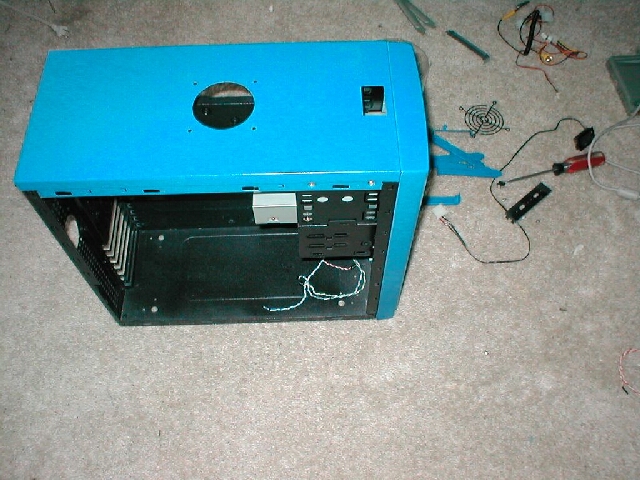
I put the front bezel back on along with the top of the case and I put my CDROM and drive bay covers back on as well. I then put my front USB back, my CompuNurse, blowhole fan and painted grill, floppy drive, and a few expansion slot covers.
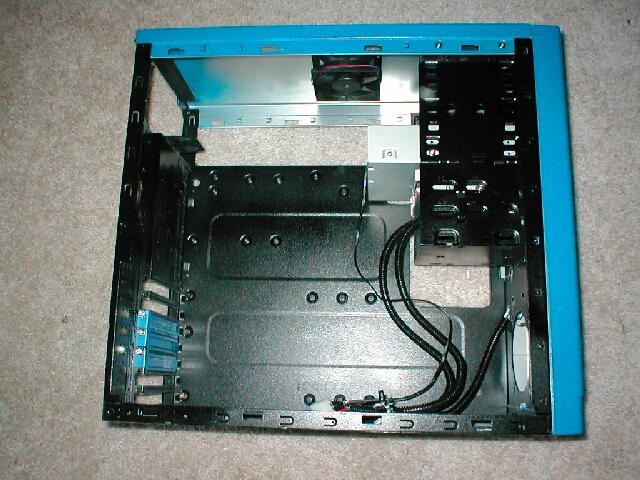
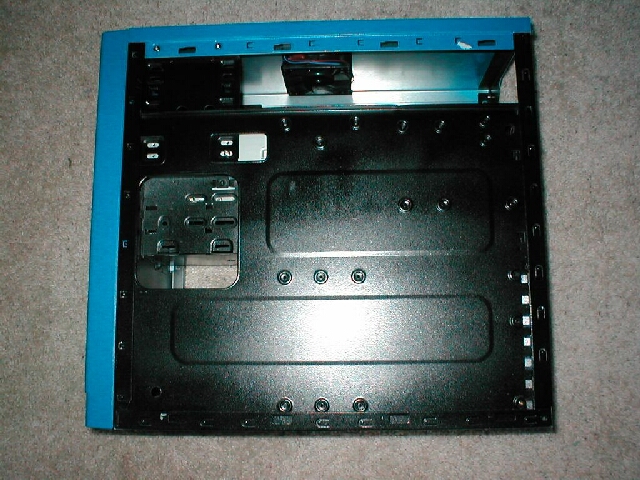
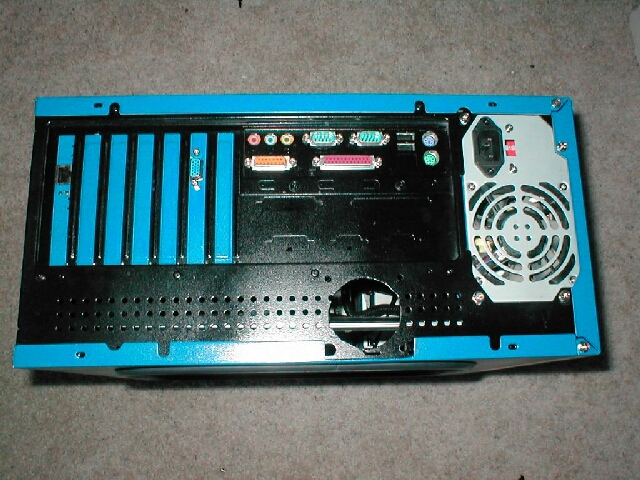
Here is a shot of the back side of the case, this will not be seen much but it still looks really nice.
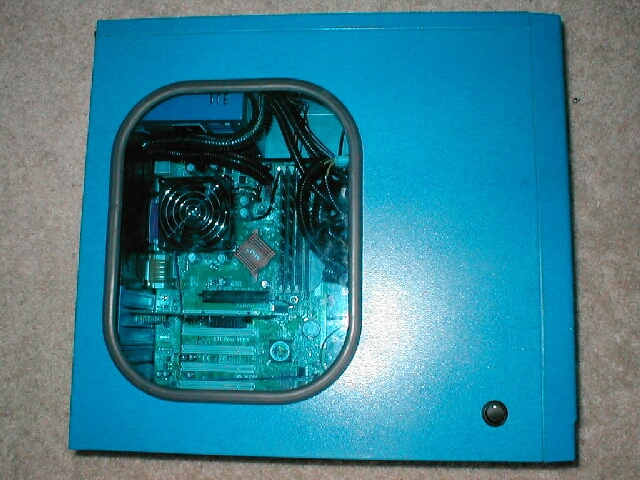
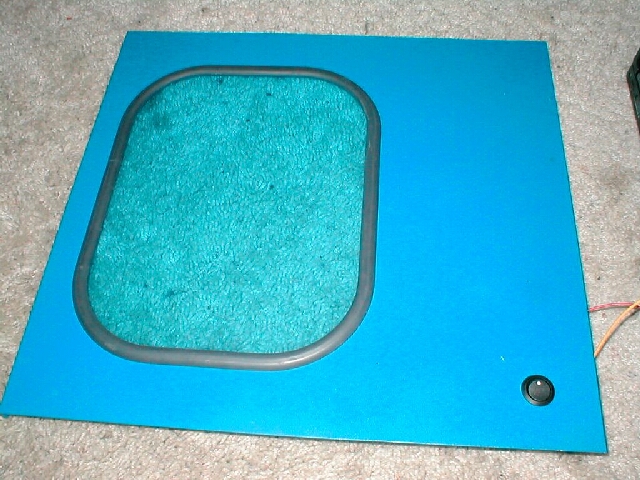
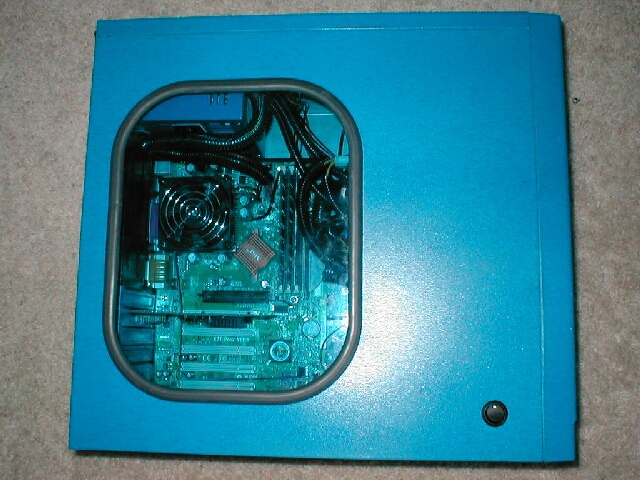
Unfortunately I had to take my blue window out to paint which means I had to struggle to put it back in again. When I finally got it back in it looked killer! The black button for the blue cold cathode looks great against the blue.
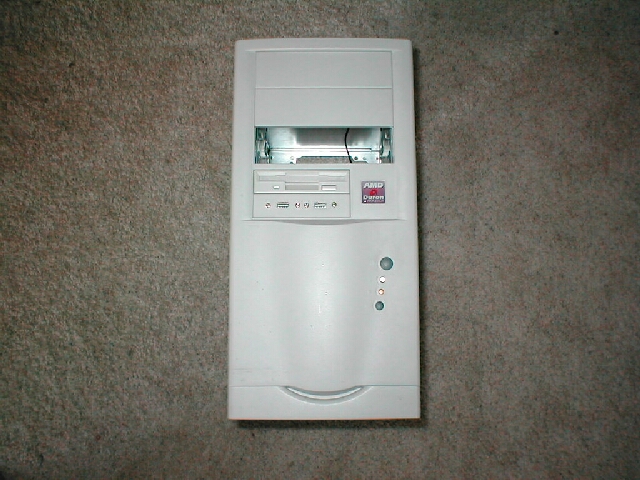
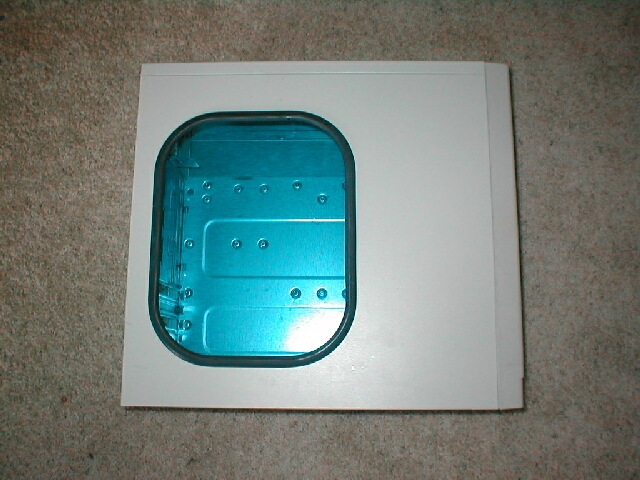
Here are some shots of my case before it was painted, doesn’t it look very bland and unattractive?
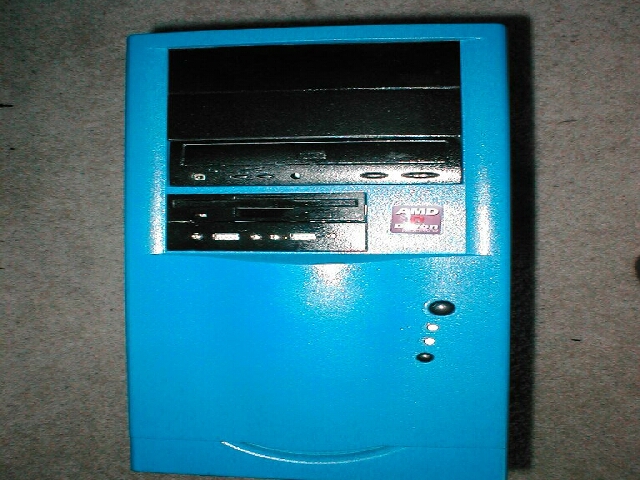
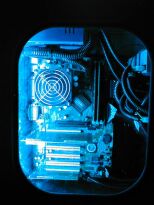
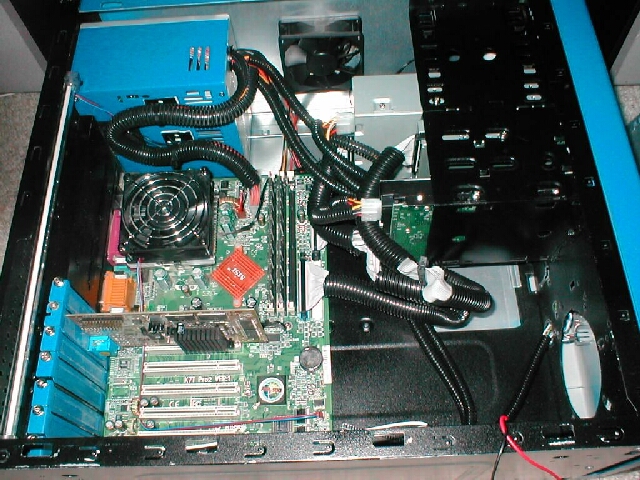
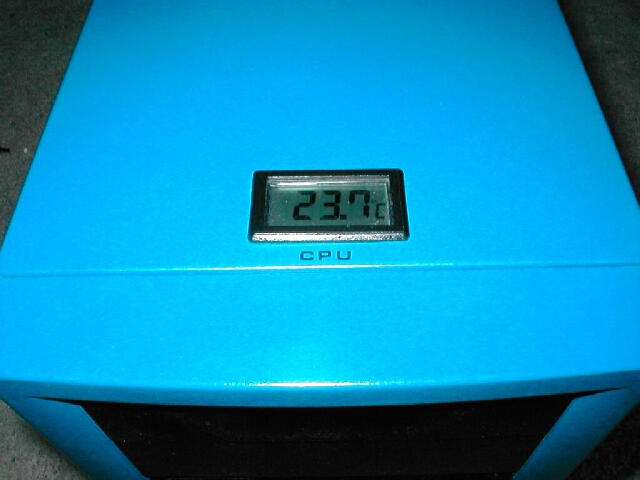
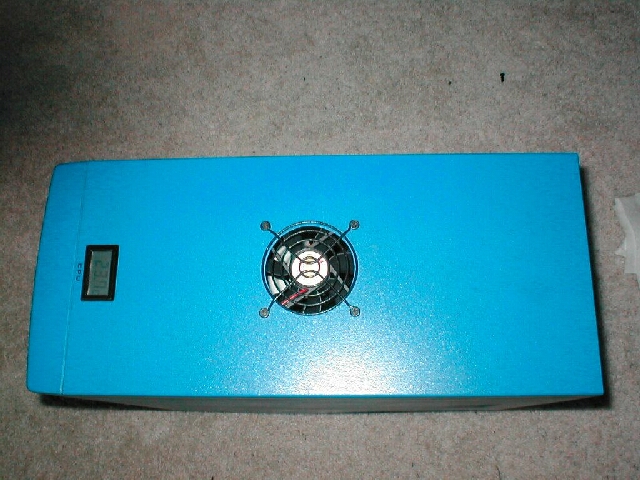
Now, here are a lot of pictures of my finished case I think it looks awesome and unique. It looks a lot better than how the case comes from the store. I took some rub on letters which I picked up at my local art supply store and put CPU under the thermal probe which is touching the core of my Duron. I also have a shot of my blue cold cathode on inside of my newly painted case which you can see through the blue window.
Conclusion
I hope this guide gives you the knowledge to paint your case. You should use whatever colors you like and that you think would look best. Remember to take your time and be patient while painting. I am a very impatient person and I wanted to be done overnight, but that is not possible if you want to get good results. This was my first time painting my case and I am very pleased with the results. If you have never painted your case and follow this guide then you should also have good results.
