

This guide was made on the default settings. Achievements are somewhat addressed, but this is not a guide on how to get every one. Read ahead to get a better sense of what is happening. The only thing you can do is read and hopefully connect the dots with what you see on the game screen.
After the summary movie of the last episode, you are put right into Mr. Freeman. You begin in the crashed train, so start your descent. When you reach the water, enter the next car and jump over the obstacle in your way. At the end of this car the whole thing will sink a bit and it appears you can’t go anywhere. Just look left and wait for Alyx to appear.
She frees you with the Gravity Gun, and soon after she gives it back to you. Pick up some junk and launch it to shake off your rust and get familar with an old toy.
Go up and into the opened train car. Blast the left door open to proceed.

She will run to the left to get a view of the ruined city. When the storm thing comes rushing toward you, don’t worry, just turn around and watch the bridge.
Now backtrack a bit to find the fence on the left is now open. Take that path, blast away the board at the top of the slope, and don’t forget that you have a flashlight (press Y on the 360). Drop through a hole in the floor to confirm your fears that dark places will usually lead to zombies; they’re dead now, thankfully. Blast away the debris and crawl under the obstruction.
Pick up the saw blade on the wall and go toward the opening. Zoom down the way to see a battle of monsters (click the RS on 360). When you go down the small steps, look right and kill the lone zombie in the corner. Use the barrels in this area to kill the rising zombies down the way (careful Alyx doesn’t hit one as you hold it). There is one extra zombie in the dark pit, FYI. When you get to the end of the tunnel a Zombine (zombie Combine) will show up and end the never-ending battle of undead and bug.
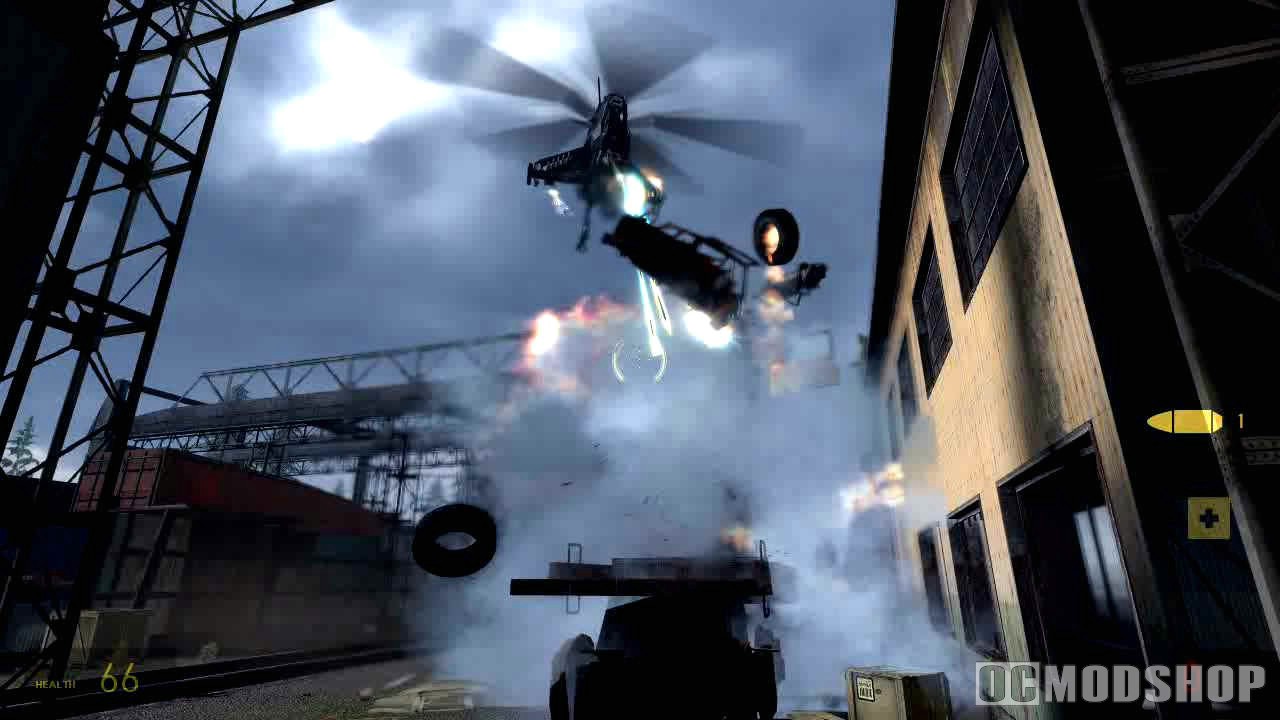
Pick up the green health tubes and move through the door, go ahead and keep the saw blade if you like it. Inside Alyx will use the equipment to try and send a message. After the no-go, she hops up to an area and then a cable will fall down. Pick that up with your gun and walk it into the red slot on the wall with the other cables. Then just watch.
After the scene, go out through the other door. Pull in and then toss the crate into a nearby wall to get the health inside (you press LT when you have the blade to drop it, then pick it back up). Move into the tunnel and look right to see a headcrab down the way, so send your blade into it. Go down to the boarded exit, pick up your blade, and send it into a wall so you don’t forget it.
Now go up the rails to the cart stuck behind some boards. Just blast each board to move them and free the cart. It will open the path of course. Go back down, pick up your blade, and keep moving.
After Alyx speaks, go up the path to the right. At the fence, follow a path on the left to get into the next area. Drop the blade somewhere and find a ladder between the trains. Go up, hop over some gaps, blast away a piece of metal on a roof, and drop down into a room. When you fall down, look right to see something looking in on you. Then go press the green button.
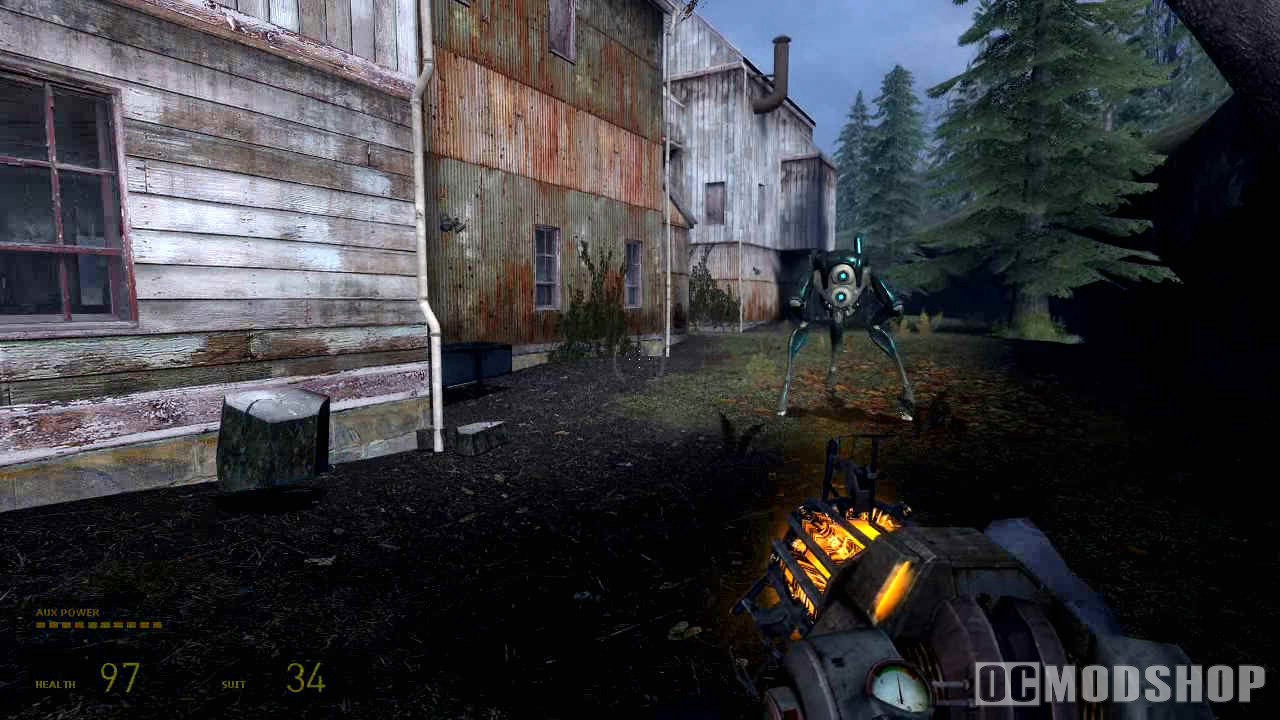
You can’t use the door, so look on the floor for a yellow bar. Pull that bar out of the slots with your gun and then drop through. Crouch, clear the crate out of the way, and then follow the path for an interesting scene.
Your friend will free you, so just sit back until then. After you know this has become an escort mission, pick up your blade and head through the open gate. Only one path, so follow it and break the boards in your way. When you reach the elevator, drop your blade inside and hop in. When you’re ready, use your gun to pull in the crowbar, then it’s bye-bye for you.
Use the old friend to smash the boards and emerge in the mines all by yourself. Enter the shack and grab the suit power-up. Open the door to find another elevator, the manual kind. To in front of the wheel and hold down the action button until you get slightly above the first room you see, then run into the two items in the wall as you run into this room. Hop over the table and pick up the pistol on the wall. Go to the hole in the floor and find some ammo in the dead bugs.
Now look down the hole to see a fresh Antlion at the bottom. You can shoot it, or you can hop down to the wooden boards, the ones that don’t break, and use your Gravity Gun to use a crate; either way. When you drop down, find a small room with some ammo and armor. Follow the path and drop down yet another hole.
*NOTE: By now, you will probably lose the saw blade, but props if you can manage to take it any further. I will just stop reminding you.*
When you drop down to the bottom there will be a headcrab. Shoot it, or just run onto the boards over another hole and fall down; either way, fall down this hole. In the water, press the swim button a few times and get in the rock tunnel. Funny looking grubs on the walls. Follow the tunnel (yes, stepping on the poor things will kill them), and then use the crowbar to smash a bug through a web. Take the path on the right, smash another web, and then fall through another hole.
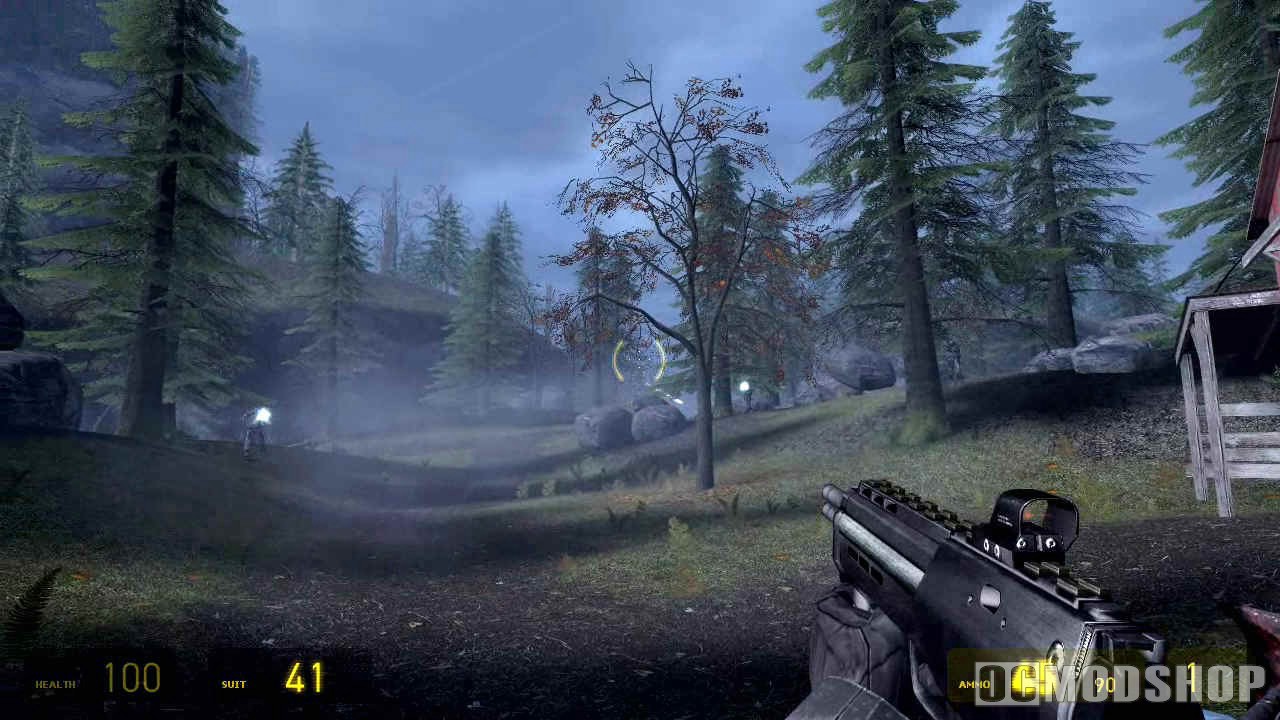
When you drop down, quickly turn left and start shooting at the new Acid Antion Worker and be sure to dodge his acid attack. Keep moving and shooting until he dies (an achievement), which will take about two clips of ammo. Pick up the red box of ammo and go around the corner. There will be two more acid bugs at the end. Run and dodge your way into a little area on the left of this tunnel to find not only a shotgun, but also a few grenades (under the table). You can either hurl gas tanks, toss grenades, or rush and shoot them with shotgun shells, either way, get rid of the bugs (despite how it looks, you can crouch to enter their little area). Break the crates for some supplies.
*NOTE: You didn’t have to kill the bugs, I just wanted you to have those crates in their area.*
Now fall through the hole near where you found the shotgun. Pick up a magnum along the small tunnel. Use the Gravity Gun on the other side to clear the debris trapping you in. When you’re back on solid ground, use the GG to clear the path. Two more acid bugs will appear, so just use the gas tanks provided to kill them (careful not to launch one into something close).
*NOTE: It might be a better idea to use the rocks instead of the gas tanks.*
*NOTE: Now might be the time to tell you that each little grub you kill will drop some yellow dots. Those dots replenish just a little health. The grubs also get an achievement, but don’t waste time on that now.*
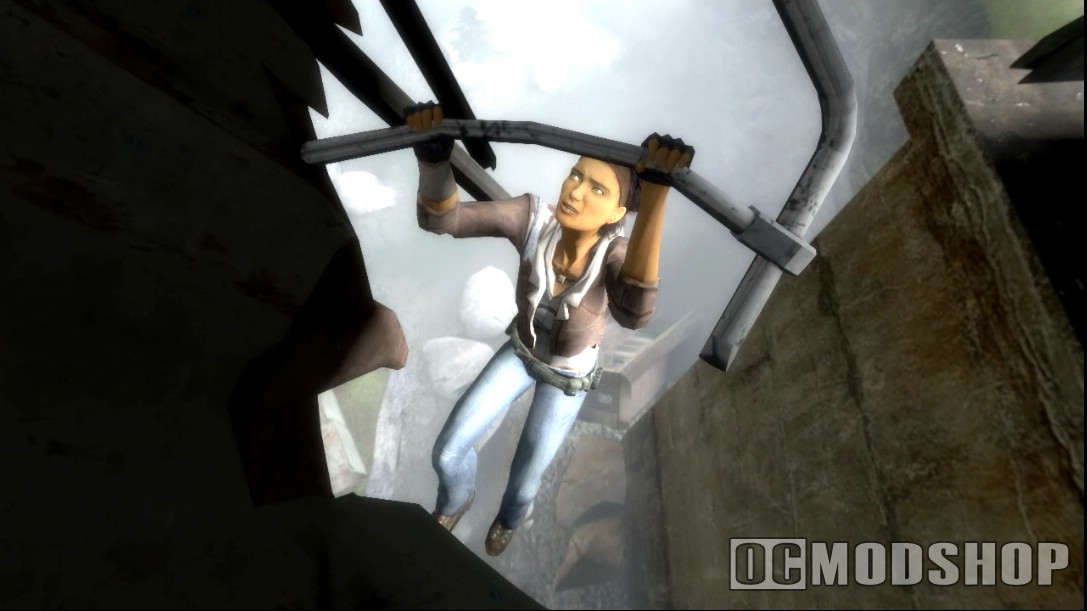
In the cavern, go right to find the path that takes you up and to another web. After you break it, another acid bug shows up. Kill him with rocks and keep moving. When you drop into another area, another bug shows up. Kill him and move on. Dive into the water of the next area and bust a web to grab some health, then go down further into the same hole to bust another web for some suit armor. Now take the adjacent tunnel. Have your crowbar ready when on the other side you run into an Antlion in the water. Whack it a few times and emerge.
Zoom down the way to see not only some bugs tearing into something, but also the tongues of familiar enemies. When you move forward a bit those Antlions will come for you, but some will get stuck. One may get to you, so be ready. Keep the ceiling monsters alive as you move around them because more Antlions will show up. Kill whichever ones don’t get caught.
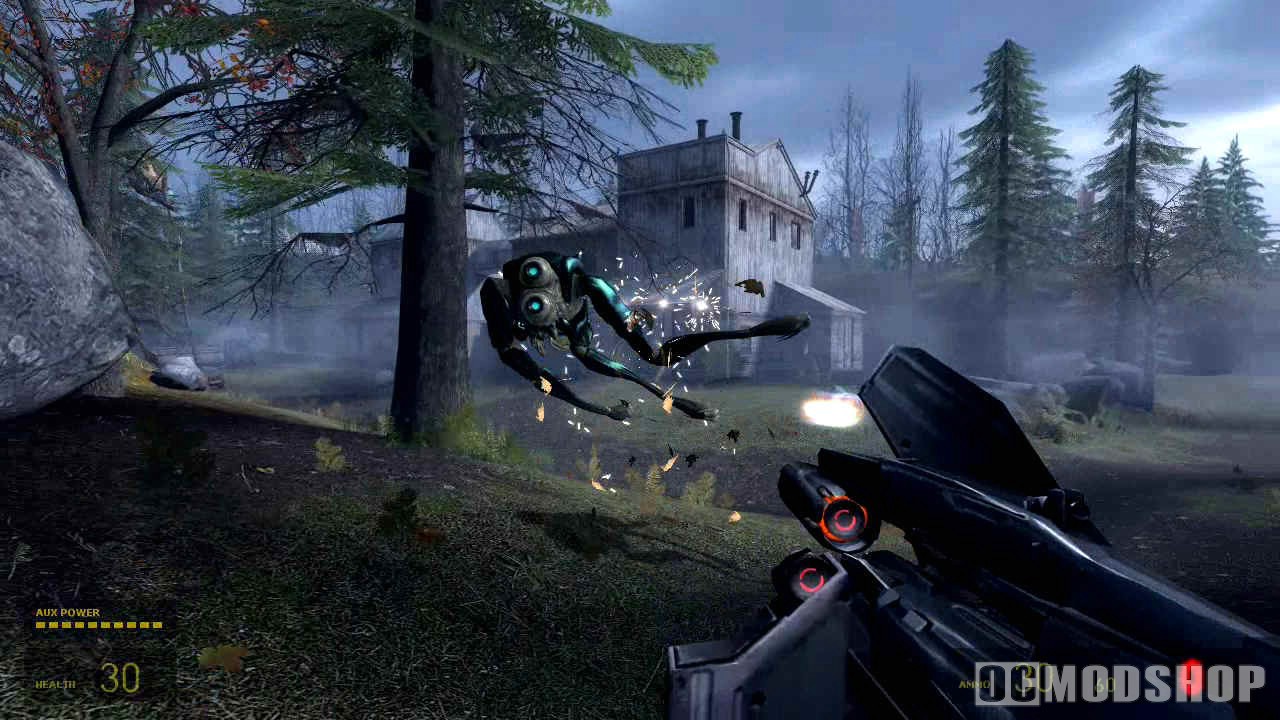
Get to the other side, watch for the tongues, and keep moving. In the narrow tunnel, be ready for another bug. Have your shotgun ready when you enter the next area as about three more Antlions will appear, but hopefully some will drown in the water. Kill the acid one that remains.
Follow the path until you run into abour three more acid Antlions in a small, round area. Then keep follow the path past another web until you hit a loading screen.



3 comments
To get the boxes from the high platform throw rocks at it with the CG.
again great walkthrough, one hint for you though if you havent already figured it out. The last radar cashe on the sling hanging off the cliff. Just throw the rocks, simple, sometimes the solutions are right in front of you but these are the hardest to find because you're looking for someting complicated. That's why I love these walkthroughs. thanks again
Excellent walkthrough! I really try not to use them but somtimes you just gutta. Most walks are full of errors and misleading but this one is great. Not too much info just enough to keep you moving. Thanks
Comments are closed.