

Just up the way is a hole that drops you into the friendly base. Follow the dudes down the ramp to see Alyx, but more importantly, there is the SMG and a bunch of ammo along the wall. After you get all that, follow the men up to the demonstration of how the next fight will work. Pick up some shotgun shells from the big ammo box nearby.
*NOTE: A wise move would be to use the big SMG crate to get SMG ammo. Then you should go find all the crates and bust them. Then move all the health packs onto the ramp. This will help when the fighting starts and you’ll have health whenever you need it.*
*NOTE: You could even set all the mines before the demonstration, but the mines won’t help you much on the early attacks and there will be no time to set them for the late attacks. You could just ignore the mines to be honest.*
Before things get messy, go pick up the other turret by the next tunnel with the GG and set it in front of this tunnel. Make sure both turrets are somewhat spread apart. That will handle this tunnel as the first bugs show up, and you don’t even have to help.
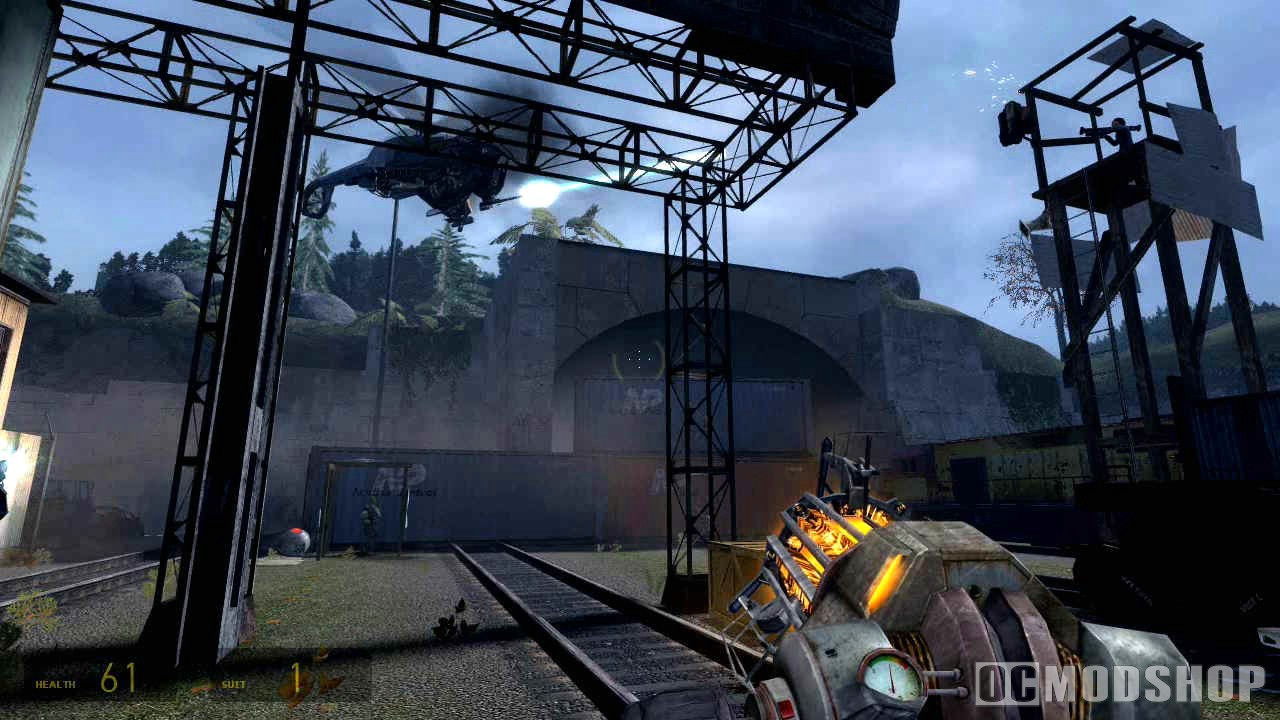
Now, as that battle starts, let’s give each tunnel a number. #1 is the small tunnel to the left that is no more than a hole in the wall, #2 is the tunnel the first attack comes from, #3 the one to the right of 2, and #4 is the one on the very right. The first attack comes to 2, so don’t worry about that one. With two turrets and your friends, single-light attacks will be easy.
The next attack comes from 1, so place both turrets there after the first attack. Then, as they fight, go to the dumpsters and find some mines. Set out two as far apart and as far from where you will place the turrets as possible, and try to keep them in the middle of a tunnel.
After the second battle is over, then set the turrets up at 4 as you set out more mines along the other tunnels.
Then you get a dual attack on 2 and 3. Your friends should cover 2, so just put one turret over there. You take the other turret with you to 3 and you will have to help defend that tunnel.
*NOTE: I can’t explain it very well, but I will say that you can set the turrets up in ways so that they cover multiple tunnels. But if I explain exactly how to do this it would confuse people even more. Just know that you can set the turrets back-to-back or side-by-side and have them cover more angles.*
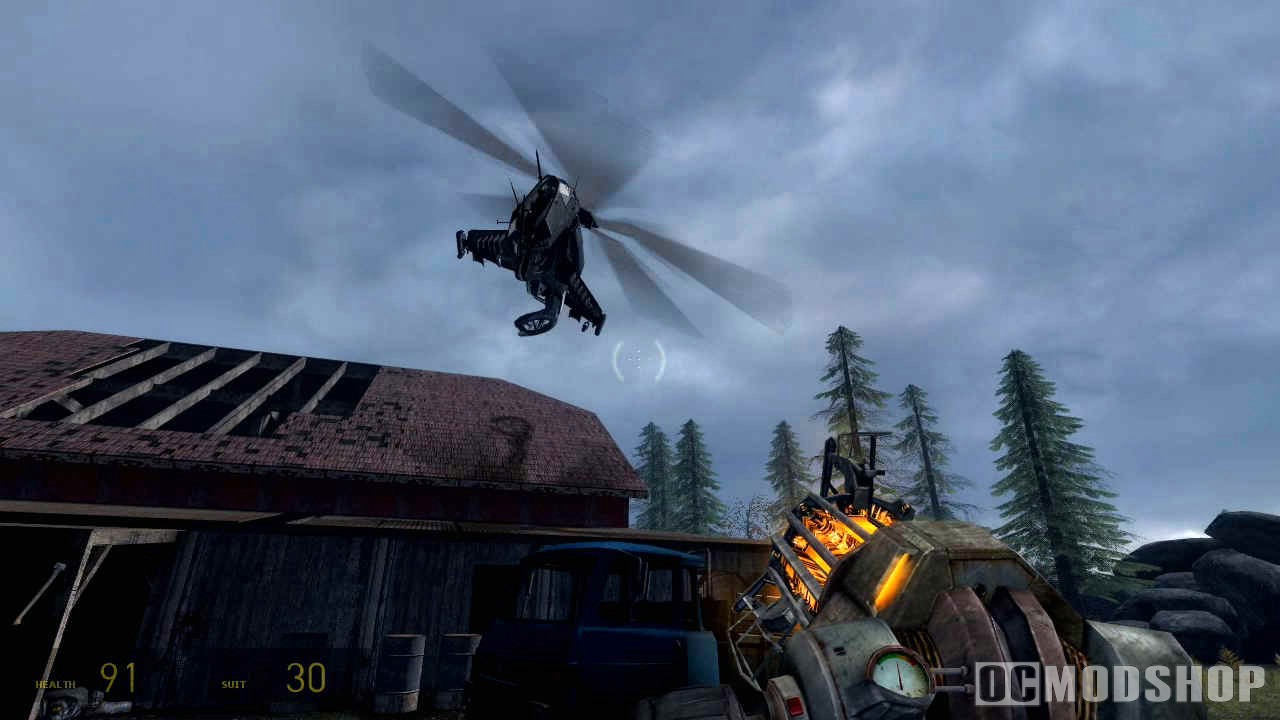
Then you get a triple-threat to 1, 3, and 4. Your friends take 1, so let them go it alone. You set the turrets on the other two and you try to help both. I advise launching a few mines down one tunnel with the GG, then going to the other to help with your SMG.
Then you the same attack, but a two-light on 4. Your friends take 4, so let them be. Set the turrets on 1 and 3 and you help on 1.
Next is a full house. You don’t have much time, so listen well. Set up both turrets next to 2, but make sure they are at an angle so that they can cover 1 and 2. That just leaves you to juggle 3 and 4 with your friends, so good luck.
*NOTE: Pick up more shotgun ammo if you run out.*
After that, another quad attack, but this time a two-light on 2. Set both turrets on tunnels with single-lights, and you take the one with two. If things get to hairy for you, retreat and reposition your turrets to help cover the more threatening tunnel. You will lose both turrets during this fight, not much you can do about it.
After that, then is a three-light attack down 3!!! Not really. It’s just more friends. But then you get three-lights, on EVERY tunnel! It’s for real this time. However, your three new allies will kick some serious tail. All you really have to do is sit back at the bottom of the ramp and watch. They’ll take care of everything.
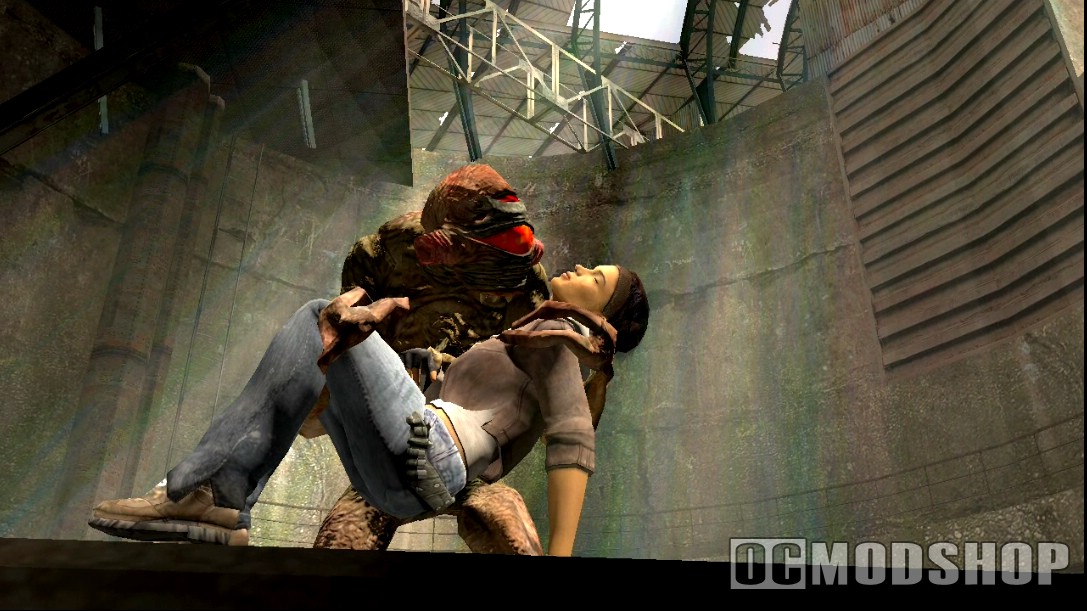
Now that the battle is really over, collect the ammo and maybe the health from tunnel 4. Then watch the Vorts heal your girl. You learn that something is needed to heal her, so the lead Vort will take you down a tunnel, follow. After he opens the gate, you take the lead, so enter the hole in the wall.
Open some webs along the path and then you run into some more Antlions. He will shock them, so either toss a grenade at them or run up and start shooting away with your shotgun. Then there will be more “Acidlions” as he refers to them (so will I), and that’s pretty much the story of this place. After you get past this room, the next will have more bugs. Follow the winding path in here to keep moving. After this room you enter a quiet tunnel with another web cache.
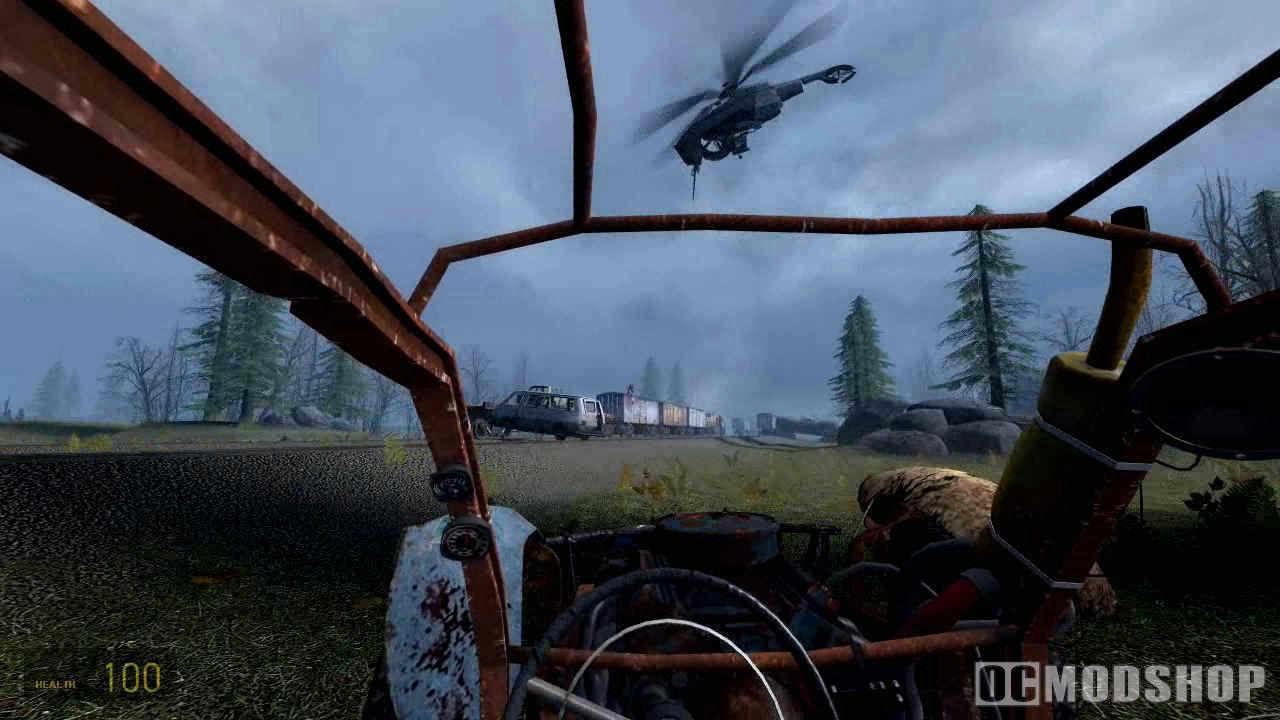
Proceed and there will be more bugs in the narrow tunnel, so use either the magnum or SMG for long range. Keep going and you’ll see a web cache above you. Zap it with the GG and then grab the grenade before it goes off, or get way out the way. Then send something up into this hole for another web cache.
Moving on, you eventually find a hole that drops you back into the mine. Don’t you dare walk onto the wooden floor for those boxes. Use the GG to bring them to you, or walk on and see what happens (you won’t die).
When you start busting the boards that cover the door, the zombies will wake up. Just use the pistol from your side of the fence to take them out; with headshots of course. Use the GG to open the door and collect the stuff in here. Then pick up the gas tanks and start sending them into the corpses in the next room. Those hyper-zombies will wake, so either blow them away or use one magnum round to the face.
In this room you encounter another puzzle, or perhaps the first true puzzle. You need to get that elevator to go down, but you’re not heavy enough. All you need is the bundle of metal beams and the two barrels in the corner. Grab all three with the GG, set them on the lift, and you step on. As you descend, look to the back to pass by an ammo crate and try to grab it; if you don’t, don’t worry about it.
At the bottom, step off and have the GG ready. When you go around the corner you will find a zombie on the left and right, and a Zombine behind the fence. Use barrels or magnum rounds to kill them. This Zombine, and the one behind the fence in the next room should both kill themselves with grenades.
In the next room you will find another lift. The control is behind the fence. The idea here is to weigh down the lift just enough so that it stalls after you press the button. Go pick up the two bundles of beams below the lift, which you can get while the lift is down, and then grab the one in the corner. These three items will be enough. Now go press the button, then jump on the lift, and then toss two of the bundles off. Leave one with you.
At the top the group of zombies will rise. Use the GG and this one bundle to take them out. Then go turn the wheel by the fence to let your friend in. Lead him to the generator to open the gate.
Through the gate you run into a cart with three crates tide down. You can’t disturb the second cart or the whole thing will tumble over. Use the GG to pull the free one off and then get ready. What you will do is jump on the second cart, use the GG to blast the three crates open, and then you hop off before you go over the edge. You will jump from the first cart to the second one, and you not going over the edge is the first priority. He will give you props if you pull it off.
Now move down the tunnel for one lone zombie. Then you run into some boards blocking the way. You can shoot at the cart at the top of the slope to come crashing down, or your friend will do that for you. Either way, get through and start killing the zombies and Acidlions in the tunnel.
At the top is a ladder, so take it. Follow the path and you find an odd container in a room. This container can be pushed using the GG. Move it out of the way of the hole in the floor, and if you want you can shoot its bottom until it flips over and drops some grenades, just watch out for the live one. Then drop through the hole.
I’m not even going to say anything because you need to experience this scare for all it’s worth. I’ll pick you up after you climb out of the hole.
Did it get ya? I hope so. After you are reunited with the Vort, all you have to do is go up a bit and then turn left. But if you need more suit armor, use the sprint button (LB on 360) to find some at the top of the slope, then come back and get on track.
Go to the edge and follow it left to find the bridge-way. Cross it and then follow the tunnel. When you get close to the pounding machine, just jump down and get right next to it. Just stay there and wait for the Vort to show up, but have your shotgun ready for the zombies and Zombine. All heck will break loose, so be ready. You can try to use the GG and send exploding barrels all over, but it doesn’t work so well. Let the bugs and zombies and the Vort kill each other as you just look out for yourself.
There is a lot to do in this area. For one, there are tons of crates all over. Find the ladders around the pounder and you will have the view of the crates and items up high, not just on this structure but also on the other one nearby. It is wise to send all the crates, from the structures and from the four tunnel-ways, send all the crates into the ramp leading to the elevator. This is all in preparation of the coming fight. Then set the mines around the pounder.

*NOTE: Save now! I ran into a glitch here. What you don’t want to see is the Vort run into one of the buildings when this next battle starts. If he does he will not come out for some reason. He must stay in the open. After you get on the lift, he should get on the other. If that doesn’t happen, reload this save.*
When ready, go push the green button by the elevator. This will trigger a huge battle where undead and bugs will come from all sides. Just use the SMG and make circles around the ramp for as long as you can. If things get too hot around you, just bail out and start running all over, but always come back to the ramp. When the elevator arrives, jump on. He will stay behind, so just watch him and maybe help him if you wish. When you get to the top, step off and look down to wait for him to hop on the other lift.
Once the two of you are back together, he will open the next gate. Follow the path and move the debris blocking the door. On the other side you are teased with the thought of fighting the boss, but not yet. Go up the path and drop down a hole. At the fence, use the GG to blast some boards on the other side that prop up the gate.
In the rail tunnel, go left if you need some SMG ammo. Go right and bust a board to open the gate to keep moving. At the elevator, go around it to find the path to the tunnel below. Stand back of the edge a bit, then sprint and jump to the other side below. The fan will turn on when you bust the object. Try to fight the wind and then the thing will break. You will notice one set of blades is missing. Use the GG to turn the fan and get the area with the missing blades on the bottom. Then crawl under.
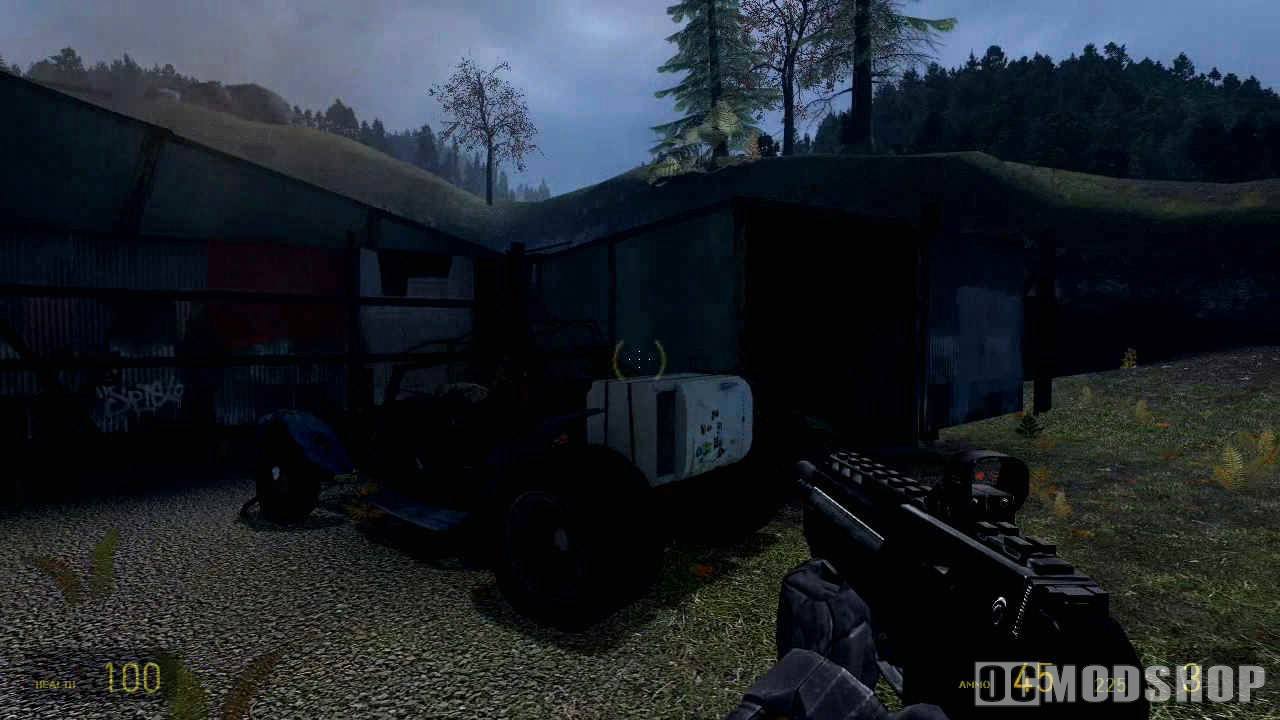
Follow the path to a hole in the floor. Take it and keep popping the webs until you fall into water. Behind you is a single unit of suit armor, as well as a Barnacle. Get your crowbar in hand and go under water, find the web at the bottom, bust it, go through, bust the next one, and the get some air on the other side. Turn around, avoid the tongues, and find a space you can walk on. Take the tunnel on the wall, a much different tunnel.
At the end will be two Acidlions to greet you. Take the path on the right to run into a medkit, and then go right at the fork in the road (if you go left you just circle back around to where you started).
Have your SMG in hand, and when you’re ready drop off the ledge. Move around the rock to get a view of the coming guardian. You don’t have to shoot him, but if you do you can use the grenade on the SMG to stall him a bit. What you want him to do is ram into the stalagtite (or mite, whatever) and that will stun him for a second. That is when you sprint around him until you find a small tunnel to climb in. Do it right and he will run away in frustration once you’re in.
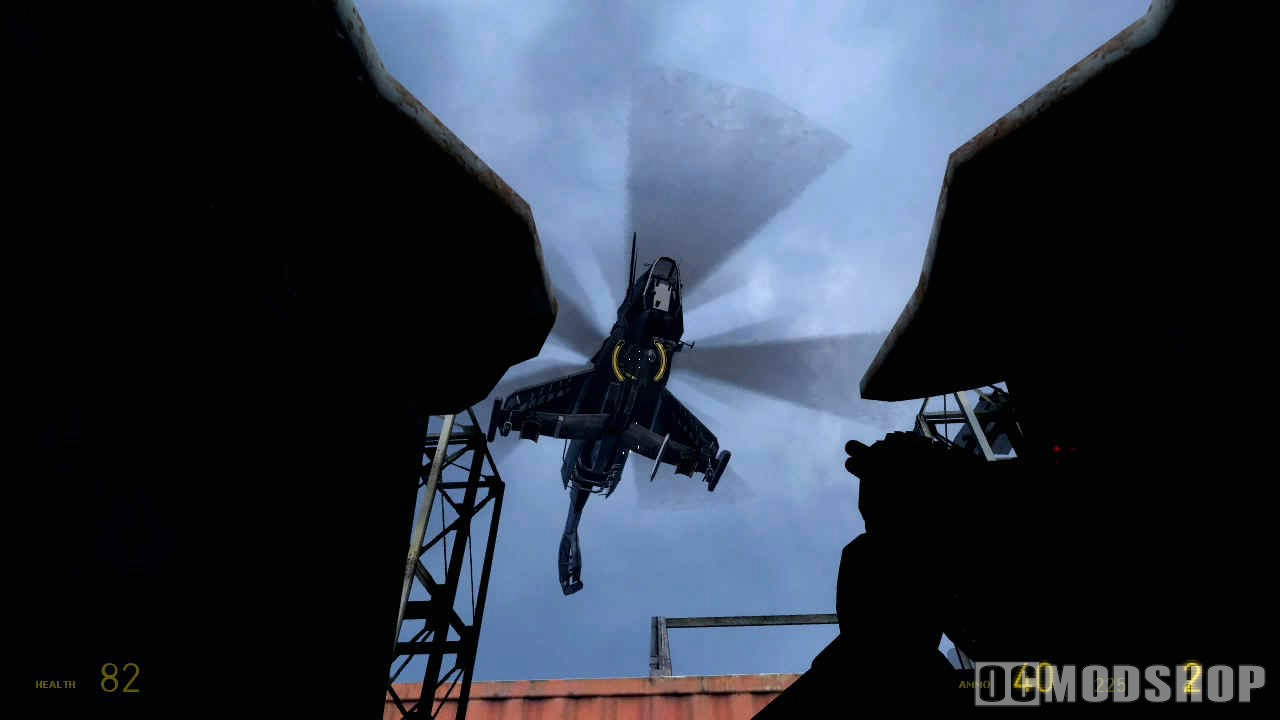
Crawl through and watch him go by you at the end. Go out and head left. When you see a medkit, quickly run to the left of it and duck inside another small tunnel. Follow this tunnel to the end. Crack the web and watch him run by you yet again.
Come out and run right to pick up some suit armor as you run for another tunnel. Follow this one to its end.
Now, before you go out of this tunnel you must know the gameplan. The path here goes in a circle. He is behind the rock and he will come from the right when you step out. So what you want to do is run left and then take the path that leads to where he came from; if you to in the opposite direction you just end up at the place you came from. Now he may come from the left, so in either case just go the opposite direction. You will have to sprint for a long ways (he may get a swipe at you) but there will be a tunnel to hide in.
You’re not done yet, this tunnel leads nowhere. You have to come back out and run to the left until you hop down, then immediately go right to find another tunnel. Follow this one to its end.
Have either the GG or the SMG in hand. When you emerge, sprint to the left until you reach some boards against a hole in the wall. Bust them quickly and hop in. He will be on your tail and take some shots at you while you’re in here. So look quickly look down and bust some boards on the ground to get to safety.
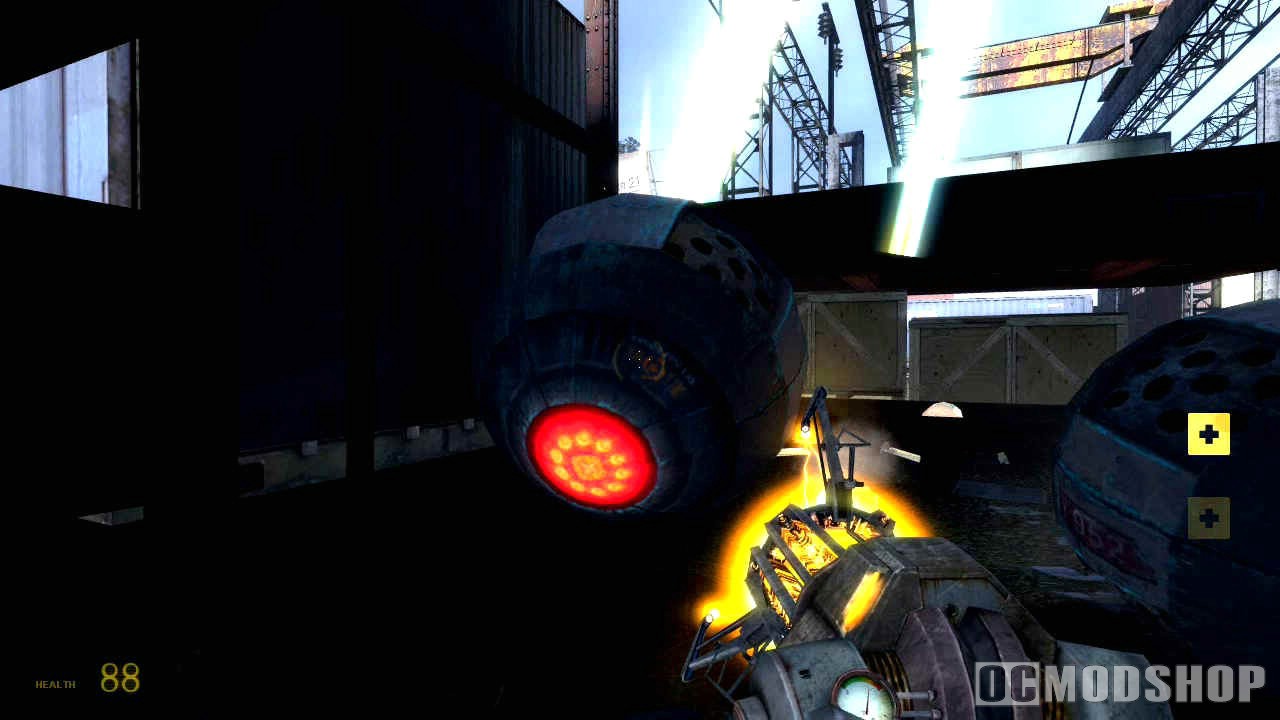
Follow the rail to a large room. On the right you will find two web caches, and one will have a poison headcrab. The lift will not be working, so go directly in front of it to find a machine in a pool of water. Pull the cog off that machine and take it to the turning cogs on the elevator machine. Either kill the Barnacle in your way, or move the cog around it and get it to fit in the middle of the machine. When the all the cogs are turning, pull the lever. Now go to the elevator and push the green button to bring down your friend.
Follow him to a generator and then to the prize. He will extract some larvae and then you guys head back up.
Get into place in the circle of Vorts as you heal Alyx. Then you get another one of those classic scenes from Valve that makes little sense. After, be sure to get full ammo from both crates and then get on the elevator. Move along to find that the Antlions are none too happy with you. Keep moving and drop down to end this chapter.



3 comments
To get the boxes from the high platform throw rocks at it with the CG.
again great walkthrough, one hint for you though if you havent already figured it out. The last radar cashe on the sling hanging off the cliff. Just throw the rocks, simple, sometimes the solutions are right in front of you but these are the hardest to find because you're looking for someting complicated. That's why I love these walkthroughs. thanks again
Excellent walkthrough! I really try not to use them but somtimes you just gutta. Most walks are full of errors and misleading but this one is great. Not too much info just enough to keep you moving. Thanks
Comments are closed.