

Go up to finally reach open air. Zoom in to the bridge to see the Combine on the move. Then move around the barrels on the left to find the path leading down. Go left to hit the open path full of pounders. You need to run along the first three pounders to avoid the endless Antlions. There are crates along the way, but they only have health. When you reach the third one, rest inside a small shack on the right that will protect you from the acid.
When you leave the safety of the third pounder, get out the GG as you approach the rails in the ground. At both ends will emerge big Antlion Guards. With the Gravity Gun, pick up the red barrels and start tossing them, but try to focus on just one. The sprint button will be your friend during this fight. You need to run all over, but try to lead the guards into walls. If they charge at you, get by a wall, and then run out of the way when they get close. When stunned you have a little bit of time to hit them. You don’t have time for grenades, but be sure to use any you may have in the SMG (the alt fire, press LT). You can ignore the smaller bugs, just focus on one guard. When the first one goes down, then go for the other with the shotgun/magnum.
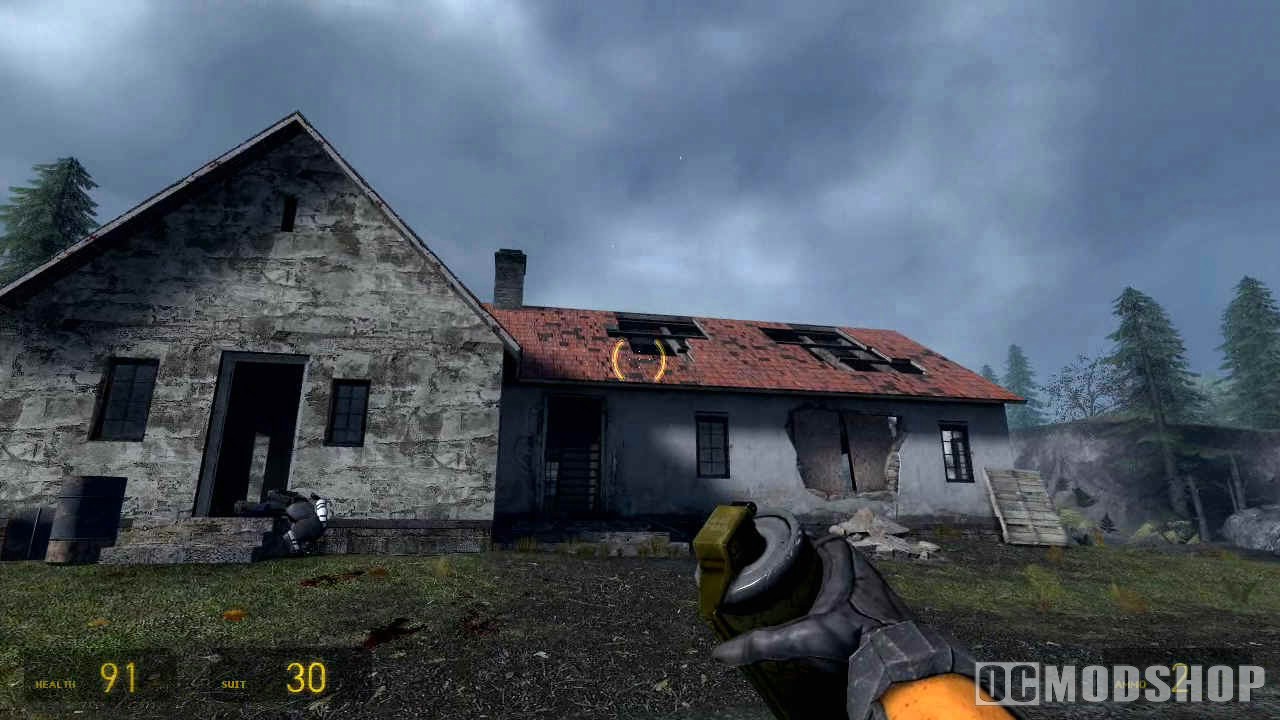
*NOTE: You can go back into the pounder area for more barrels if you want.*
After Alyx and the Vort rejoin you, he will open the lift nearby, but it gets stuck. Climb up the ladder and then take the grassy path on the right side. Watch out for the headcrab. Go around the pod and gently move onto the wooden board so that it will fall away. Then you must jump the gap to reach the other planks. When you get close, look on top of the elevator to the wooden board holding the hatch. Use the GG to break that piece of wood, then knock off the metal hatch, and then drop down. Pull out the pickaxe and you’re done. Press the button to get everyone up. Then follow the path to a load point.
Proceed until you find the Pulse-Rifle with a bunch of health and dead guys. Soon you get a bit of a scene about your next task. Move to the force-field and wait for Alyx to open it. Go through and find a room with a large water tank. Move the green shelf, carts, and wooden boards blocking the elevator shaft, then hop down. Crouch, turn on your flashlight, and move the objects in your way. Then bust the wooden boards and hop down.
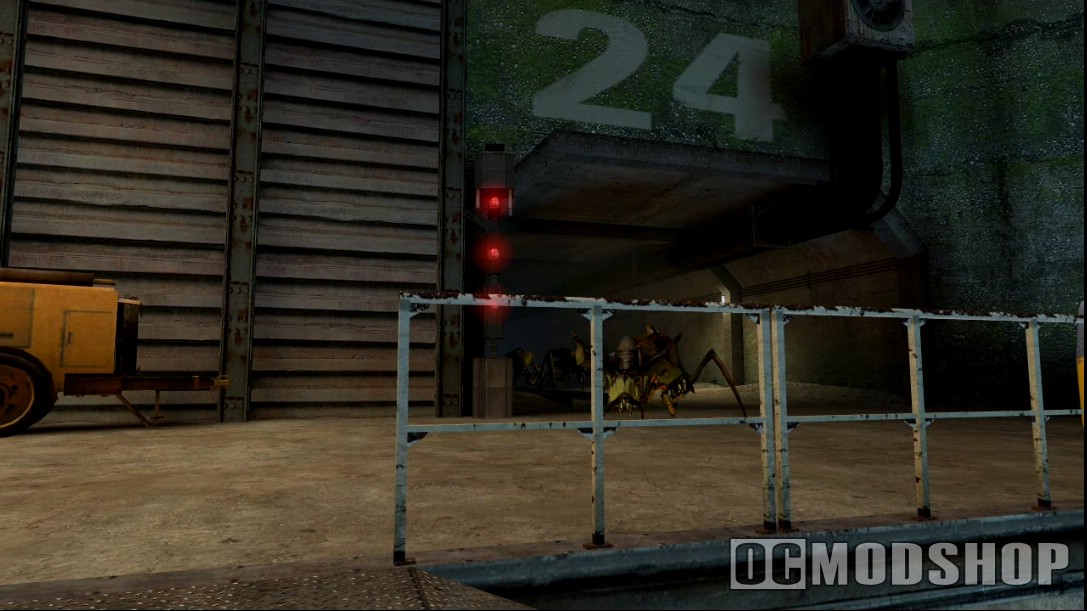
You probably hear that creepy noise. Crawl through the hole into the dark room. When you move the chair from the door, the big zombie will bust through. You should crawl back out of the room and drop a grenade behind you (press LT on 360). The thing will crash through the wall to get to you, so maybe toss it another frag, then finish it off with the shotgun.
Go through and bust the planks on the floor to get down another level. Look on top of the elevator and get the hatch off. Jump to the other side of the elevator (not down) and look down to see two poison headcrabs. Shoot them before dropping down. Go through the door in here to enter a staircase where you find that Alyx has the sniper rifle working. Go down and through the door at the bottom.
In the next room, look down and quickly use the GG to grab the two crates or else Barnacles will claim them. Then drop down and pick up a barrel. Behind you will be a bunch of tongues in front of a doorway. Put the barrel in one tongue and slip by. Then break the boards blocking the path to see more tongues in your way. You should pick up one of the gas tanks in here and send it up to the Barnacles, but make sure you stand back. Cross the big plank in the middle to get over the gap.
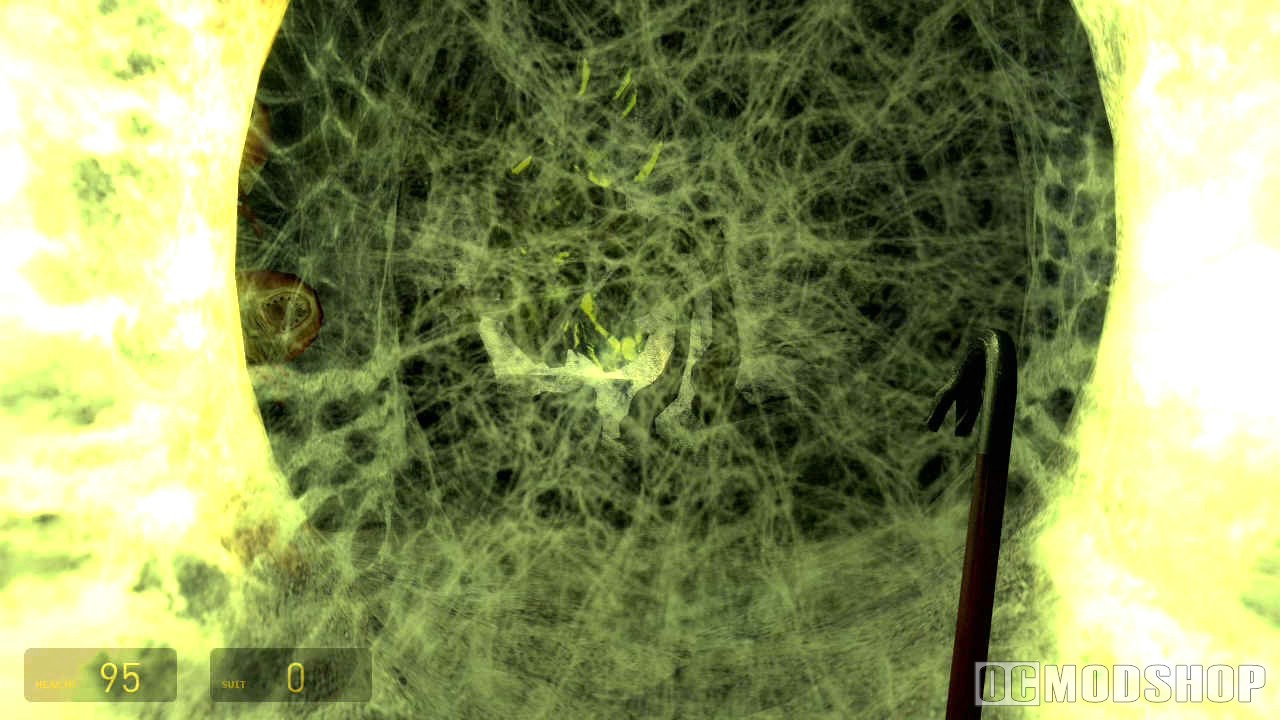
Watch as the torso zombie gets burned in the fire, then maybe wait for another to so the same. Turn the valve to extinguish the flames. Go across and look down the steps to see another zombie. Just toss down a grenade. If you want, you don’t have to, but you can open the door he was banging on to find a room full of undead and crates. Be sure to toss in a grenade first and use the shotgun to mop up the survivors. Then go down the steps.
You can investigate the rumbling in the blue container; it’s a fast zombie if you get too close. Break the lock on the door and go through. Let Alyx handle the zombies in this corridor. Crawl through a space at the end. When you emerge, quickly toss a grenade down the steps, then back out of the line-of- sight of the carrier zombie at the bottom. Alyx will handle all of them if you just want to hide in the corner, or go back through the crawlspace.
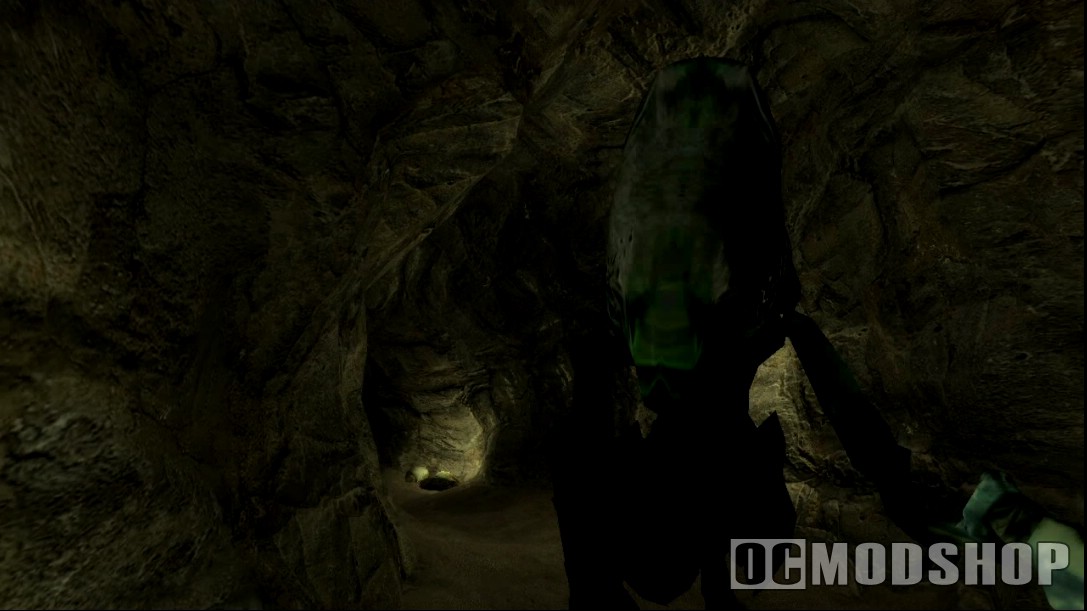
When the coast is clear, go down the steps to find a locked door. Back away from it and hide behind the fence in front of the door and get your shotgun ready for the zombies that emerge. Alyx will handle what gets up the steps, but you can use the gas tanks to help. Then go through the doorway.
Go down the hallway and as soon as you turn the corner blast the second barrel to take out the zombies and Barnacles. Ignore the other barrel and mop up any remaining headcrabs. When you moved toward the boarded up doorway, have the shotgun ready for a Zombine. Don’t miss the shotgun shells in a crate behind the pipes, then proceed up the steps.
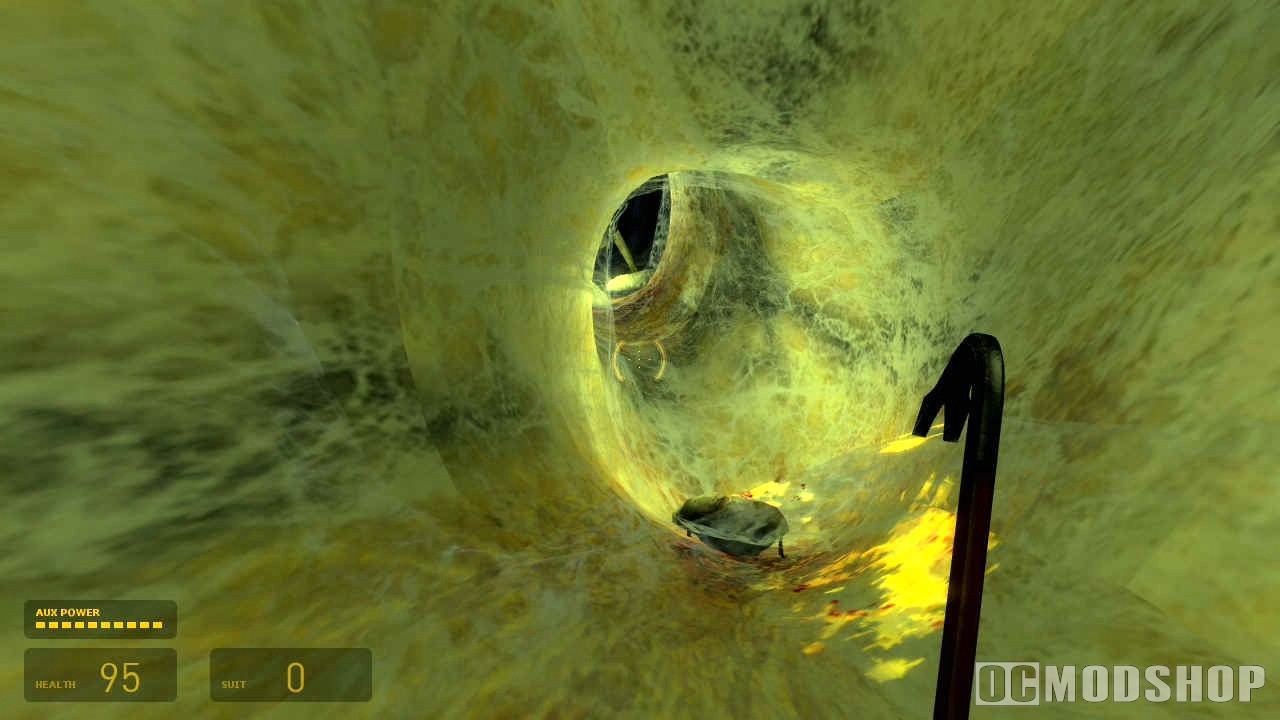
Go right to find just some rifle ammo. Then follow the path up a ladder. Use the GG to blast the metal pieces covering the tops of the roof. Don’t fall down through a hole, just make the roof clear so that Alyx can snipe some of the undead below.
Have your shotgun ready and drop down onto the platform standing above the ground. Defend this for as long as possible from the zombies that will try to smash it down. When it does crash and you’re on the ground, all heck breaks loose. You will have zombies all over in no time. But use the saw blades on the walls to help ease the trouble.
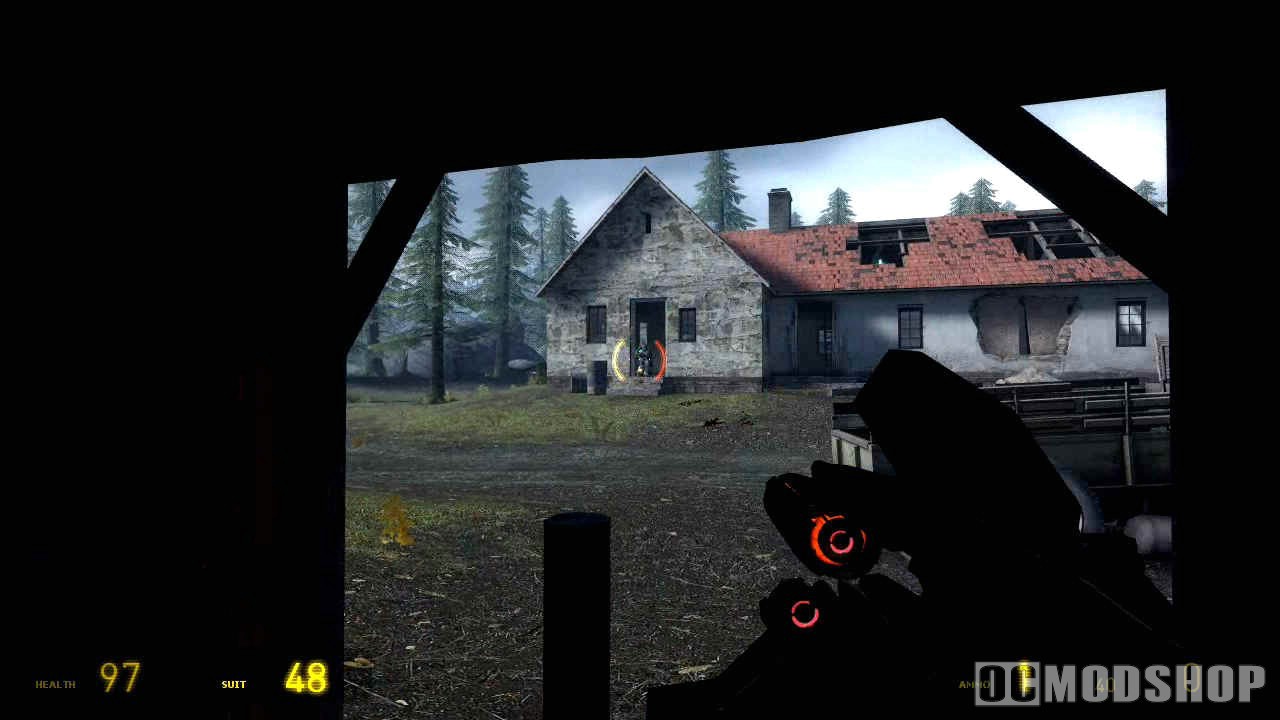
After the first wave the game should save, but then you get another wave. A huge group will crash through the wall on one side, and more will come from the other side. Drop some grenades, slice the Zombines, and just run around in circles hoping Alyx has you covered. Use the shotgun to finish up.
When all is calm, search for crates and supplies. The fence trapping one zombie has a crate, but you just need the GG to pull the crate over the fence. Then follow the path from the broken wall to find the trail.
You arrive in a dark storage room. Crawl under the shelves on the right to find a crawlspace. You run into a fast torso at the end, and then another around the corner. Hop up on the wooden platform and keep hopping along to get to the other side of the room. In this closed off area you need to get up to the top platform on the wall, but no shelves will take you there. Use the GG to bring a crate and set it on the lift of the forklift. Then go toward the driver seat and pull the lever. Quickly get on the lift as it goes up. Then put the crate on the side of the lift near the top platform and jump up. Break the vent cover and crawl through.
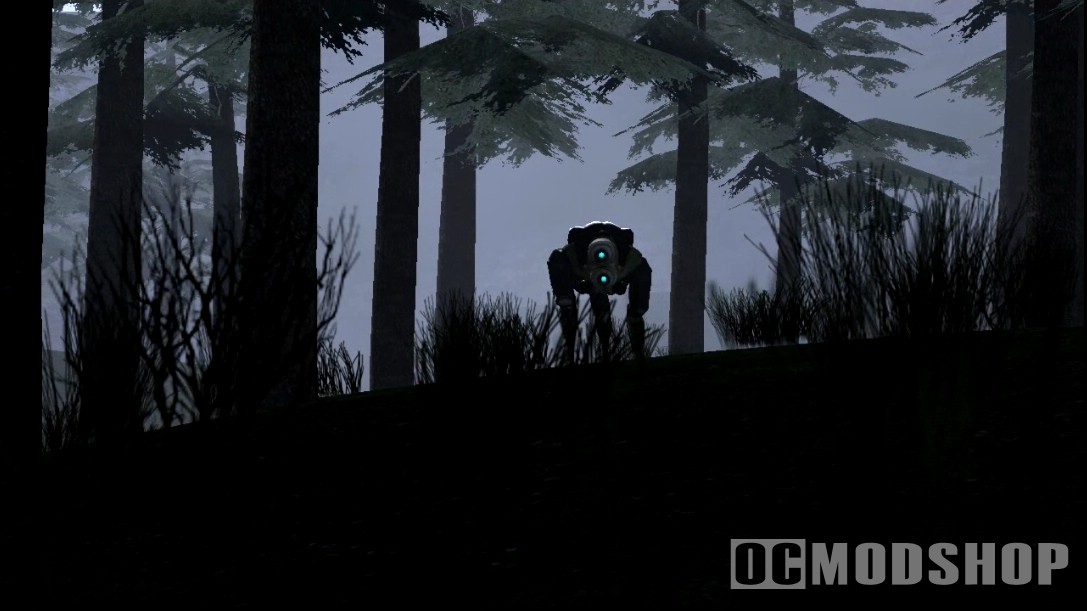
At the end you drop down in the radioactive waste area. Drop down through a hole to hit the ground level. Watch out for all the zombies in the sludge. You can jump from ground to ground without the aid of the objects. Hop over, be sure to kill the Zombine when he rises, and then follow the edge around the pool to get through the opening in the fence. Use the barrels to kill the zombies that attack you behind the fence, then climb up the ladder. Stock up on SMG ammo at the box. You will find a crate behind a fence, so just pull it over the top with the GG as before. Then crawl under the pipes to drop down on the other side.
Have your magnum ready when you move toward the next waste pool. A headcrab carrying zombie will appear, so take him out quickly and dodge the headcrabs he tosses. Jump to the wooden roll in the waste to reach to pipes that lead up to a crate. Bust the crate and then jump down to the ground with the other crate, then pull whatever fell out of the first crate with the GG.
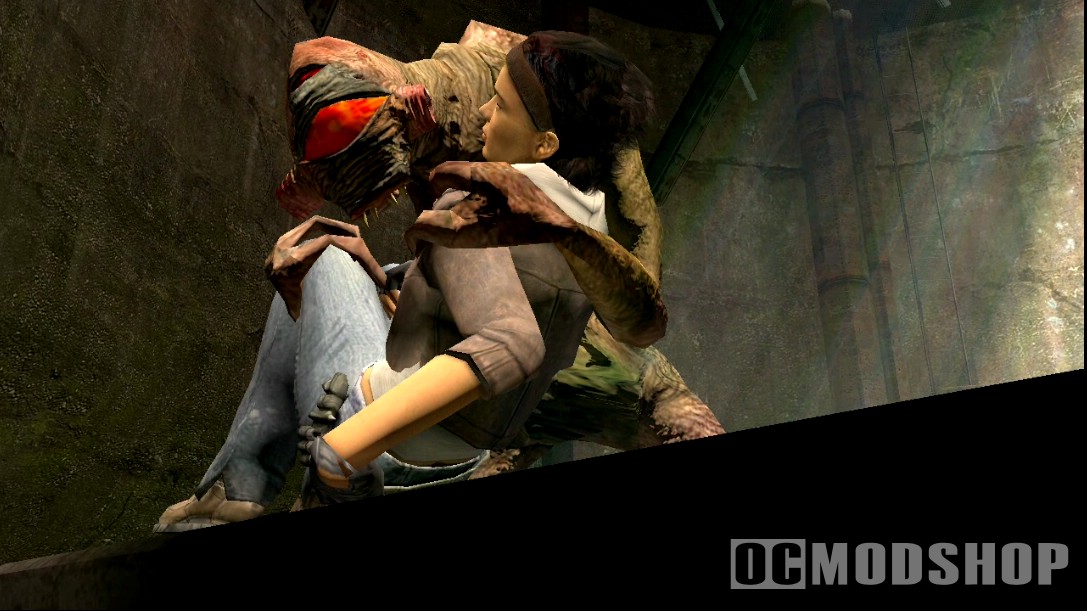
Now comes another fun radioactive waste puzzle. The object is to use the rolls throughout to make yourself “bridges” to safe ground. Pull the roll across the waste to you, and bring the one from the waste behind you. First jump on the car and to the first rock, then jump onto the second rock. When you jump on the next car it will begin to sink into the waste. You can either quickly pull the roll from the third rock into the waste to create a platform, or you can jump back and use all three rolls to make a moving bridge, but using the car is easier.
When you reach the third rock you need to quickly pull out your shotgun and start shooting the gas tanks in the sludge. Whatever you do, don’t let the Zombine get close with a grenade. When all are dead, use the four rolls you have to get to the fourth rock. Once you get there, pull out the shotgun for more zombie fun, but Alyx should get all three.
Make your way to the fifth rock where the last trio of zombies will attack, so use the gas tanks to kill them. Pull the crate for the sixth rock way away to you with the GG and then get over to the ladder. Head up and up until you find a small shack. Go inside, but be ready for the fast zombie in here to wake up and the Zombine outside to awake. Kill both and claim the rewards in the room. On top of a ladder on the adjacent building is a crate with some health.
Go up the slope to reach the bridge at long last. When you get to the car, disaster strikes of course. Go to the left to find a crate, but also on this small walkway is a ladder. Get on top of the red railing to find a path back onto the middle of the bridge. It took a while, but the trick is to push all the cars off the bridge. This will cause the thing to tip down to the side where your car waits. When you get all the cars off, hop off the low end of the bridge and get back up to your car. Drive it onto the see-saw bridge and jump off the high end (you don’t need to turbo, but you can).
When back on the side with your friends, collect the stuff around (look in the dumpster) and then climb a ladder to find the button that unlocks the door. Reunite and say your goodbyes to your Vort friend. After he opens the gate, hop in your ride and get going toward the light.



3 comments
To get the boxes from the high platform throw rocks at it with the CG.
again great walkthrough, one hint for you though if you havent already figured it out. The last radar cashe on the sling hanging off the cliff. Just throw the rocks, simple, sometimes the solutions are right in front of you but these are the hardest to find because you're looking for someting complicated. That's why I love these walkthroughs. thanks again
Excellent walkthrough! I really try not to use them but somtimes you just gutta. Most walks are full of errors and misleading but this one is great. Not too much info just enough to keep you moving. Thanks
Comments are closed.