

Move through when told and you can stop to listen to some funny stuff with the teacher and students in here. Move along to have the family reunion, so sit back and watch and be awkward a bit. Follow them down a lift to have more of the active cutscene. In the silo you will eventually be stuck with the new guy. He opens a hatch, so go down.
Take the elevator to the lower level. Get out and find a pipe spewing steam. Turn the valve to get through (steam, valve, get it?). At the door, look right and bust the glass and throw the switch. The door will jam, but the Vort will let you through. So keep going.
Make a quick stop of the supply area on the left and then proceed. Follow the red lights to some guys that will try to lead you on, but that doesn’t work out so well. Go down the steps near the door that closes, turn around, crouch, and crawl under the steps to find a path.
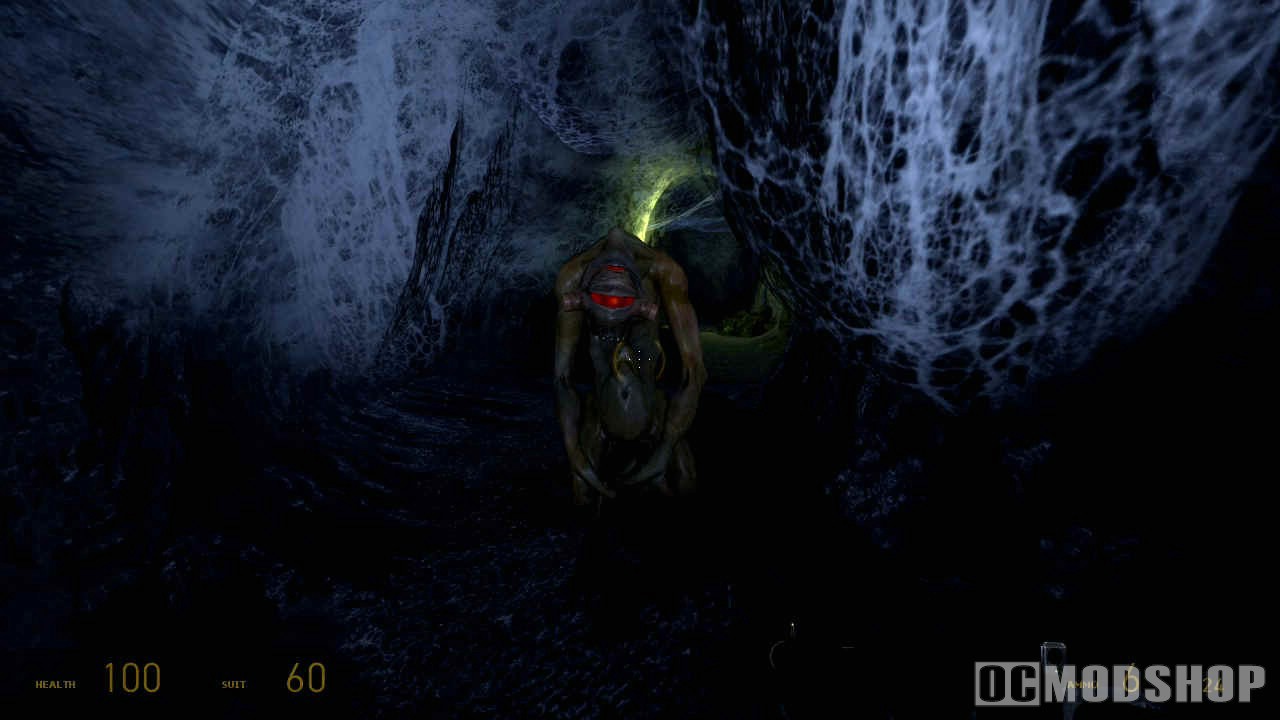
Crawl until you reach a room with three Hunters fighting some allies. Use the energy ball in your rifle to kill two of them, or at least one, and then finish off the other however (there are lots of gas tanks in here). The crates only have medkits, so get to the upper catwalks and find a ladder leading up. Turn the valve to clear the steam on the ladder.
When you move down the corridor, back up as the flare is thrown and let the soldier come to you. Poke around the corner and let the other two charge after you, but then retreat a bit and blast them with your SMG. Then get out your GG to grab and toss the turret. Go straight down this hall and kill the two soldiers near the water.
Get out your crossbow as you come into this room and start sniping the soldiers at the other end. Then hug the left wall and knock over the turret on the platform, but it isn’t really looking at you. Use the GG to grab the two gas tanks across the way and launch them into the other turret guarding the other path. Go into the hall and kill the two soldiers up the slope.
When you get to the top you run into a Hunter. Use three SMG grenades if you have them and then a few bullets to kill it. Now go up and into the little area for some supplies. Follow the corridor and then look to the right beyond some debris, two soldiers will try to ambush you, so be ready. Enter the next room and go up the steps to hop over the fence. Collect the supplies and then dive into the water.
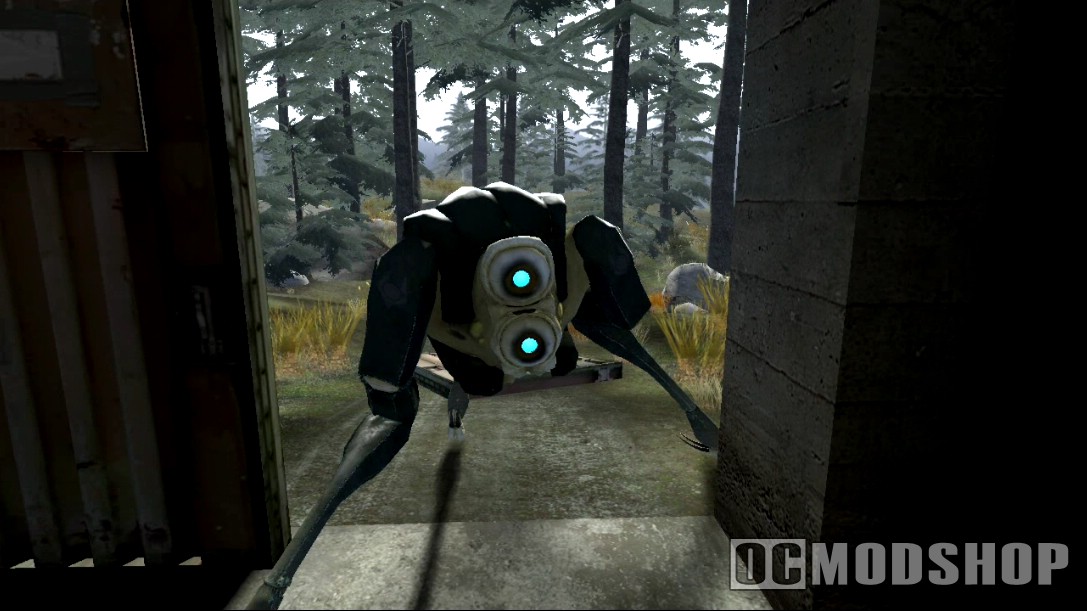
Swim through and hop out while under fire on the other side (this is where the guys came from that ambushed you). Emerge quickly and get to cover. Climb up the ladder and then the next. You will be under fire, so quickly get rid of the bad guys. Go around the walkway to the next ladder and go up. Don’t worry about nothing, just get to the top, kill a few bad guys, and head down the tunnel. Crack some crates under a staircase and be ready for some soldiers as you go up.
Wait for the manhacks to come down and kill them. Hide behind cover and toss some grenades across the gap and into the room. Then go right and crawl under some debris to get over there. Quickly crawl through the broken window and pull the lever to close the silo door. You can man the gun here and shoot the guys up top, but you don’t have to. When some bodies appear across the way on your level, don’t shoot, those are your friends.
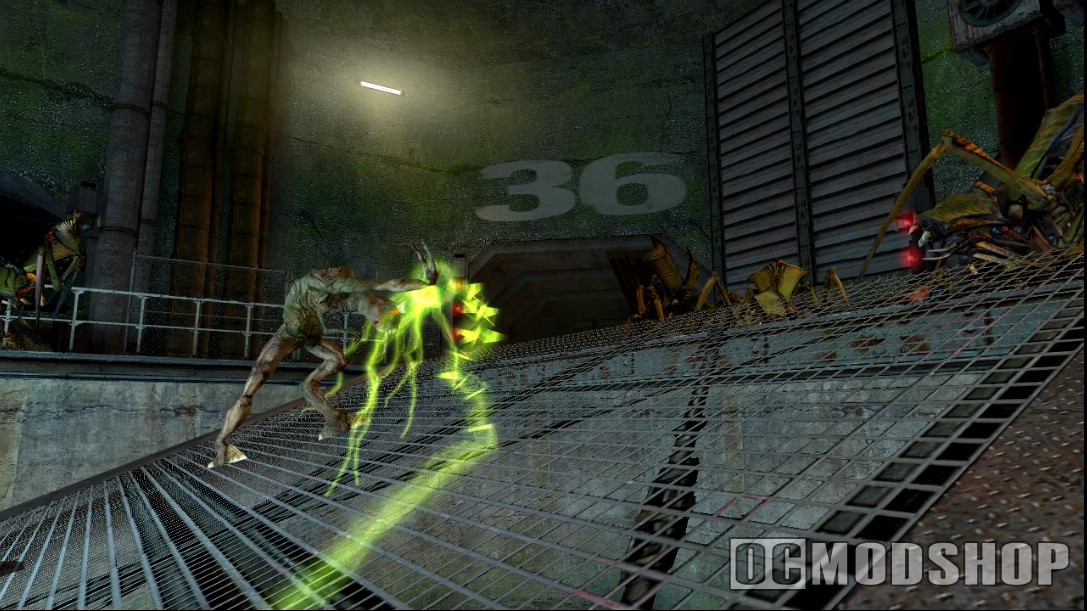
Collect the items here and around and then join them. Follow them up to the door and keep going. Well, after avoiding near disaster everyone seems pretty calm about all this.
Follow Alyx into the computer room where you learn quite a bit. Then follow Dr. M when he shows up. You learn of a new toy and you get to test it. I’ll shut up and let him guide you through the test. Don’t miss all the handgun ammo in the corner. Follow Dr. M when you’re ready.
In the garage you get briefed on the mods to your car. Make sure you have the items in this room and then hop in your ride. Go out and through the fence, then go straight until you find the railway. Follow it and go right when you to to a structure with some men gathered. Get out and go to the meeting.
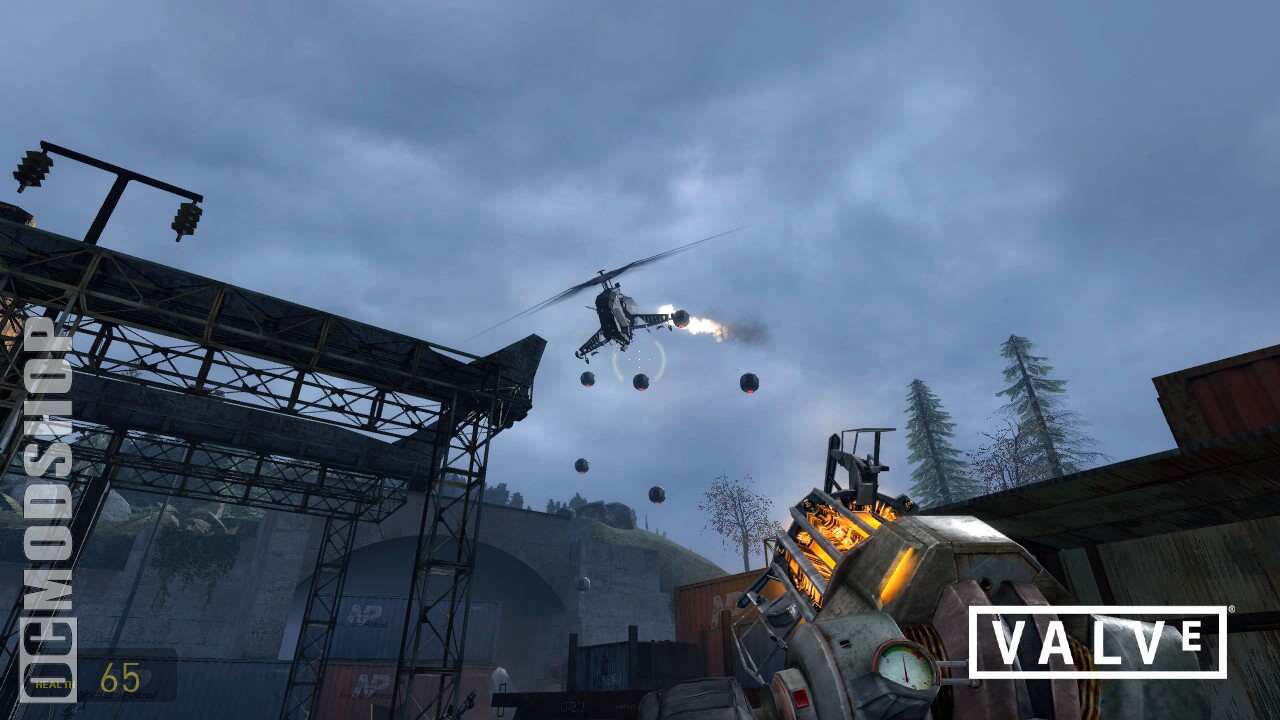
*NOTE: I think the only way to defend the buildings is to use the car and the bomb slot at the back to quickly get to the Striders as they appear. But if you just want to do this all on foot, you will probably fight most of the Striders near the gate to the base. It works that way, but if you want to drive around and get them quickly you can try. Make a save slot here if you want to try for that achievement.*
Soon after a Strider will approach from the left side of the rail. It will bring a Hunter with it, so focus on the Hunter first. When it is out, get a bomb from the capsule and send it to the body of the Strider and shoot the sticky bomb as you did in practice. If you let the fight go too long, the Strider will make its way down the rail, so just use the bombs provided in the building along the way. Stock up with supplies in this building.
Then go back to the saw mill where another Strider will come from the right. Again, kill the Hunter and then take out the Strider.
*NOTE: Always bring a bomb with you, and drop it somewhere as you fight the Hunters. After they are gone, you should have time to pick it back up to use on the Strider. If you carry it with you the whole time and try to attack the Strider’s front, you’ll lose that bomb.*
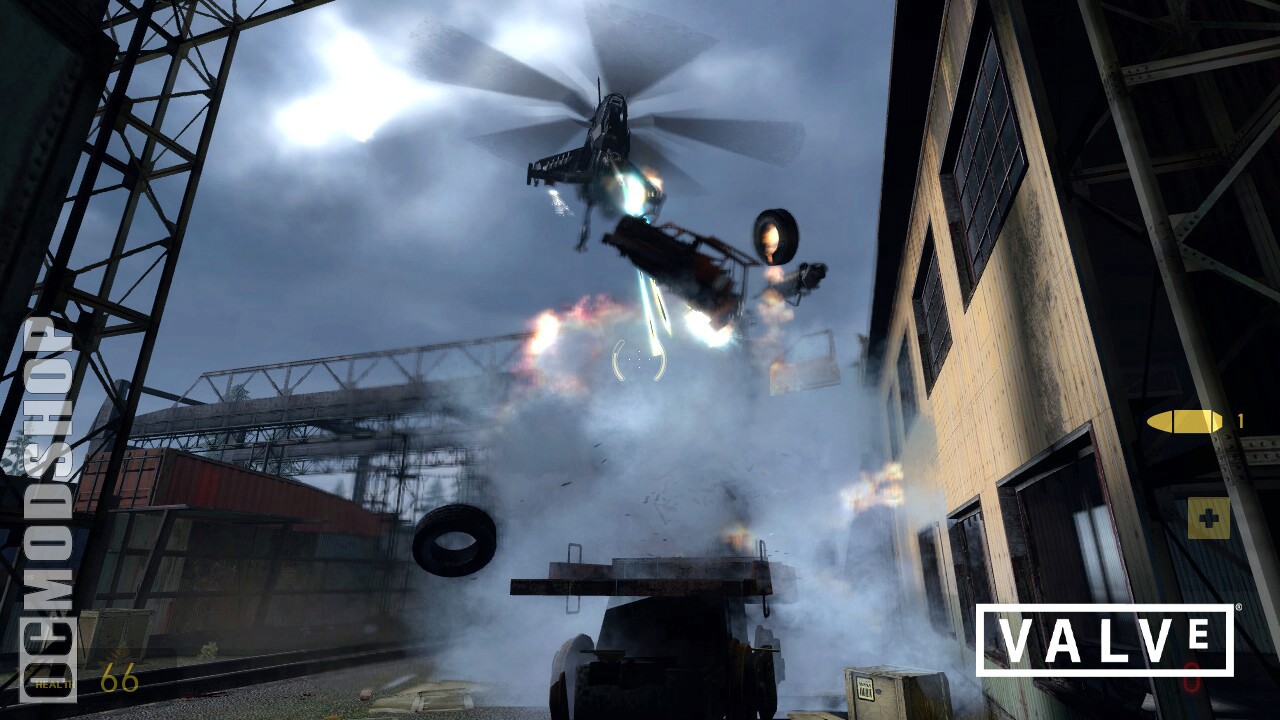
Then another will come from the far right side of the area, near the water tower (if you look in the right direction you should hear the footsteps). It will have two Hunters guarding it, so take them out and handle the big guy.
*NOTE: On one encounter I had used a bomb I had dropped in an area previously. You can try laying out some bombs during the calms, especially in areas where no pods are around.*
The next comes from the far left, and again with two Hunters.
The fifth one comes from the saw mill, which is probably not standing any more. This one has three Hunters at its feet, and hopefully you have some energy balls to help if you’ve visited a few of the buildings.
During that fight, another comes from the water tower area. Then the next comes from the cranes (far left). I believe the one from the water tower didn’t have any Hunters, but maybe they were taken out. Either way, handle the one from the water tower first, then take the one from the far left.
Then it’s back to the water tower. This one comes in fast, so intercept it along it’s route, which should be near the double-house area around the middle of the field. It will be ahead of its two Hunters, so take them on when they arrive.
After that, it seems like all is over, but there will be Dropships bringing in more. The first lands near the cranes, then the saw mill, and then the water tower. This is the big one, they are coming from all sides. Go after them in order. Go left and take on the Hunters escorting the crane Strider. You should use the bombs around the center area to take this one out, then not far from him should be the one from the saw mill. Handle both and during there will be two more dropped in the same locations these two came from. But you need to handle the one from the water tower.

By the time you even think about the one from the water tower, almost all of the Striders will converge on the center area. Some will have Hunters, a few won’t. Just take out as many Hunters as you can, but you need to focus on the big guys. Don’t forget that you can stop by the buildings to pick up supplies, but you probably won’t have time for that. Just handle the last three Striders and you’re done. Mop up the surviving Hunters and that’s it, base defended.
Return to the base, on foot if you wish, and go inside. You run into Alyx and she brings you up to speed.
========== Chapter 7: T-Minus One ==========
After the appreciation of Dr. M, Alyx takes you up to the control room for the launch. Soon you get the honors of pushing the big red button, so do it. Go outside when the doors open and have a little chat with Eli. Then go watch the results of your efforts.
Enter the building and just sit back and listen the rest of the way. And when you get to the last scene, don’t forget to look around so you don’t miss any of the action. End game.



3 comments
To get the boxes from the high platform throw rocks at it with the CG.
again great walkthrough, one hint for you though if you havent already figured it out. The last radar cashe on the sling hanging off the cliff. Just throw the rocks, simple, sometimes the solutions are right in front of you but these are the hardest to find because you're looking for someting complicated. That's why I love these walkthroughs. thanks again
Excellent walkthrough! I really try not to use them but somtimes you just gutta. Most walks are full of errors and misleading but this one is great. Not too much info just enough to keep you moving. Thanks
Comments are closed.