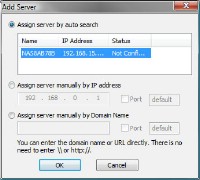
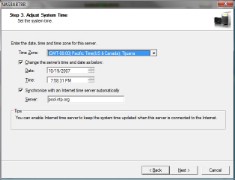
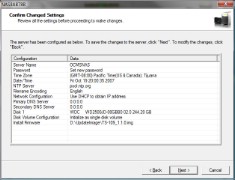
Getting the unit setup on your network is also rather simple. If your home network already has DHCP enabled, then all you have to do it plug up a network jack and run the included software on one of your PCs. The setup application can detect the QNAP NAS and runs you through a wizard to configure the unit. One of the first things the setup application does after establishing a connection is give you the option to synchronize time with the Internet.
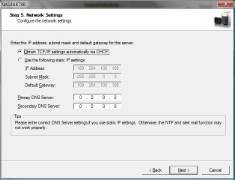
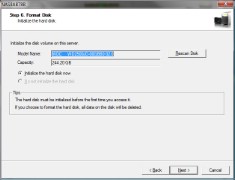
The wizard continues on, allowing you to change your passwords, configure your IP settings (which should be a piece of cake even for network n00bs). The next step to get your device ready is to format the enclosed drive. I was dismayed that I had to format my drive, as I had already slapped in a drive all ready with the common files I wanted on the network.
Once this is done then the unit can be seen on the network and is ready to serve files. The device now has shared folders to support the different functionality of the device. Here are the folders that are created:
- Public: Public network share
- Qdownload: Network share for Download Station
- Qmultimedia: Network share for Multimedia Station
- Qusb: Network share for data copy from USB ports
- Qweb: Network share for the Web Server
Being a Network Storage device is just the tip of the iceberg as far as the features are concerned. The QNAP TS-109 Pro has so many features that it can easily replace a dedicated home server, and all of these features are easy to configure with any web browser.
Dynamically expandable storage
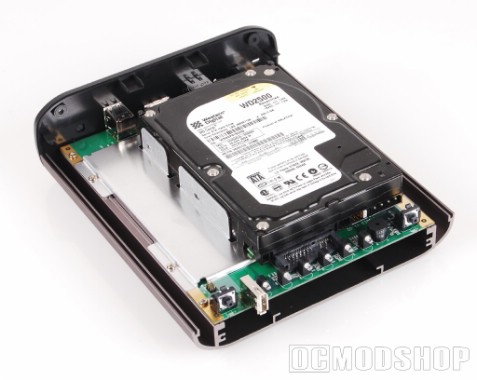
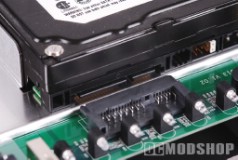
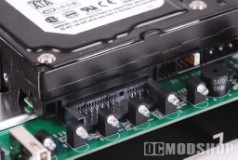
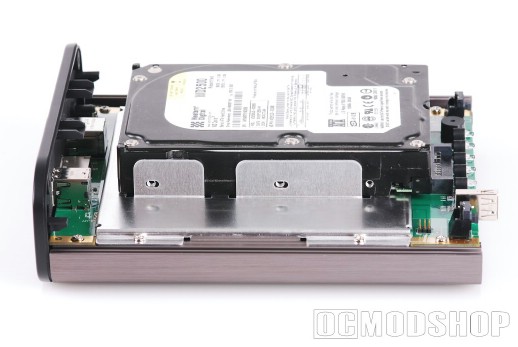
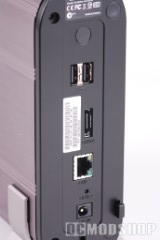
At first I was a little disappointed that this unit only had room for one drive. Then I discovered that the unit’s storage can be updated using eSATA or USB drives to expand the storage by up to three more drives (two on USB, and one on SATA). It is alot more efficient to attach an eSATA drive, however. Each additional externally-powered USB drive has its own power supply, each of which wastes power in converting AC to DC. Assuming 80% efficiency for each, then running two drives would only be 60% efficient (as you have 2 drives with 20% loss each). Running an eSATA drive runs off the same power as the NAS itself, thereby saving power. Just something to think about…
All of the features of the QNAP TS-109 NAS are configured using a standard web browser. Just type in the NAS IP address you’ve assigned to the unit and you’ll be prompted to enter a username and password (you DID set one up, right?). Once you’ve successfully logged in you can configure any and all of the server’s features.
USB Drive Support
The unit also supports USB disks and thumb drives for extended storage (and the Q-RAID 1 function). You can choose to use the USB disk as a network share from the TS-109, or configure the USB disk as a mirror of the SATA disk. You can also copy data from the front USB port to the NAS without any PC intervention by simply plugging in a thumb drive and pressing the COPY button.
If you have setup a mirror for data recovery and the main hard disk starts to fail, you can easily recover from the backup disk. If you have implemented the Q-RAID 1 feature (everything is mirrored to the external eSATA disk), then you can simply replace the main drive with the external drive for instant recovery.
Multimedia Station
Multimedia files like photos, MP3s, or videos can be shared and streamed from the device by enabling the Multimedia Station. You can enable the general Multimedia Station, and independantly enable an iTunes service and UPnP MediaServer.
The TS-109 Pro provides a user-friendly web management interface to manage and share personal albums and multimedia files through the network easily. It supports embedded iTunes Server music sharing, UPnP, and DLNA standards, so sharing your multimedia files should be a breeze no matter which services and programs you prefer to use.
Once your multimedia files are configured, you can setup a Web Interface to access all of these files through a standard web browser (or any device with a web browser like a cell phone, Nintendo Wii, Pocket PC, etc.). You can even make this website public so people outside your home can access them.
The TS-109 Pro has a built-in TwonkyMedia, DLNA (Digital Living Network Alliance) compatible UPnP (Universal Plug and Play) Media Server which will share media files with any DLNA compatible media device (such as the Xbox 360 and Playstation 3).
How to play music on the QNAP Turbo Station Wirelessly by Sony PSP
Since the TS-109 Pro has TwonkyMedia server, you can play music on your Sony PSP as well. PSP gamers can freely access the music on the NAS.
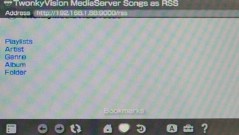
To configure this, just login to the administration page of the TS-109 Pro and open the “Network Settings > Media Station” page. Check the box that says “Enable UPnP Media Server” and enable the option under “UPnP Media Server”. You can now configure the Media Server on port 9000 (http:// qnapip:9000) and enter the TwonkyMedia Configuration.
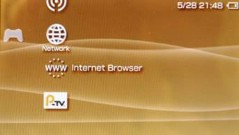
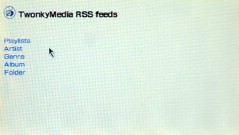
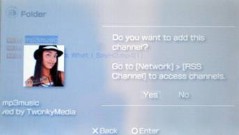
Then all you have to do is connect your PSP to your local wireless network. On the PSP home menu, go to the “Internet Browser” under the Network panel. Enter the address of your NAS (http:// qnapip:9000/rss). The TwonkyMedia server will serve up some “RSS feeds” with the music you want to listen to that can be easily browsed. You can listen to most popular formats on the PSP (MP3, MP4, ATRAC3plus, WAV, and WMA).
Download Station
The unit supports, BT, HTTP, and FTP download. You can add download tasks to the TS-109 and let the server finish downloading (independantly of your PC). This can be very helpful if you are downloading large files like Torrents or multi-gigabyte files from services like EasyNews or other newsgroup services. You could login to the unit from your work PC (through the internet) and start downloading files to home. This can be a great way to maximize cable’s unused bandwidth during the day while everyone is at work.
You can add torrents (yes there are some websites that provide legal torrents) to the Download Station window, and the unit will automatically download them to the Qdownload network share. You can also setup an FTP or HTTP download mask with login information and start downloading. You can easily change the download priority, pause or delete a download task depending on your needs. All downloaded files are written to the Qdownload share of the TS-109 Pro.