The main screen of the BIOS is pretty similar to that of most motherboards. The main screen gives you the ability to set the time/date, legacy disk A, language, and IDE configuration. There are a lot of onboard options with this motherboard so there are a lot of options in the BIOS. Within this section you can enable/disable the onboard audio, firewire, LAN, WiFi, IDE RAID, SATA, serial port, parallel port, and game port.
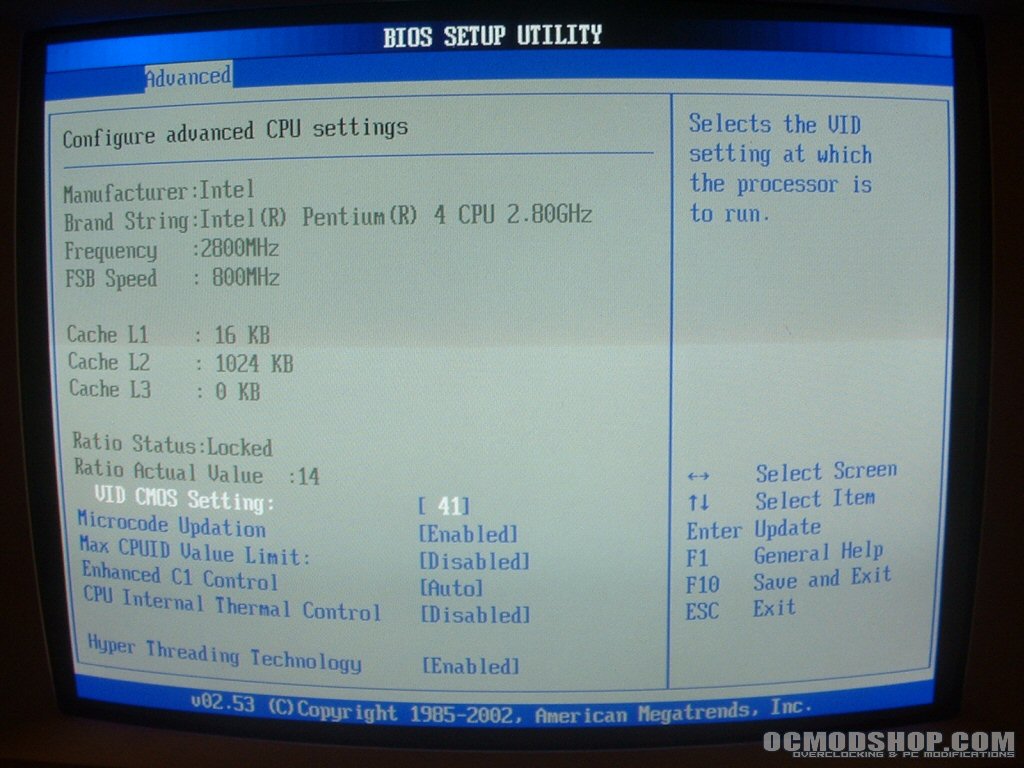
If you have a Pentium 4 that happens to be an engineering sample you will be happy to know that Asus has made it easy for you to change the multiplier. For this review I am using a retail 2.8GHz Pentium 4 which is of course locked but I did have the chance to test this motherboard with a 3.6GHz engineering sample and successfully changed the multiplier up and down.


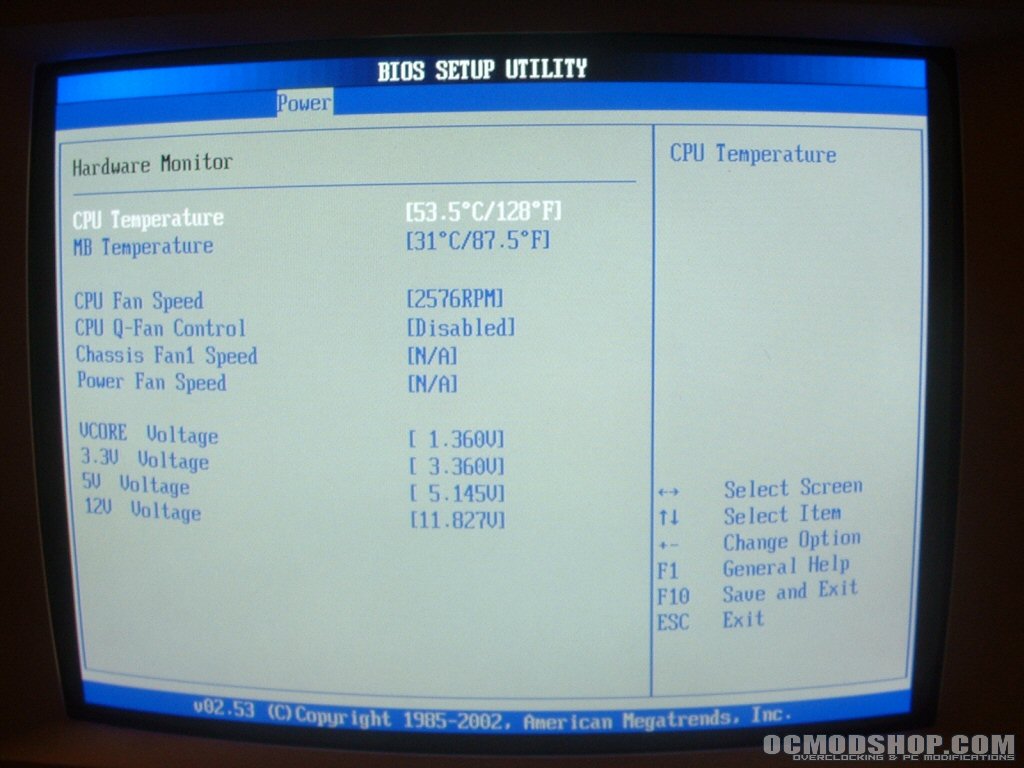
One thing you should be aware of in this section is the CPU Internal Thermal Control, if you leave this set to auto and your CPU starts getting too hot the motherboard will throttle down the processor speed to reduce the heat. I disabled this function since I didn’t want anything changing the speed of the CPU but me. However if you do disable this setting be sure to monitor the temperature of your processor cause they can get hot. The hardware monitor section is where you can find your temperatures, fan speeds, and voltages. Like I said the processor can get pretty hot with retail cooling.
The advanced chipset settings menu allows you to change all of the timings for your DDRII. Rather than having a screenshot for each setting I will just go over the ranges you can choose from. DRAM CAS# latency ranges: 3-5, DRAM RAS Precharge: 2-5, DRAM RAS# to CAS# Delay: 2-5, DRAM RAS# to Precharge: 1-15, DRAM Write Recovery Time: 2-5.
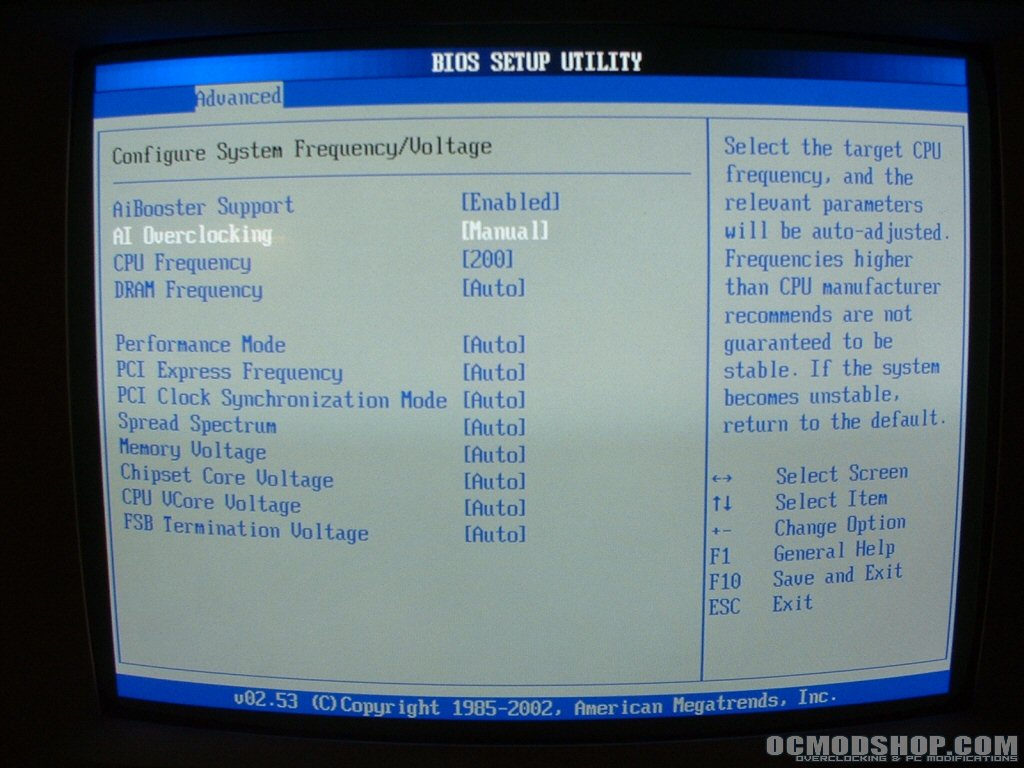
From this screen you are also able to set your PCI Express Graphics (PEG) options. The DDR frequency is set by the dividers built into the motherboard so you are not forced to run at 1:1. From this section you can also change the voltages which are as follows. Memory: 1.80v-2.10v, chipset: 1.5v-1.6v, CPU core: 1.5v-1.7v, and FSB termination voltage: 1.2v-1.4v.

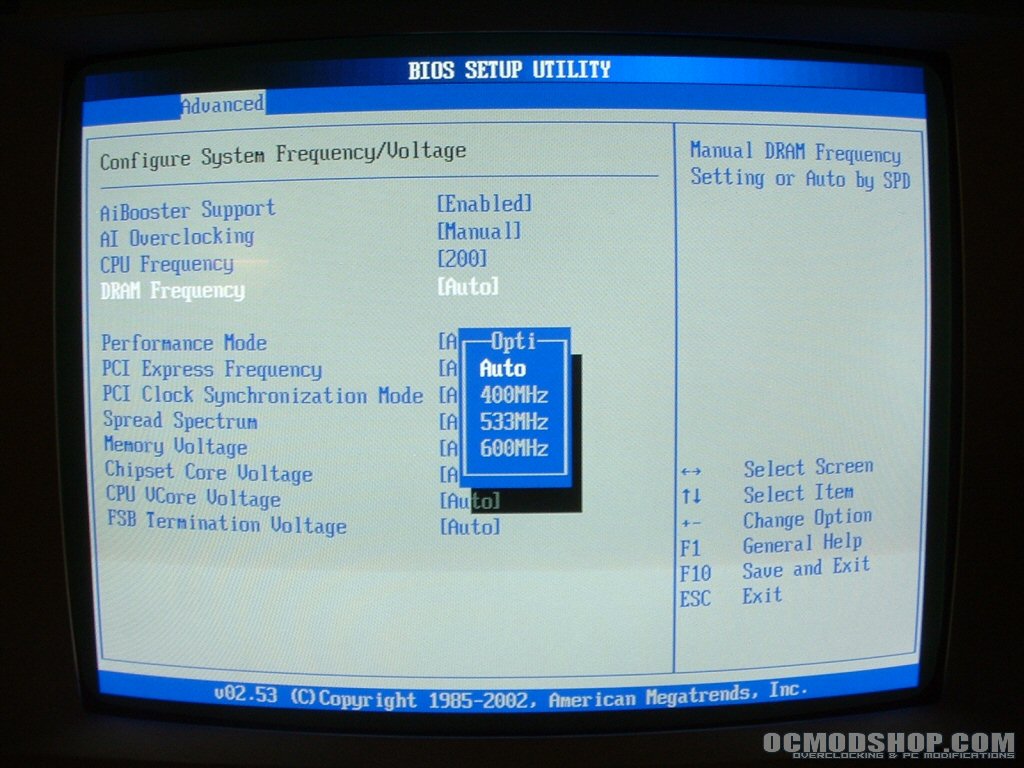
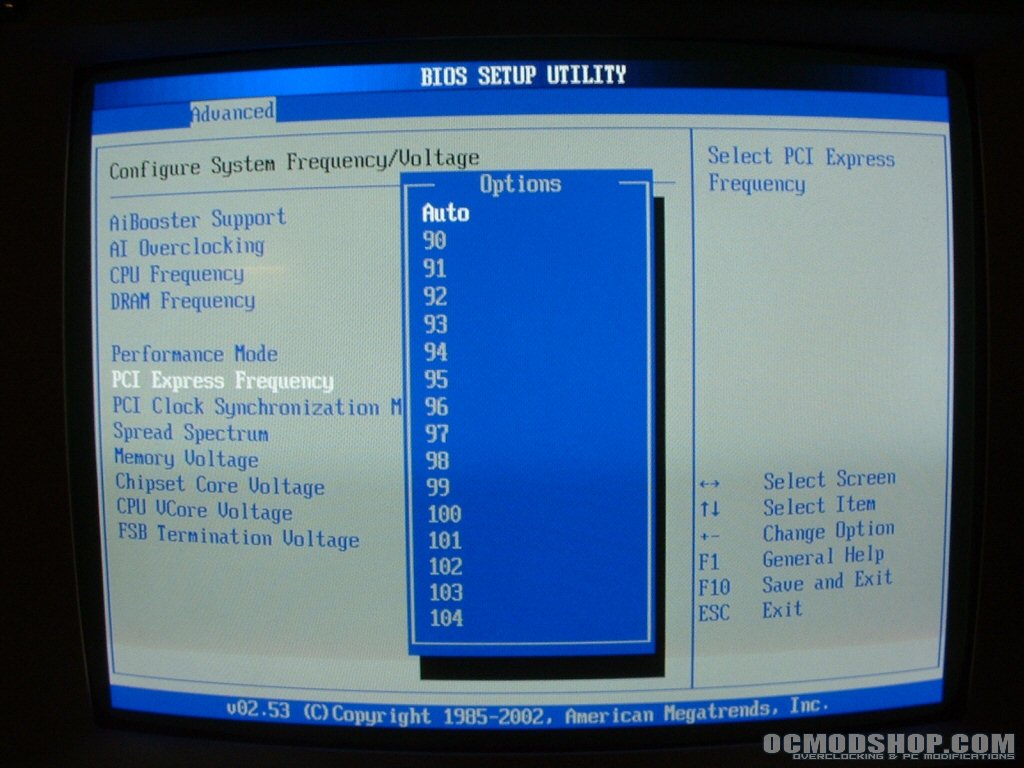
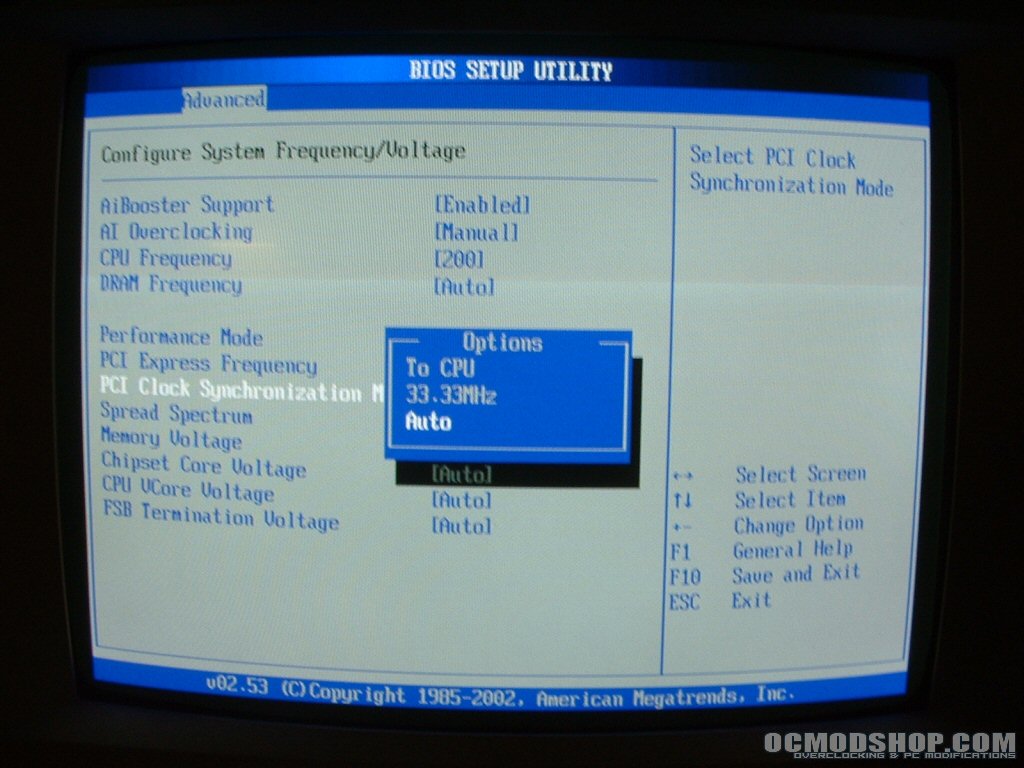
The PCI-Express and PCI bus are lockable so that when you start overclocking they don’t get in the way. So if you are going to overclock it would be best to set the PCI-Express frequency to 100MHz and the PCI Clock Synchronization to 33.33MHz. After you get your processor and memory overclocked then I would suggest increasing the PCI-Express frequency slowly to get better video card performance. As for the regular PCI bus it would be best to leave that at 33.33MHz even while overclocked unless you have a PCI card that would benefit from the overclock for some reason. Take note that if you set the PCI to synchronize with the CPU or to Auto that it may cause your system to lock up or PCI cards to stop functioning.
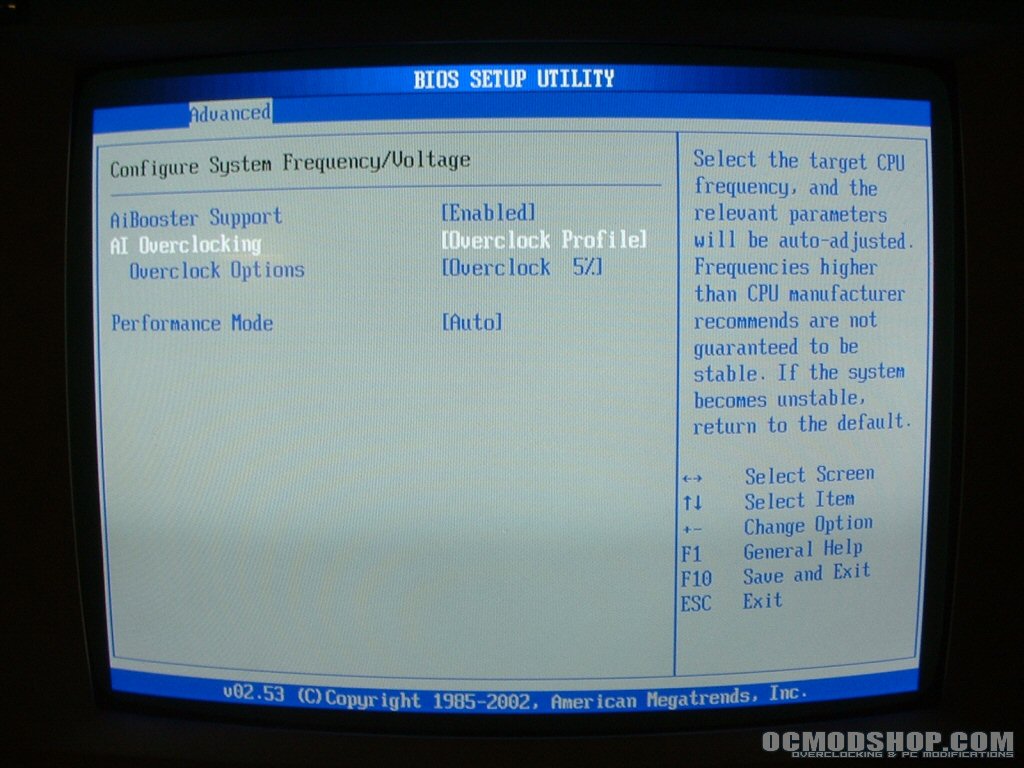
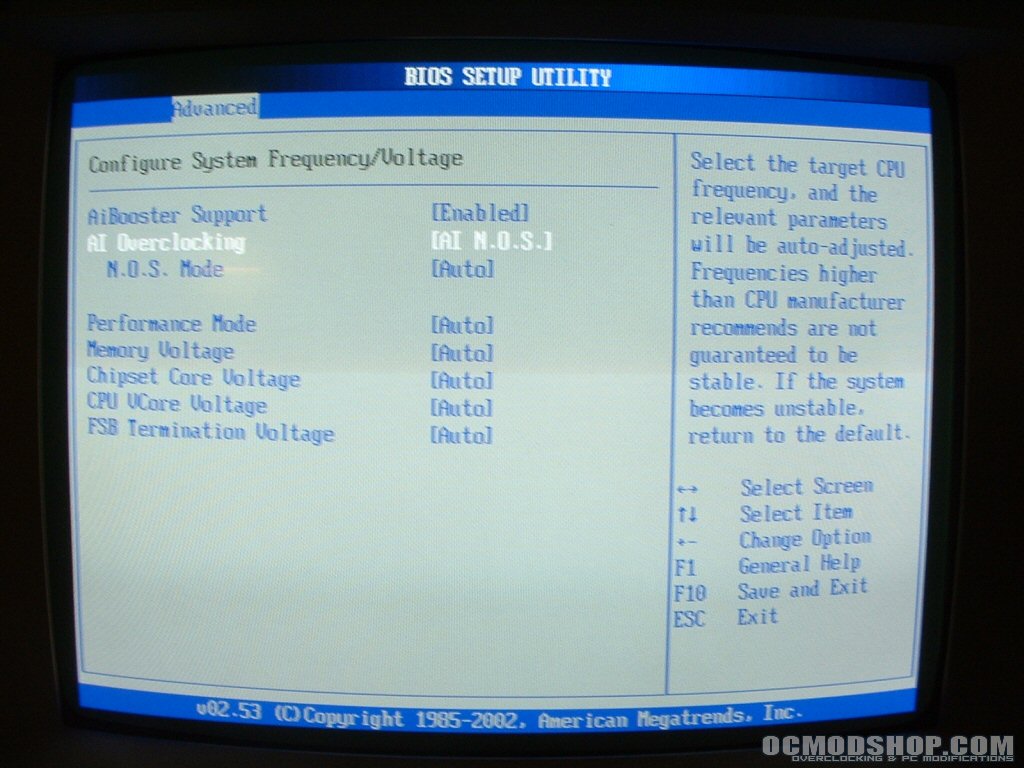
The AI Overclocking option allows you to choose which overclocking feature you want to use. You can choose from manual, auto, standard, overclock profile, and AI N.O.S. The manual setting gives you the most control allowing you to change all of the settings by hand. The auto setting only gives you the option to change the performance mode which is auto, standard, or turbo. The Standard setting also only gives you the performance mode. I chose to go with the manual setting because it gave me the most control. As you can see it gives you the ability to change all of the settings which is beneficial to experienced overclockers.
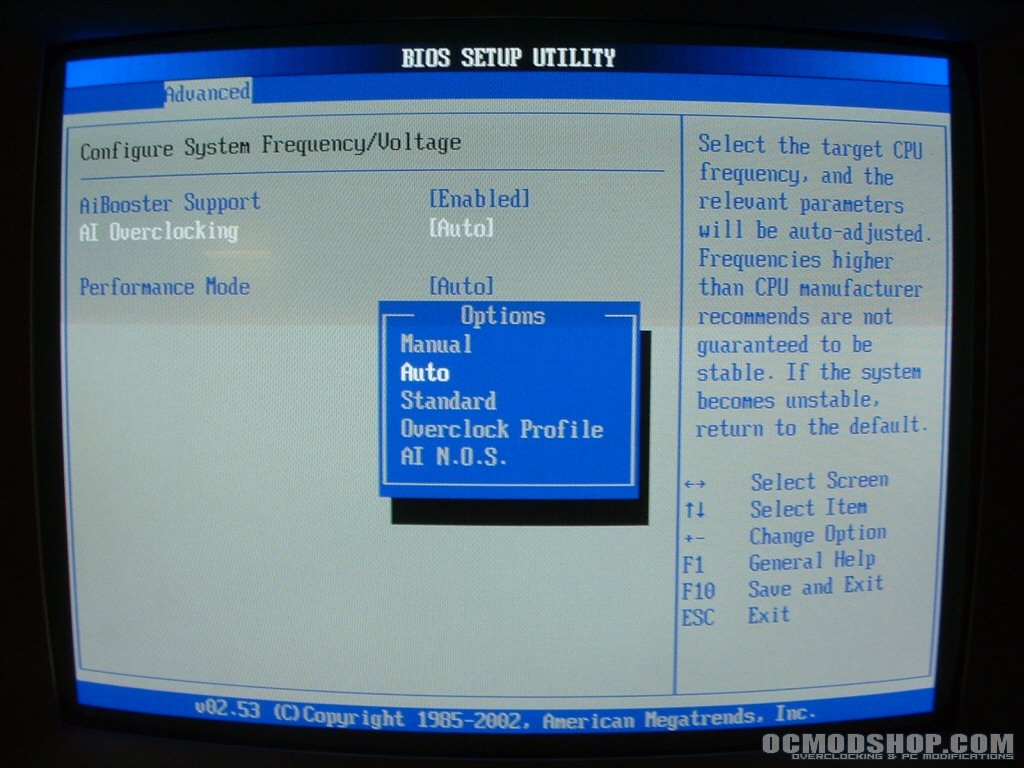
The overclocking profile allows you to set the overclock to a certain percentage or a specific defined speed. For example you can choose to overclock from 5%-30% or set it to FSB88/DDR2-667 up to FSB1066/DDR2-710. Finally the N.O.S option which stands for Non-delay Overclocking System detects system load and automatically boosts performance for the most demanding tasks. This feature can be set to auto, standard, sensitive, and heavy load. This feature can be useful if you don’t always want your system overclocked but need some more power during gaming or intensive application usage.