

Depending on what type of motherboard you have determines how much additional effort installation will take. Installation on a Socket 478 is rather simple, as you just
You probably should remove any existing exhaust fan to prepare for the Freezone for its new home. The Freezone unit is huge, so you’ll need to check that your case can accomodate it. You should also check how much clearance you have above the CPU, which could determine how you position the waterblock (you don’t want to kink any hoses if you can avoid it.
For most motherboards, you install screws from the underside of the motherboard through retention holes. Silicone washers are included so you don’t strip any contacts or short out any motherboard components. Once the standoffs are screwed in tightly you can place the waterblock down and attach the mounting bars (the bars you use will depend on which motherboard socket you have). Thumbscrews are then inserted into the holes at the end of the bars, and screwed into the metal offsets.
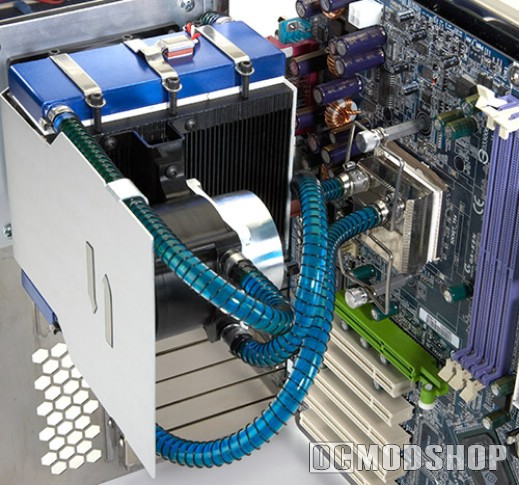
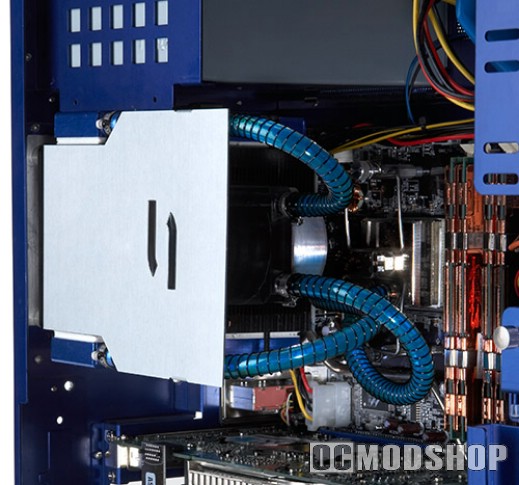
Once the block is installed, you can mount the main Freezone unit. If you have a 120mm exhaust port, go ahead and mount the included adapter to the 92mm fan. You can then mount this plate to the back of your case, and the main unit should hover over the waterblock (or FHE, whatever you want to call it).
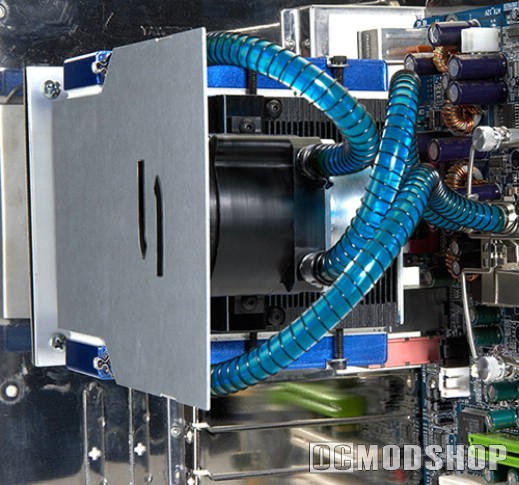
Once the hardware is mounted you can route the wiring to the appropriate places. The Thermal Control Module can be mounted anywhere in the case, but CoolIT suggests the drive cage. The back of the TCM has two strips of double-sided tape, and easily adheres the unit just about anywhere. The Freezone has rather long wires, so they can easily be routed anywhere, even in the largest of cases. The black fan lead connects to the motherboard’s CPU fan socket, and the rest of the wires connect to the Thermal Control Module. Make sure you have a spare molex connector to supply the power.
Double-check your work, and then turn your PC on.
