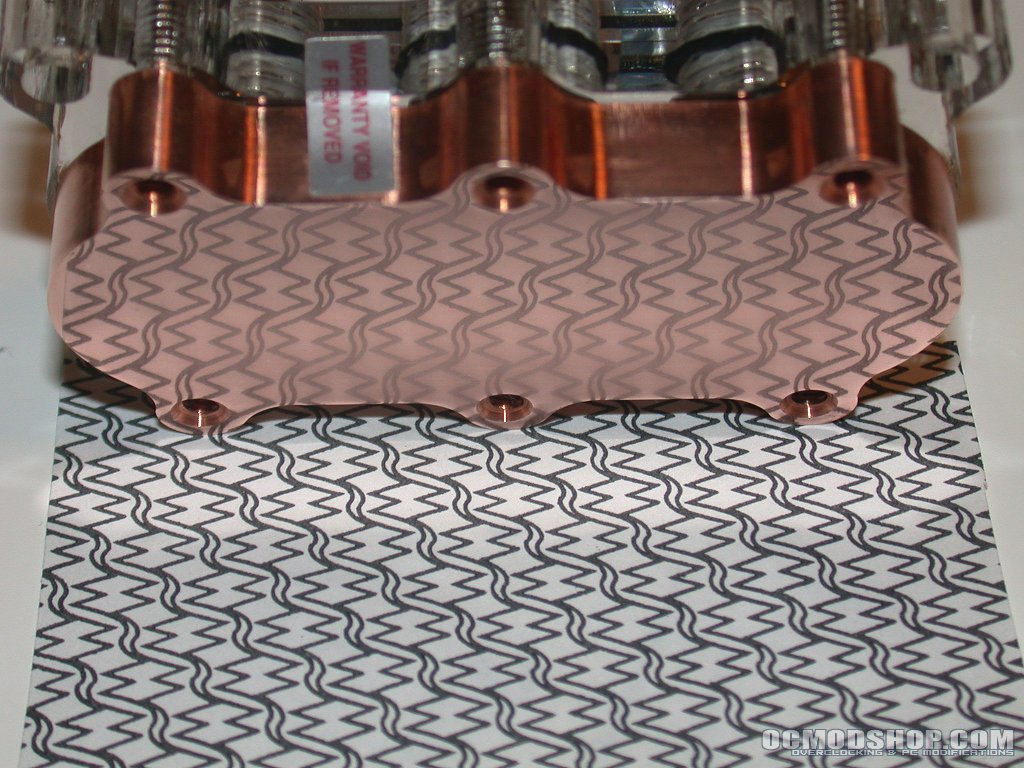
While the RBX is an interesting enough creature in the poly-topped, 3/8″ fittings version (which is what was supplied by Directron), I cannot refuse modding gear. So I promptly brought up the Danger Den website and ordered some extra goodies including the brass top with chromed 1/2″ high-flow barbed fittings and the optional accelerator nozzle kit. Within a few days the accelerator nozzle kit the new top and other components were at my door step and I was ready for them.
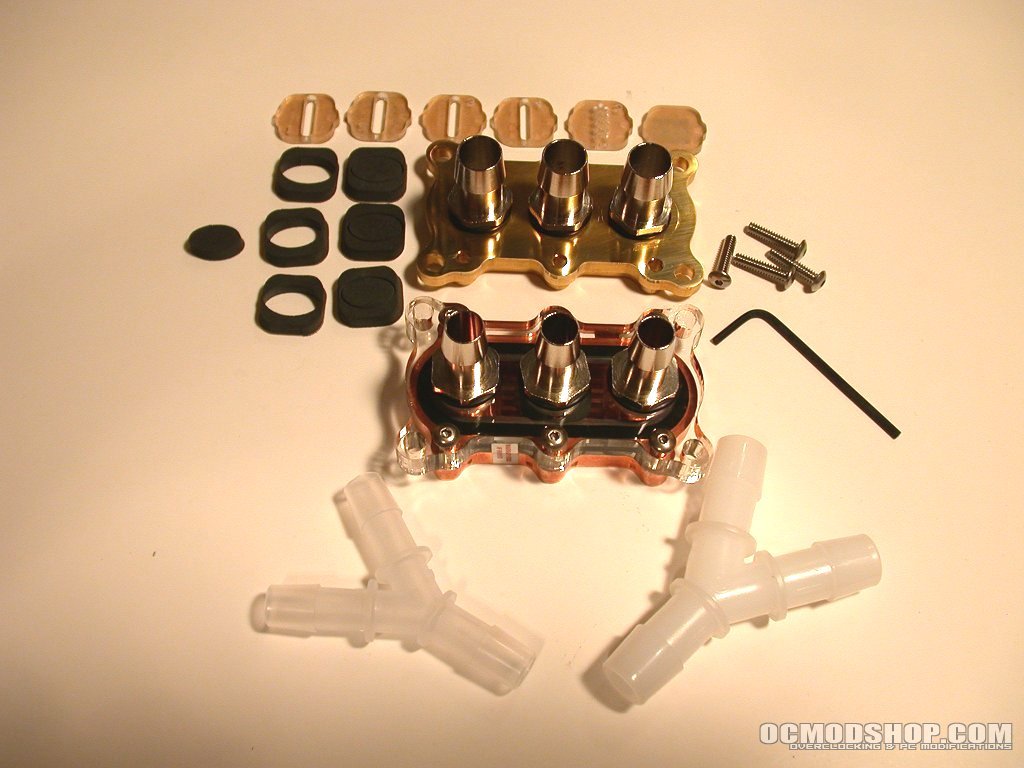
Before deciding on which nozzle to go with, I talked to a barrage of water cooling enthusiasts who owned the RBX and there was a strong preference for the #4 nozzle or the #5 nozzle when a heavy duty pump was available to blast water through the more restrictive accelerator nozzles. I happened to have a pump on hand that met that description so I could not refuse the promise of increased performance. More on the pump and the rest of the test loop later.
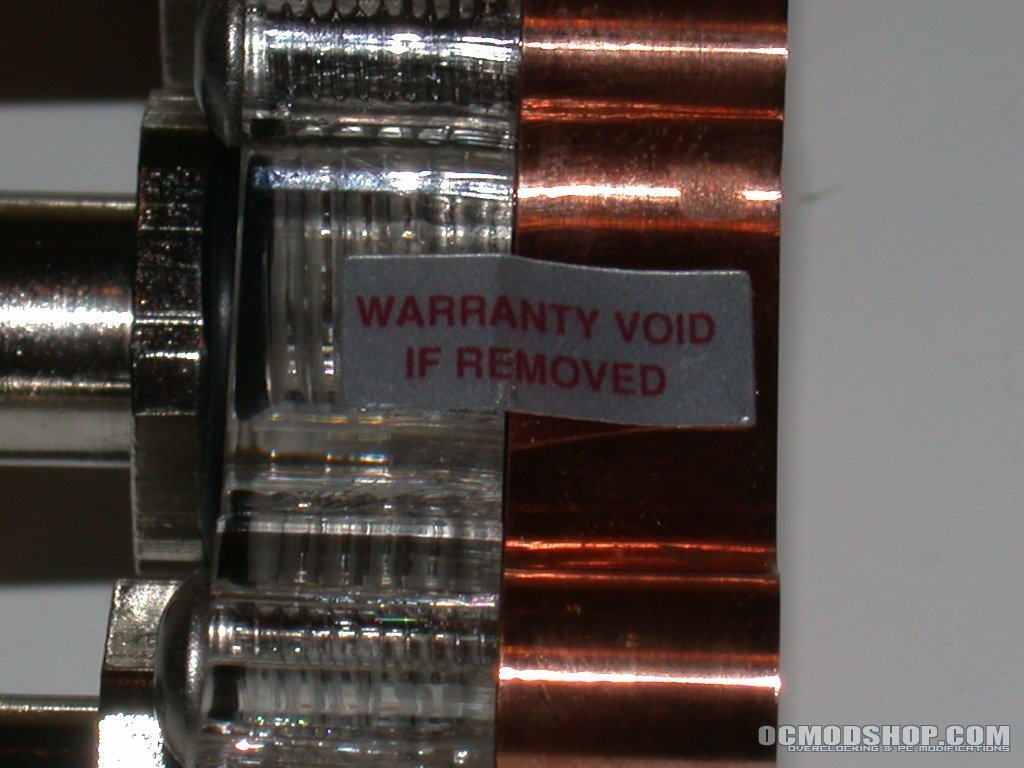
To change out the tops or the accelerator nozzles, there are six machine screws that must be removed from the RBX. The machine screws hold the top of the block to the base and the accelerator nozzle is sandwiched inbetween the plates. Before I started loosening the screws, I came across a sticker placed on each side of the block that indicated the warranty would be void if the sticker was removed.

Voiding warranties is one of my favorite activities but it struck me as being a little odd for a block that had exchangeable parts inside which were designed for flow tweaking. I promptly checked the Danger Den site and discovered that the warranty will not be voided by removing the top. You just have the responsibility of leak testing it after you have removed it and it is reinstalled.
So, I removed the screws in the reverse order from how they would be installed (i.e. like lugnuts on a car wheel – loosen one, then the one diagonally across from it while working around the block until all of the screws were loose and could be easily removed by hand). Once screws were taken out, the top of the block lifted right off revealing the accelerator nozzle fitted into the base plate. The accelerator nozzle seals to the top plate with a neoprene gasket (extras are included with the optional accelerator kit). The accelerator nozzle has a fairly tight fit into the base so I used the tip of a small flat head screwdriver to lift the edge of the nozzle and then remove it.
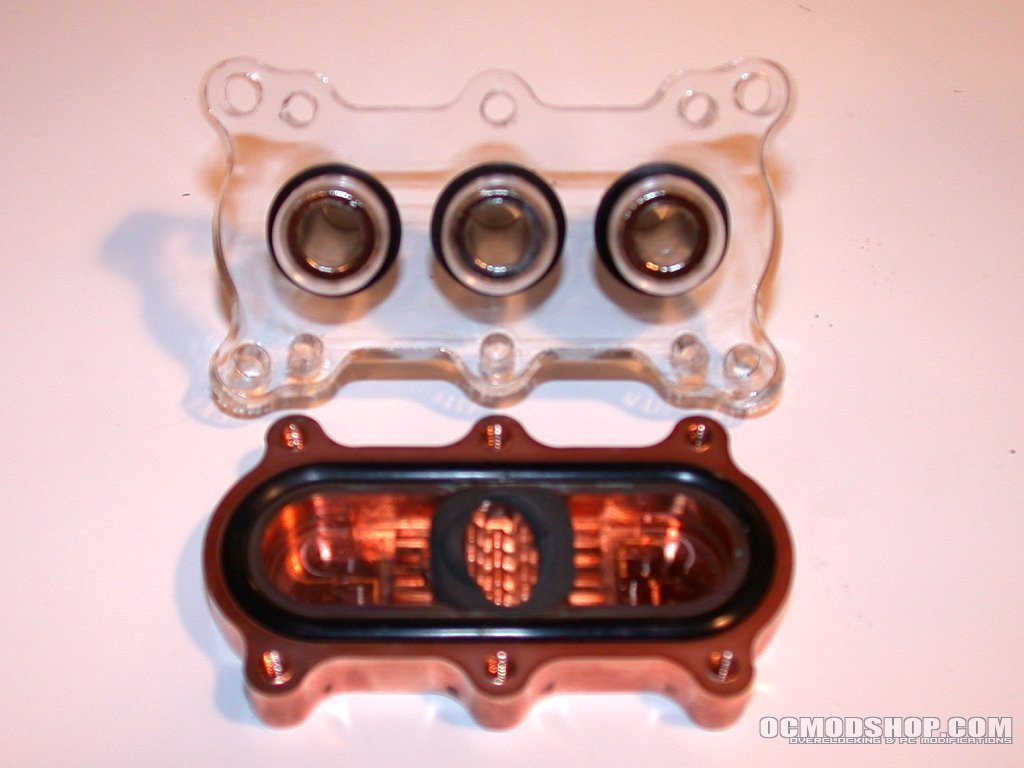
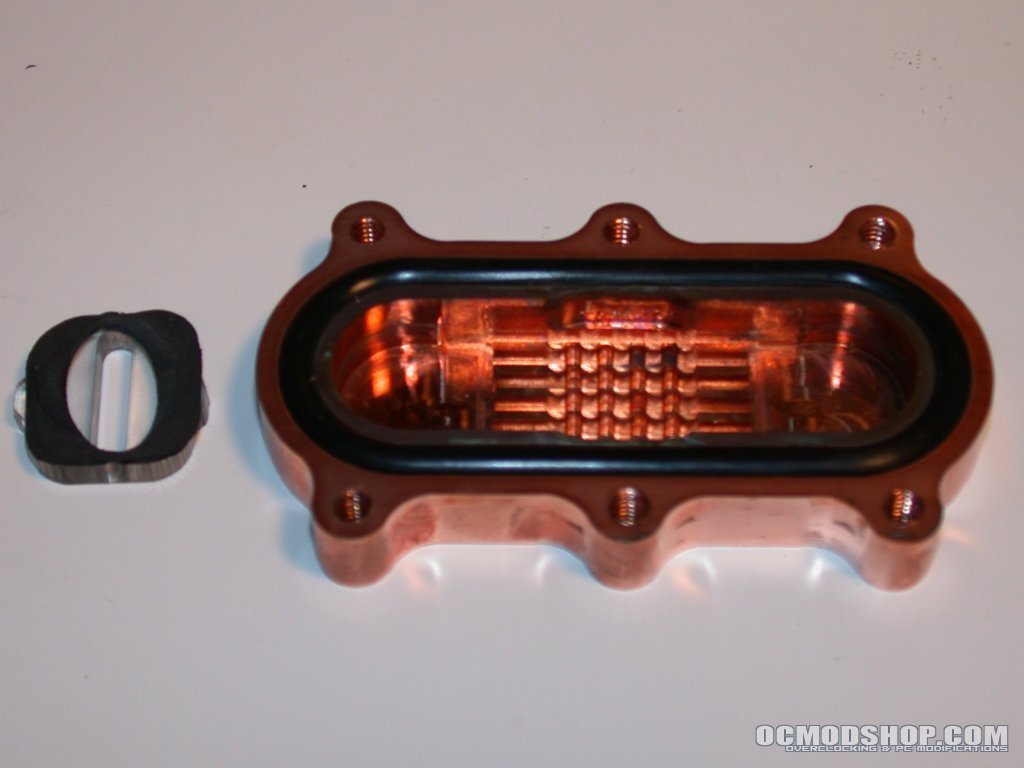
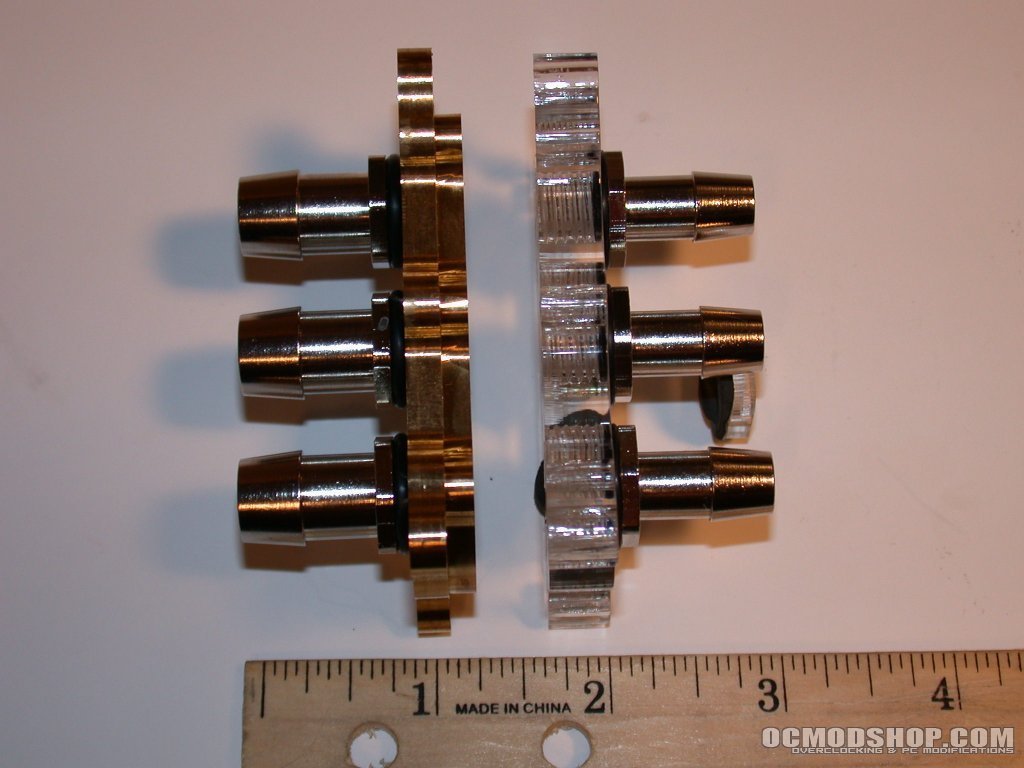
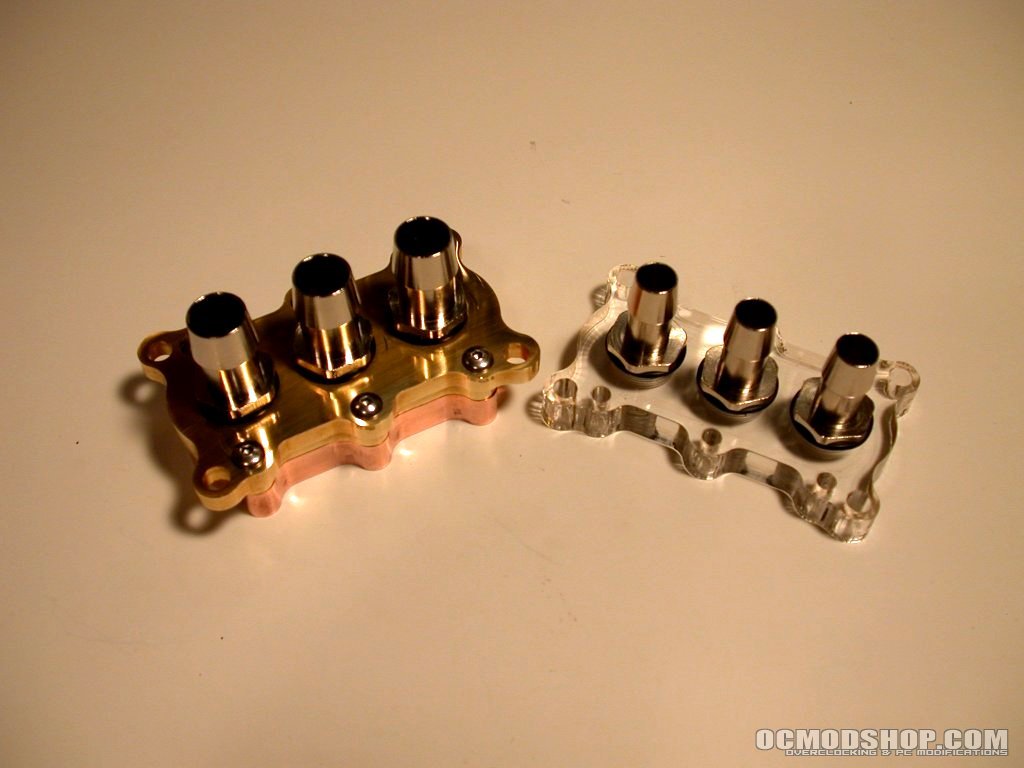
Once I had the poly top removed, I checked it against the brass top. The brass version is definitely much heavier and has a very solid feel that only a nice chunk of metal can provide. Additionally, I tested a small section of the brass and it can definitely be polished to a mirror like finish if one so desires. While poly tops look nice and there are some cool points for being able to see the coolant rush through the block, a solid metal top takes the prize for durability and strength.
I must admit the #5 accelerator plate was really tempting me but I decided to test out the #4 as it looked like it might have a little lower maintenance. A small hole pattern in a block’s jet might have a bit of a performance edge but the holes also have a greater tendency to clog so I went with #4 which is a thin slot cutout design. Time for some testing.