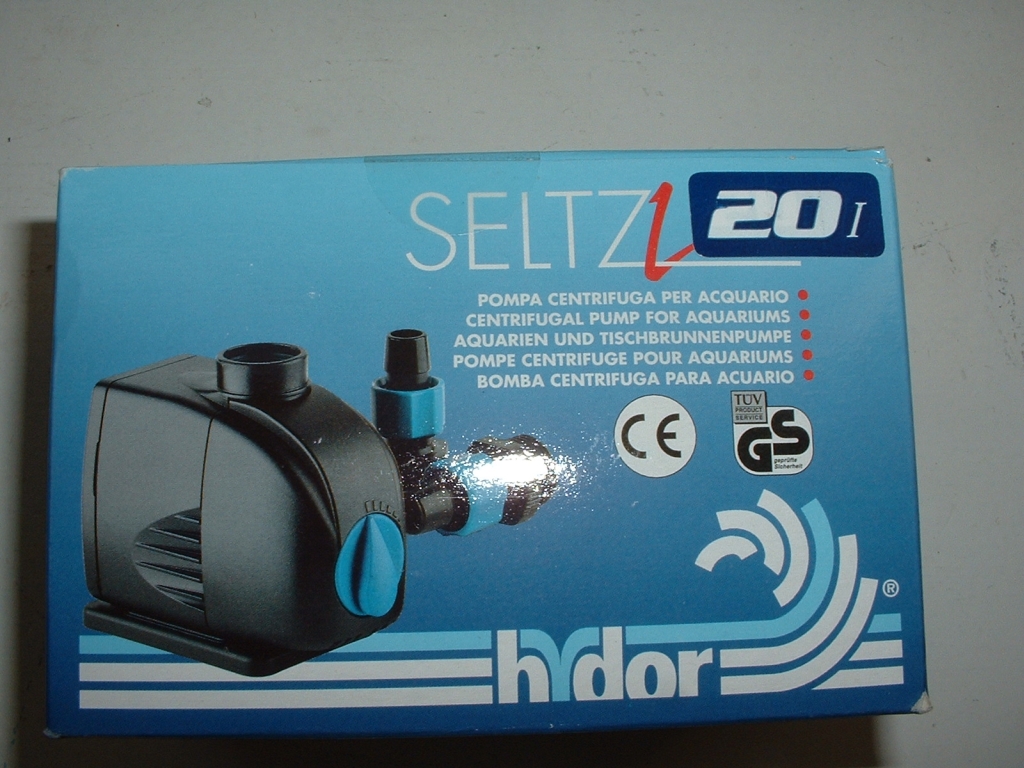
The first thing I want to say about the installation process is that no instructions provided. Because I have setup a DIY watercooling system before I knew what to do because I had done the trial and error before. With a kit of this stature I would assume that some instructions would be provided for those who have never used watercooling before. Even though I had installed a watercooling setup in the past it would have been nice to have some directions instead of having to spend time figuring out how the pump and block were to be installed. I hope that Danger Den addresses this issue in the future for their customers.
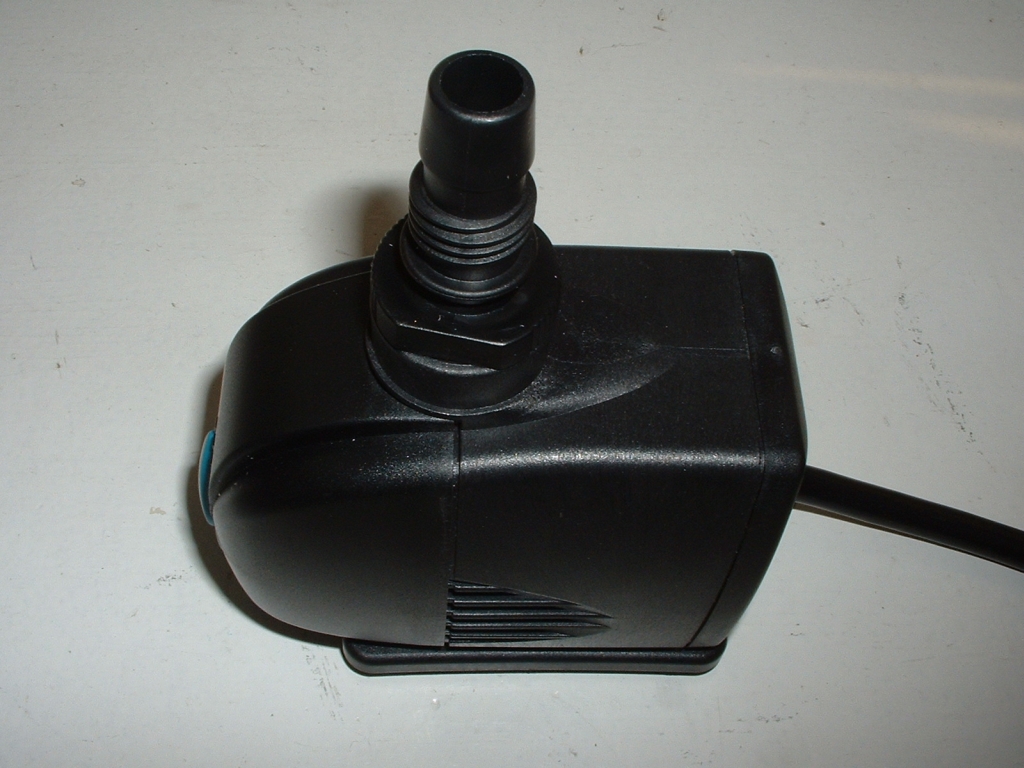
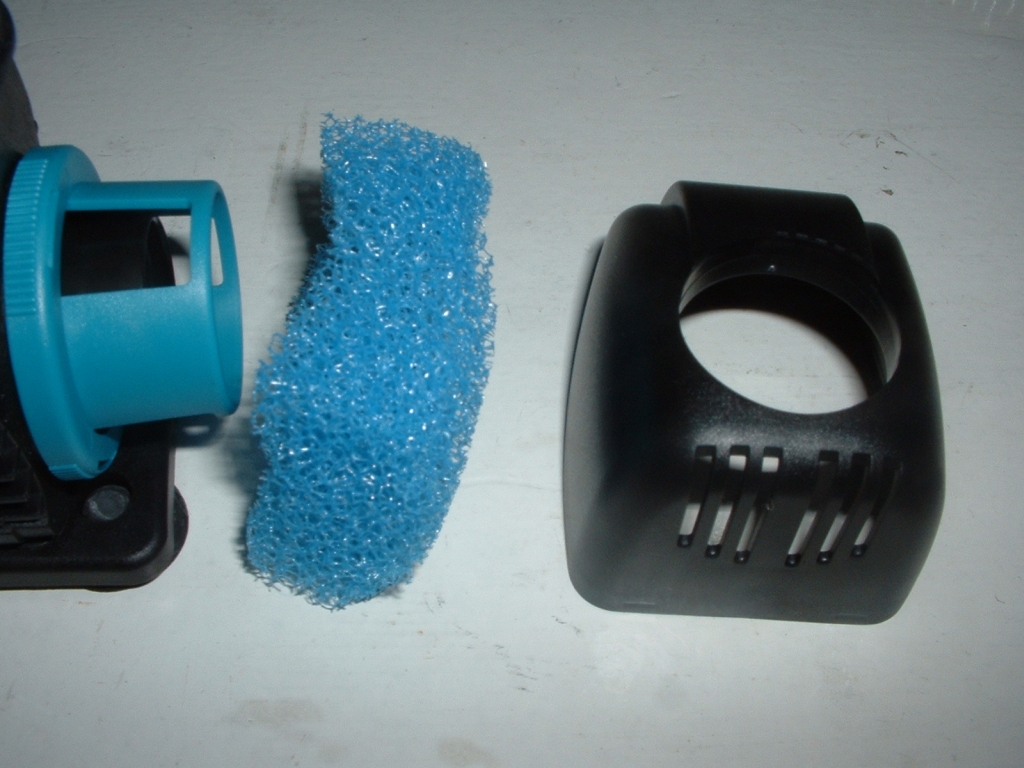
The pump needs some work done to it before it can be installed for inline usage. First screw the fitting in to the top of the pump. After you have done that you need to pull off the black plastic piece from the front of the unit and remove the control knob. Inside of the this part of the pump there is a filter, and blue piece of plastic which holds the centrifuge in place. You will not need the filter unless you are submerging the pump so you can put that aside, you also don’t need the black plastic cover. The only other thing you need to do is screw the plastic fitting provided with the pump into the hole. As a side note it did take me about five minutes to figure out how to correctly get this pump setup.
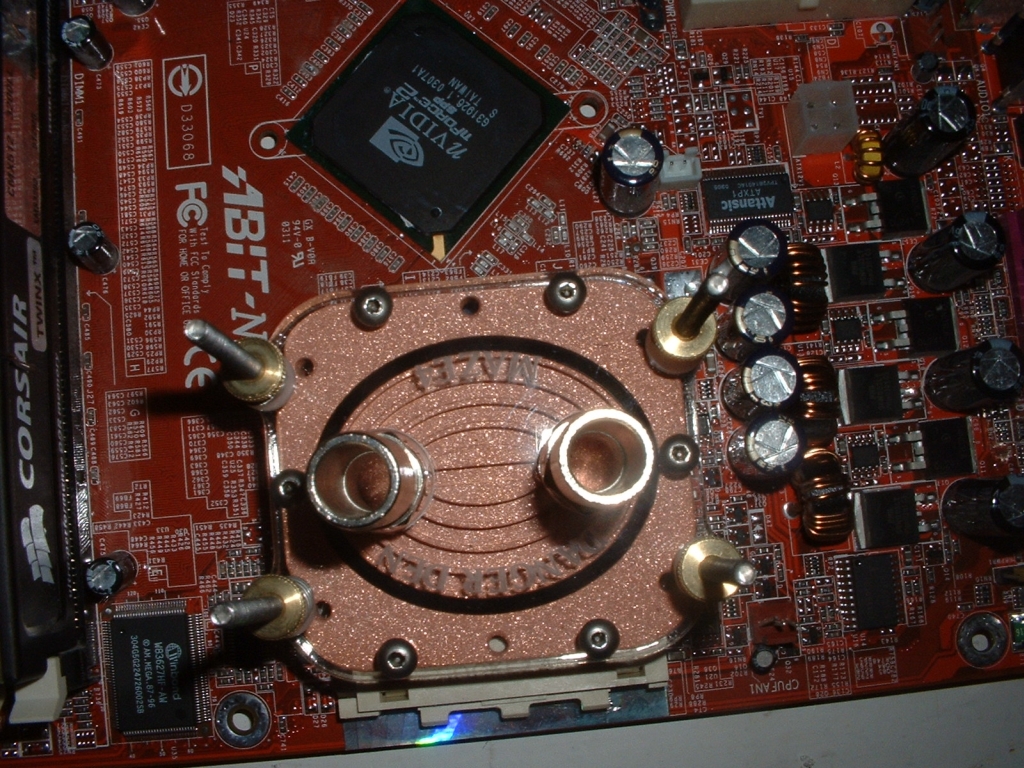
Again there are no instructions for installation of the waterblock so I just basically figured it out. The first thing you need to do is take a screw and put one nut and one washer on it. After you have the washer and nut on the screw slide it through the bottom of the hole on your motherboard. Be sure that the screw is not sticking out of the nut otherwise it may stick out too far and you will be unable to install your motherboard. Once you have the screw with the washer and nut in the hole take another washer and drop it onto the screw so it’s on the motherboard then take another nut and tighten it down onto the washer so that the screw is vertically straight and not moving. Once you have the first one done do the same thing to the other three holes on the motherboard so that all four are tight and standing up straight.
When you are doing this step be sure that the plastic washers are touching the motherboard on both sides and that the nuts are on top of the washers. If you have the nut on the motherboard you will probably short something out or damage something. When you are tightening the nuts down you will want to use some kind of wrench or pliers but be careful when you are tightening the them to the motherboard, be sure to not over tighten, doing so may damage it.
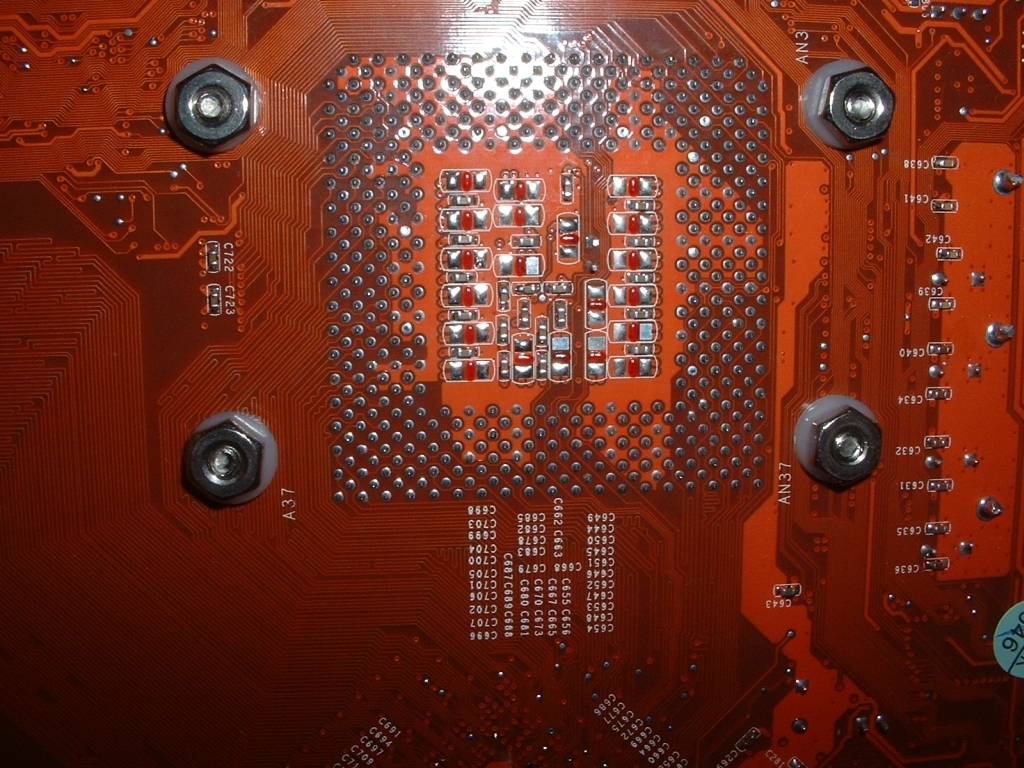
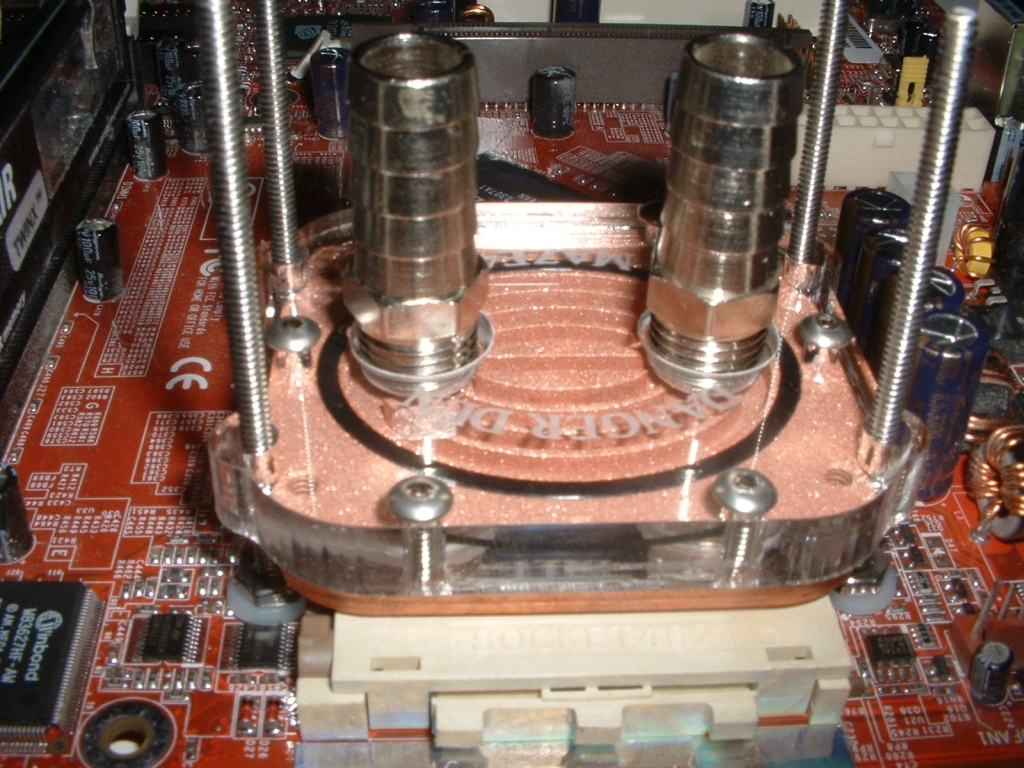
Now that you had all four screws securely attached to the motherboard you can install your CPU to the socket and apply the thermal compound of your choice to the core. Once you have the CPU installed take the Maze 4 and slide it down the four screws so that it is touching the core evenly. The best way to do this is to put it all the way down, take it off, and make sure the block has a thermal compound imprint of the core. If it does, reinstall the waterblock.
Be sure when you are installing the waterblock that the side of the block with the cutout is on top of the socket. If it is not you will get poor contact to the core of the CPU and can damage or destroy it.
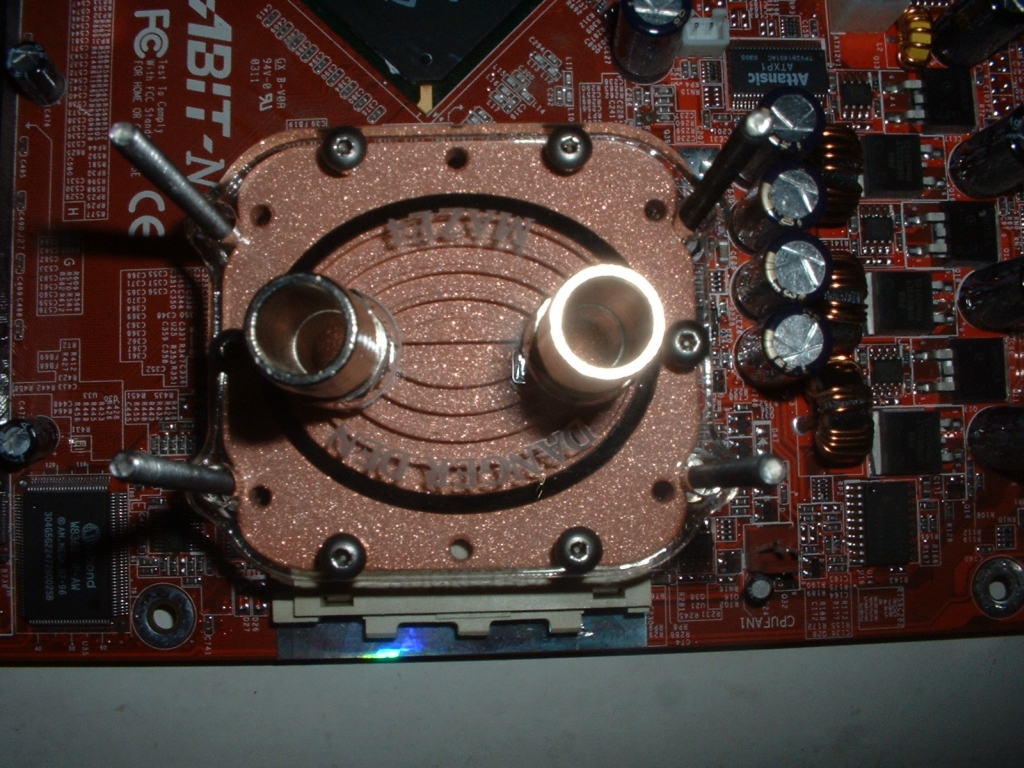
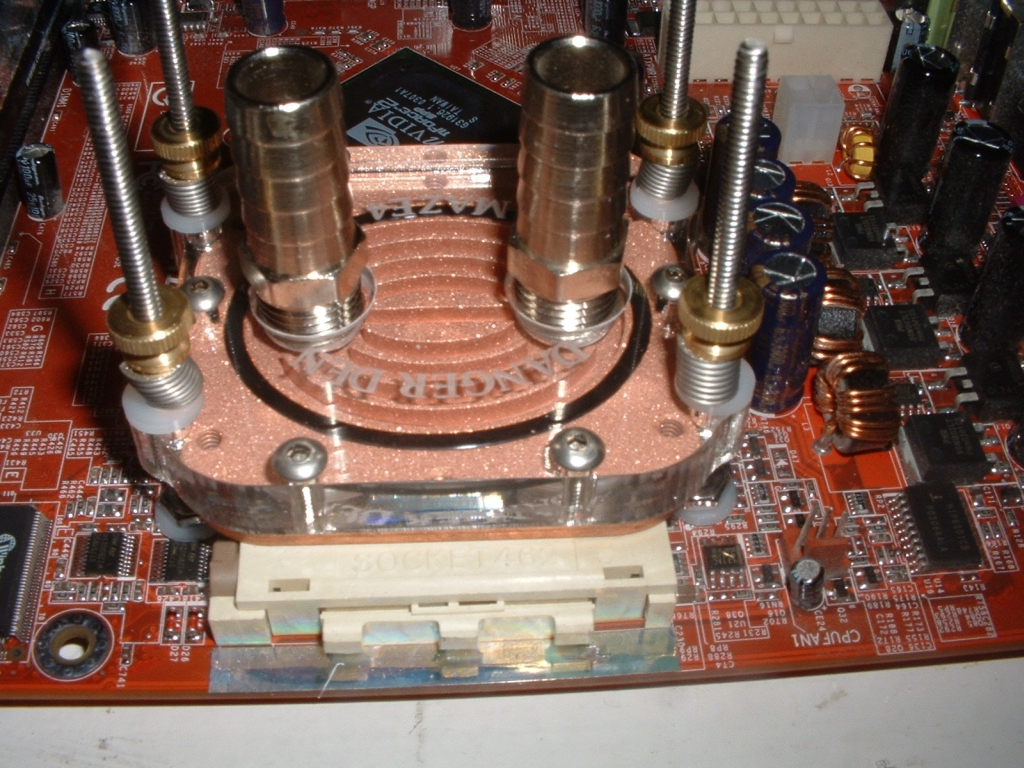
Once you have the waterblock correctly on the CPU you will need to drop a spring onto each screw. Once you have a spring on each, slightly screw one of the brass nuts onto the screw, but not all the way. Screwing down the brass nuts will apply pressure to the springs which will evenly distribute pressure over the block and keep it tight to your CPU. When tightening the brass screws down on the springs you will want to use an “X” pattern. This means screw one down a little, then screw the one diagonally across from it down a little. From there move to the one next to it and then diagonally across from that one. Doing this will ensure that the block is evenly seated and your CPU will have less of a chance of being damaged. Once you have all four brass nuts tightened all the way down by hand your done.
To install the GPU waterblock you will need to take your video card out of your case. Once you have done that remove the stock heatsink from your video card, it will either be pinned on or epoxied one. If it is pinned on take a pair of pliers and squeeze the plastic pins on the back of your card so you can pull them out. If yours is epoxied on you can seal it in a plastic baggie and put it in the freezer for about an hour. Doing this will make the epoxy crystallize which will allow you easily remove the heatsink with a screwdriver. If you choose to use a screwdriver to take off your epoxied heatsink put something under the screwdriver so it doesn’t damage your video card. Now that you have the heatsink off, clean the thermal compound off the core that is there. Now reapply a thin new layer of the thermal compound included so that everything is fresh.
Be very careful if you are using this metod to remove a epoxied heatsink from your video card. I take no responsability if your card is damaged in this process
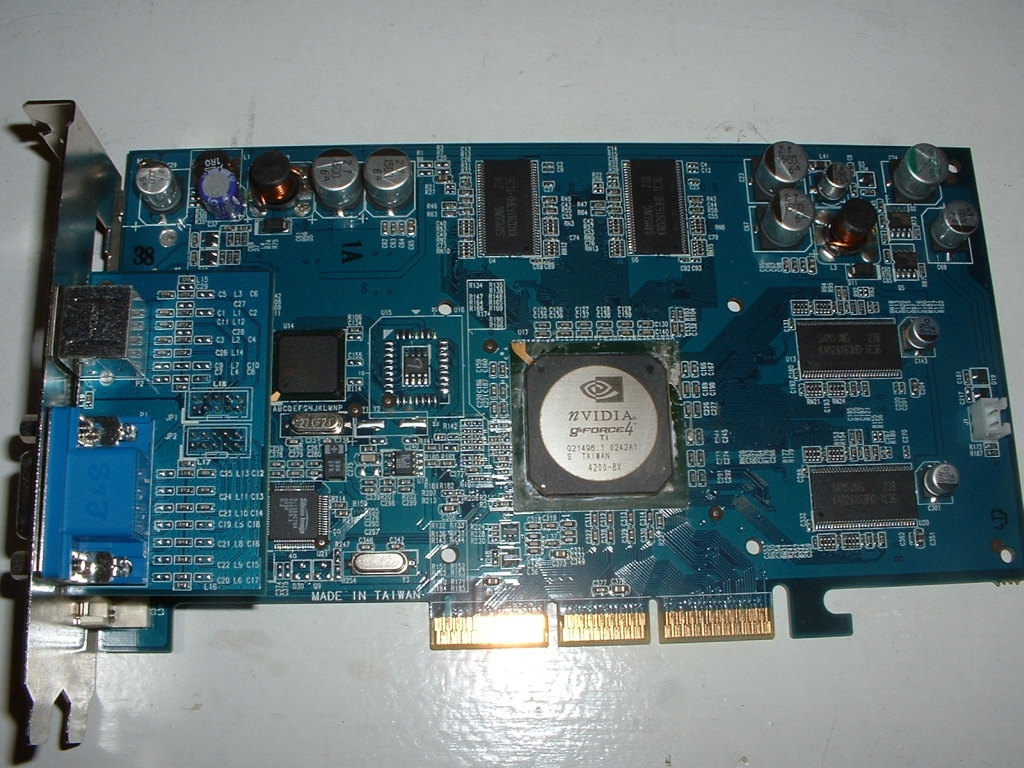
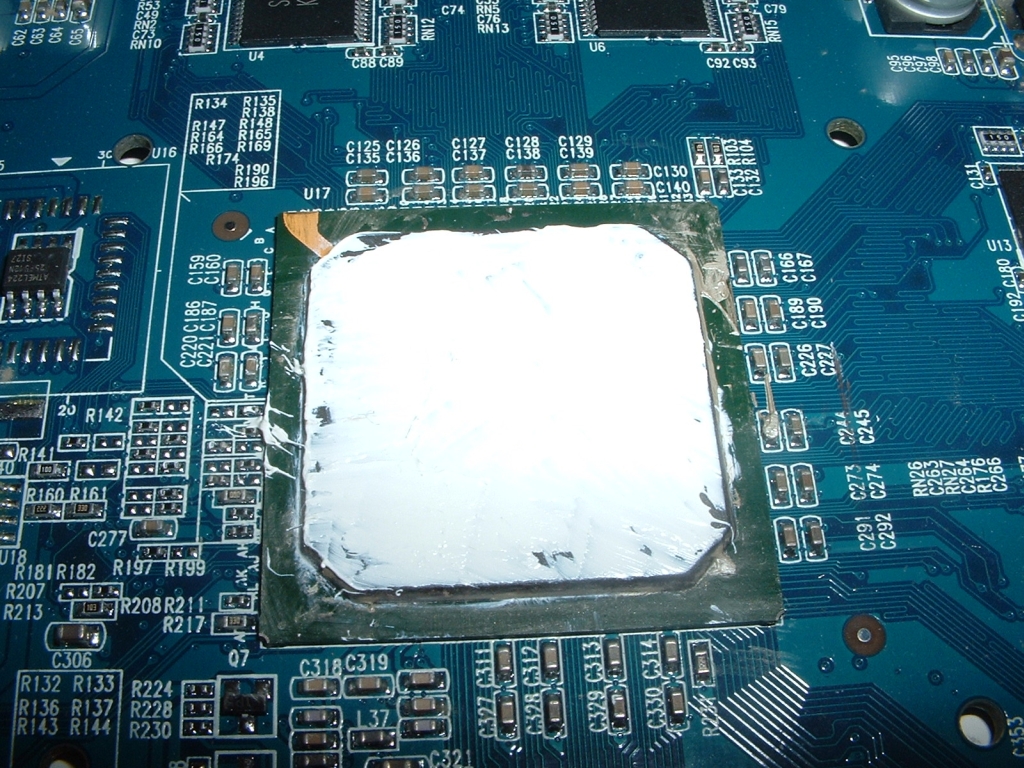
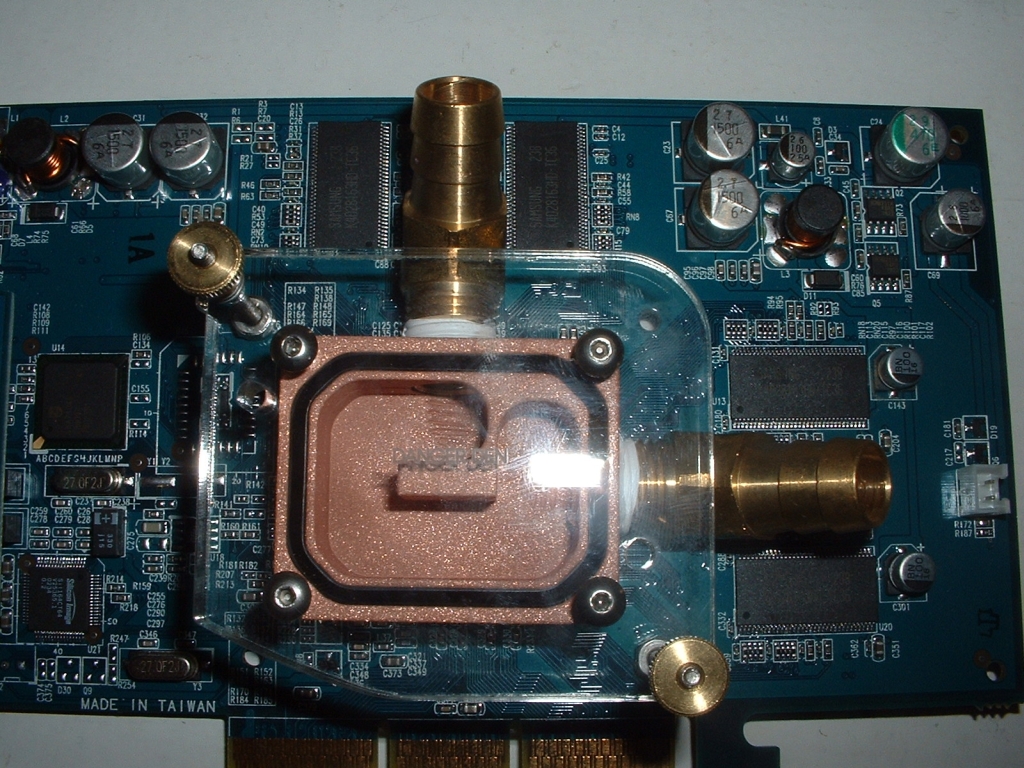
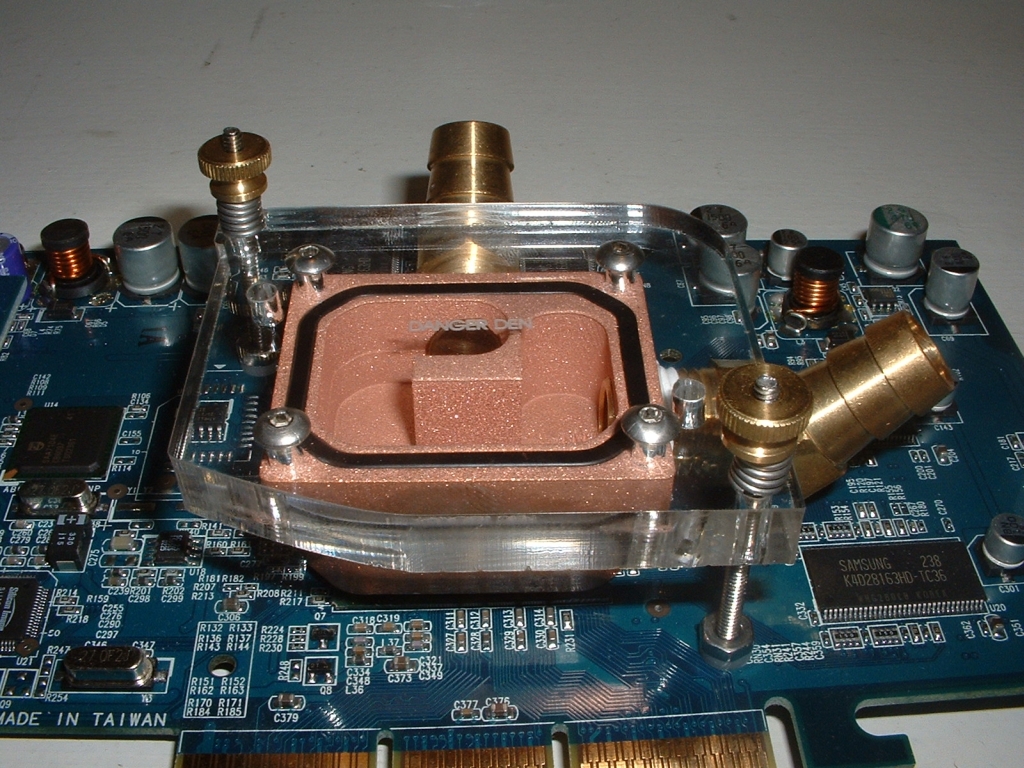
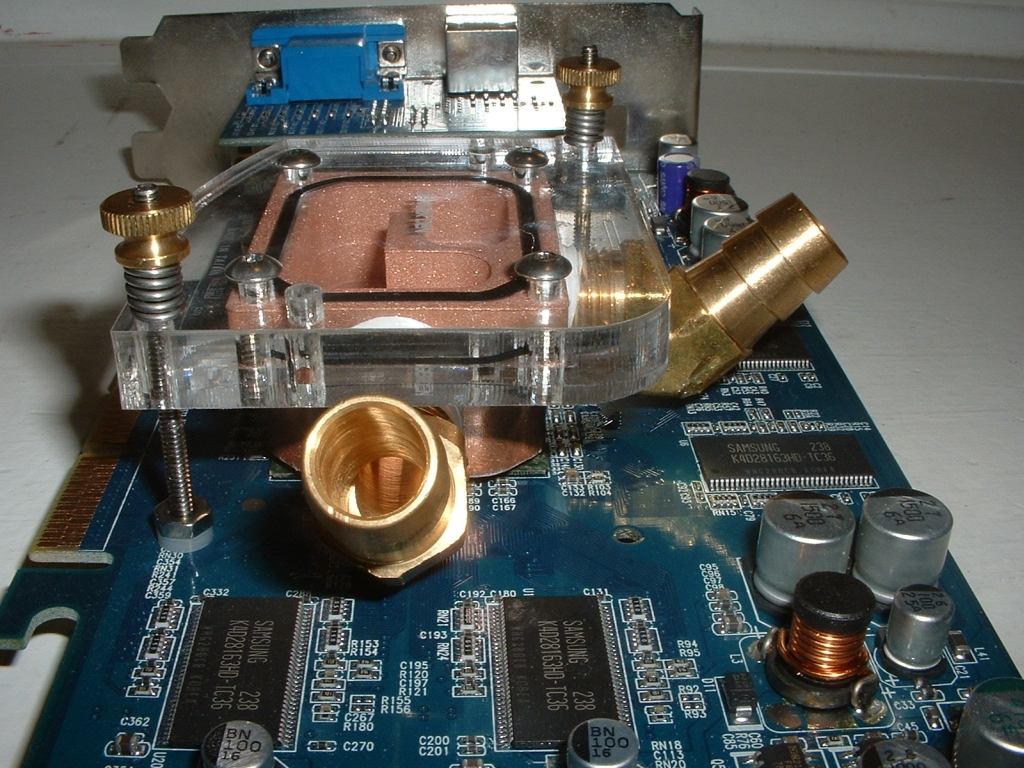
Now that you have the new thermal compound applied the mounting procedure will be about the same as the CPU waterblock. Put one of the washers onto the screw and then a nut so that it will be raised away from the card. I like that the washer isn’t directly on the card as much as a normal washer would be because there are usually small components on the back of the card. When you have the washers and nuts on both screws slide them through the bottom holes. When you have the screws through the video card put a flat washer on each screw then tighten another nut on top of each one. Your video card should look similar to the pictures below once you are done with this step.
Be sure when you tighten the nuts down onto the washers that nothing is under them that could be damaged. Also be sure not to over tighten the nuts, doing so could damage your video card.
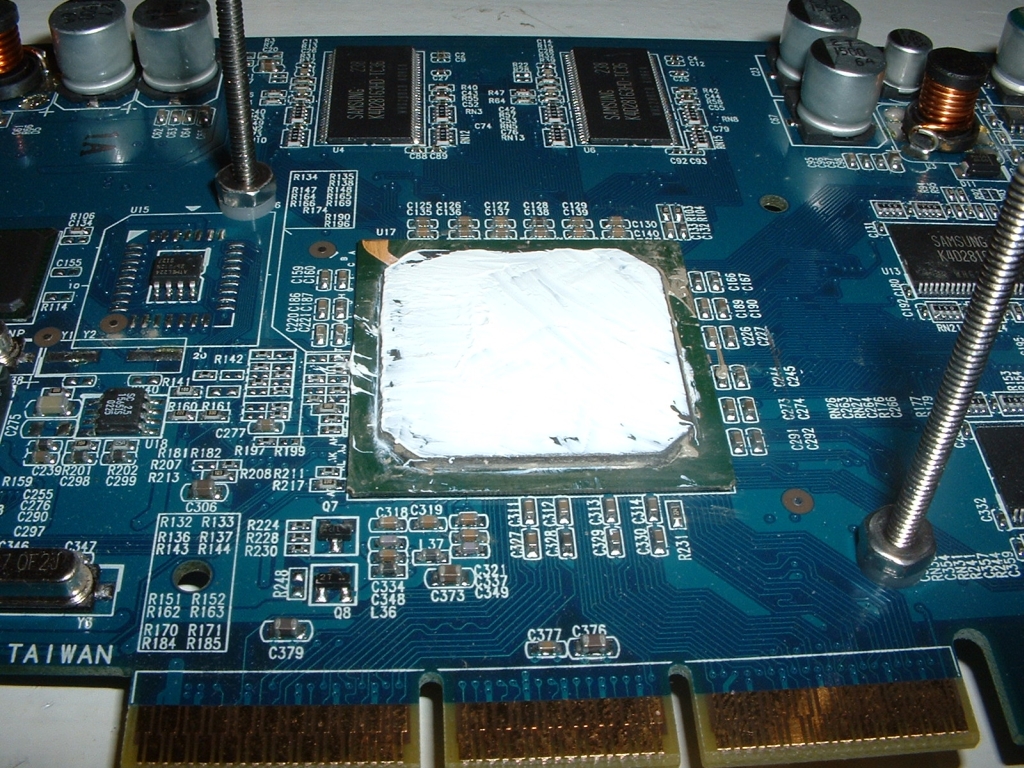
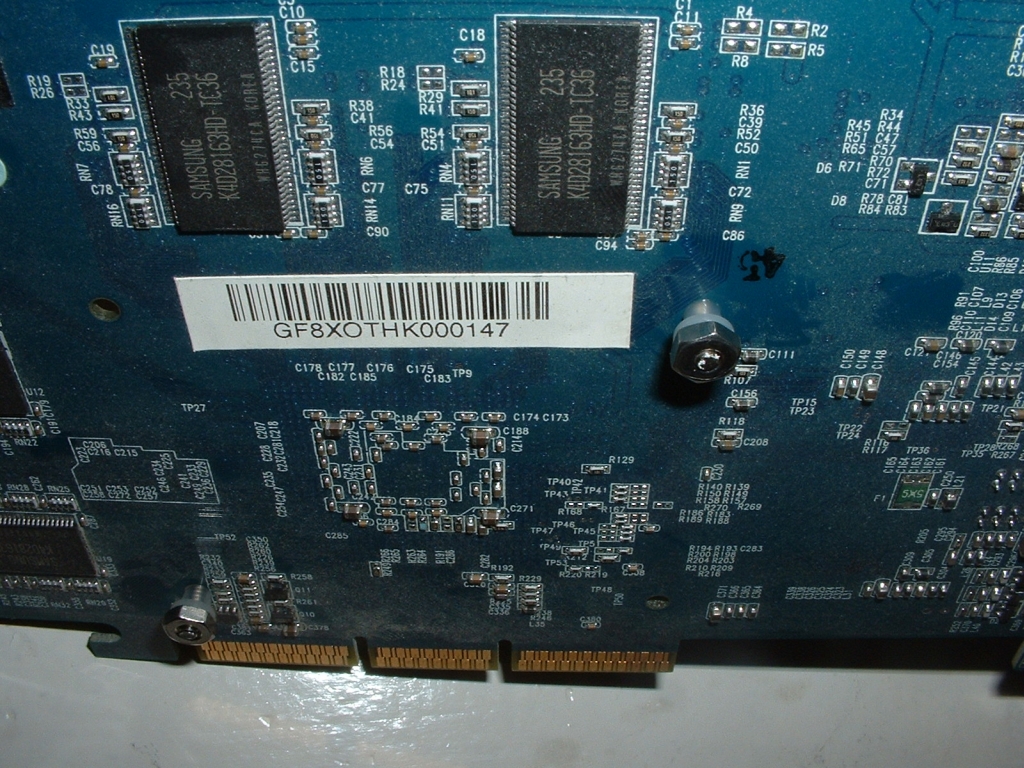
Now that you have the screws mounted to the video card, take your waterblock and slide it down the screws onto the core of the video card. Place a spring on each spring so that it is sitting on the block then screw on the brass nuts as you did with the CPU waterblock. Be very careful when screwing down the brass nuts and do not over tighten. Pay attention to your card as you do this, if you screw them down too tight your video card will bend. You are now done installing your GPU waterblock to your video card.