Now that you have your pump setup, the waterblocks installed, your fan installed to the heater core, you can now start installing everything to your case. Installing a watercooling setup can be both enjoyable and a huge frustration. The main thing to remember while installing any watercooling kit is to be patient and be sure you are doing everything correctly and well. If you rush and try to just throw it together you could end up having a leak and destroying your hardware. The size and style of your case will determine where and how you will install all of the parts, assuming that they will all fit. A common problem with many cases today is that they are too small to accommodate a complete watercooling setup. Below is an illustration of how the flow of water should go to achieve the best performance. You can of course set it up however you want. Testing different ways of hooking it up will give you different results usually but in my past experience this has been the best.
pump -> CPU waterblock -> GPU waterblock -> reservoir -> radiator -> pump
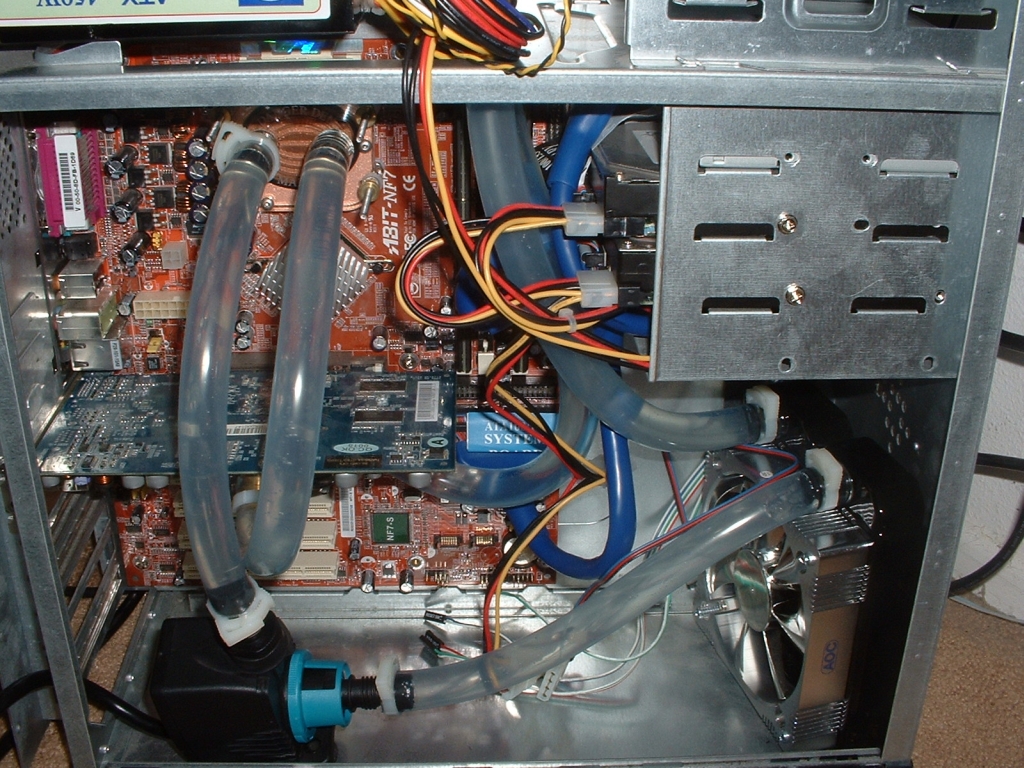
The pictures below are after the watercooling kit has the tubing, clamps, and water installed. When installing the tubing be sure to measure out how much will be needed for each section so it’s not too long or short because you only have a certain amount of tubing. Also be sure to use hose clamps because they are helpful in cutting down on leakage. To fill the system with water the best thing to do is to get a funnel and fill the reservoir until it is full. Once the reservoir is full turn on the pump so it pulls the water out and into the circuit. As the pump is going continue to fill the system until it cant take any more water.
Be sure to use distilled water in your system because if you use plain tap water your system will degrade faster. Tap water has minerals and junk in it that you dont want running through your system. Also it is a good idea to use water wetter or some other water additive to keep the water from growing things.
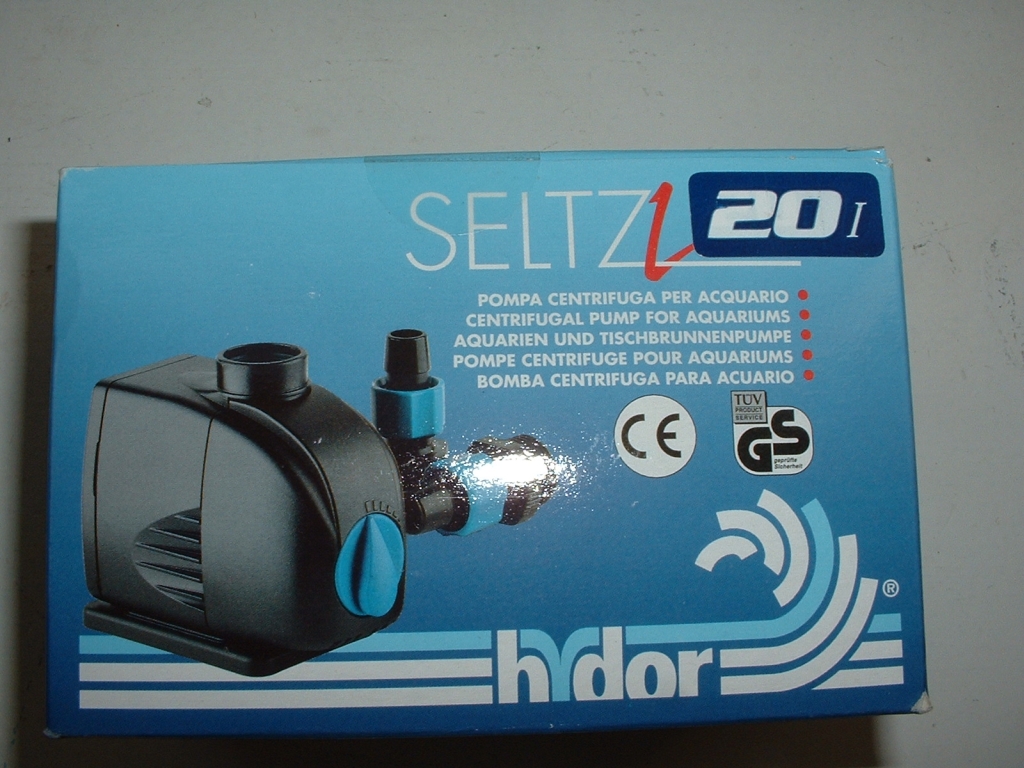
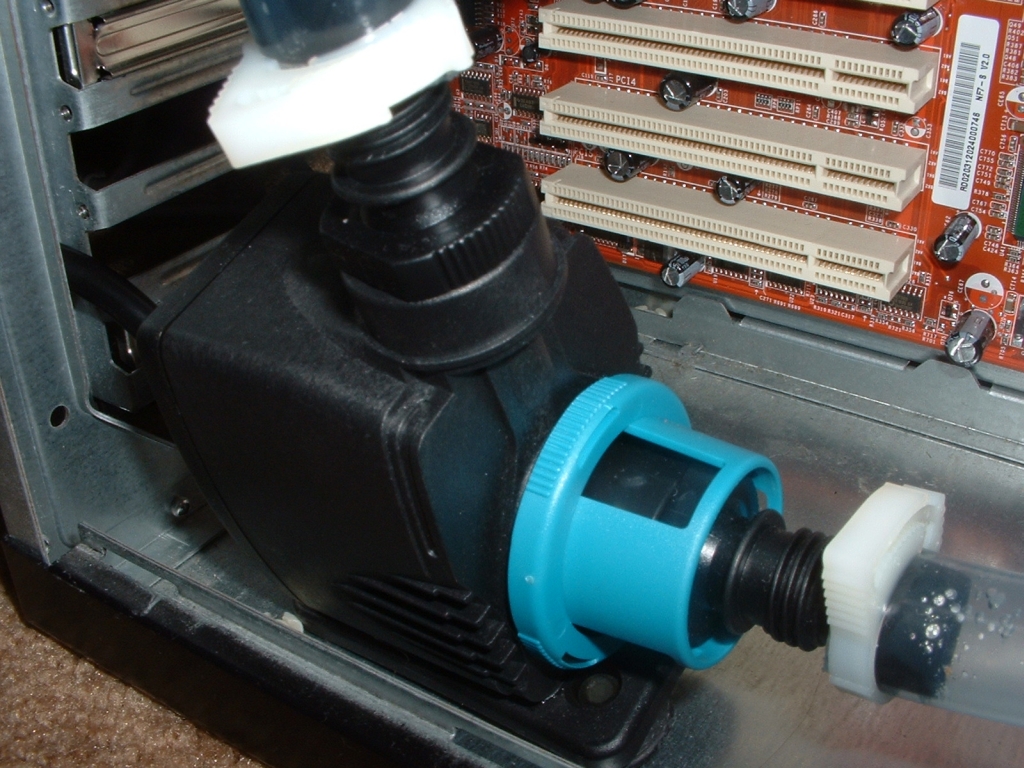
The pump was simply put inside of the case near the back so that the fittings would point at the waterblock and radiator. The water will flow out of the top fitting which will then go directly to the CPU. Going from the radiator to the waterblock would theoretically give better performance because the pump will heat the water a little however not enough to see any difference. The pump does not come with a relay which means that you will have to plug the card into a wall outlet. You will also have to cut a hole in your case to route the plug out to plug it in to anything. If your power supply has an outlet in it you will be able to plug the pump into it and it will automatically start when your computer is turned on. If your power supply does not have an outlet you will have to keep the pump running all the time or plug it in every time you start your computer.
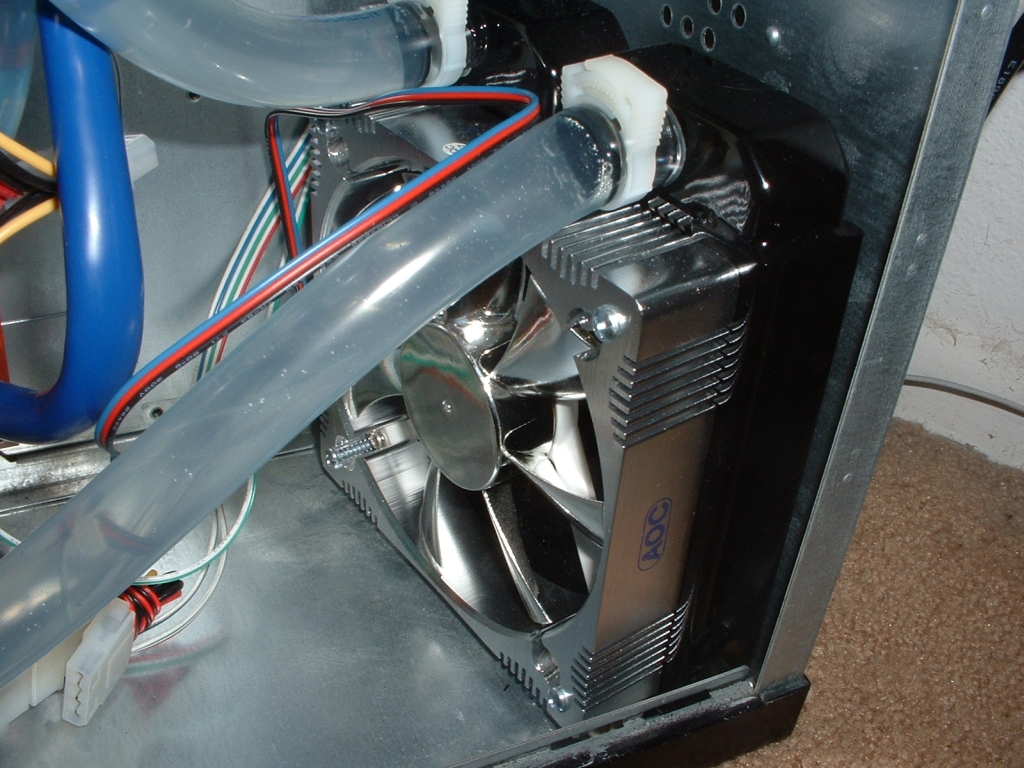
I chose to install the fan to the front of my radiator with the four screws provided. Once I had them tightened down enough I placed the radiator at the front of the case with the fan blowing through it and out of the case. Ideally what you will want to do is cut a 120mm hole for the fan and have air from the outside being pulled in and blown directly through the radiator. Doing this will cool the radiator better than using the hotter air inside of your case. For the testing of this kit I did not cut a hole, I just kept the side of my case off. After I installed the radiator I plugged in the fan to a regular Molex connector.
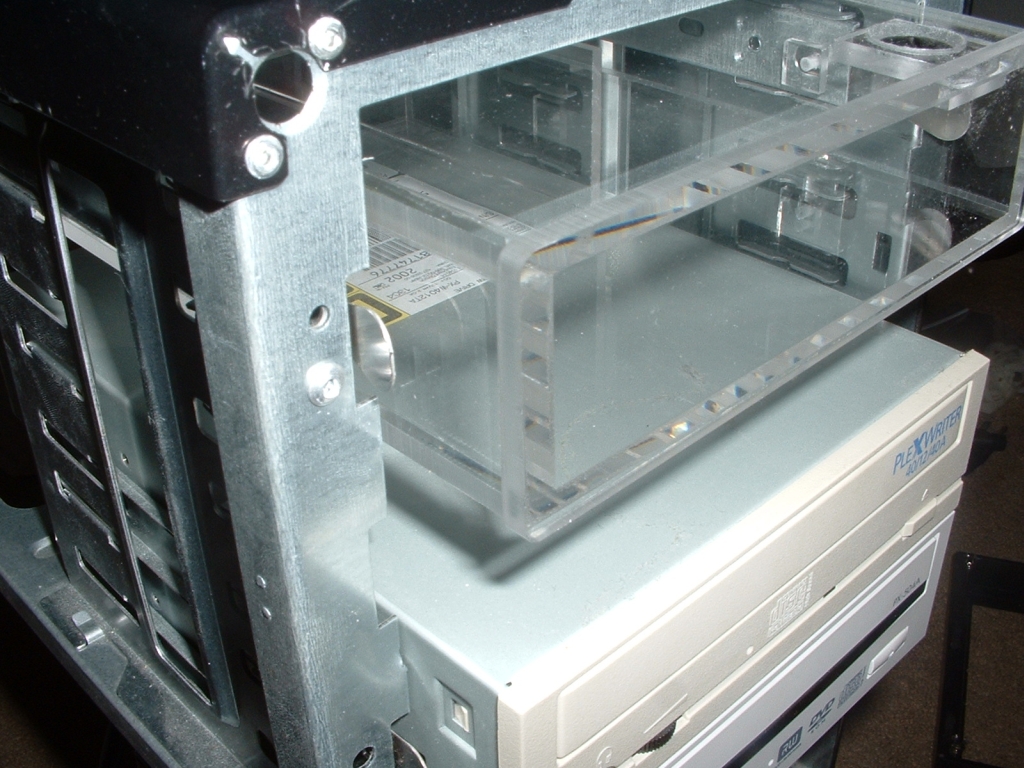
Using a Koolcase Panther which I previously reviewed I installed the Bay-Res to the top most 5.25″ drive bay. This case uses drive rails to hold the 5.25″ drives in place, normally they are great and save a lot of time. For some reason when I installed the Bay-Res to this case it did not align properly with the front bezel. I’m assuming that it did not install correctly because of my drive rails however I dont see why it shouldn’t work if the holes on the side of the Bay-Res are the same as a CDROM.
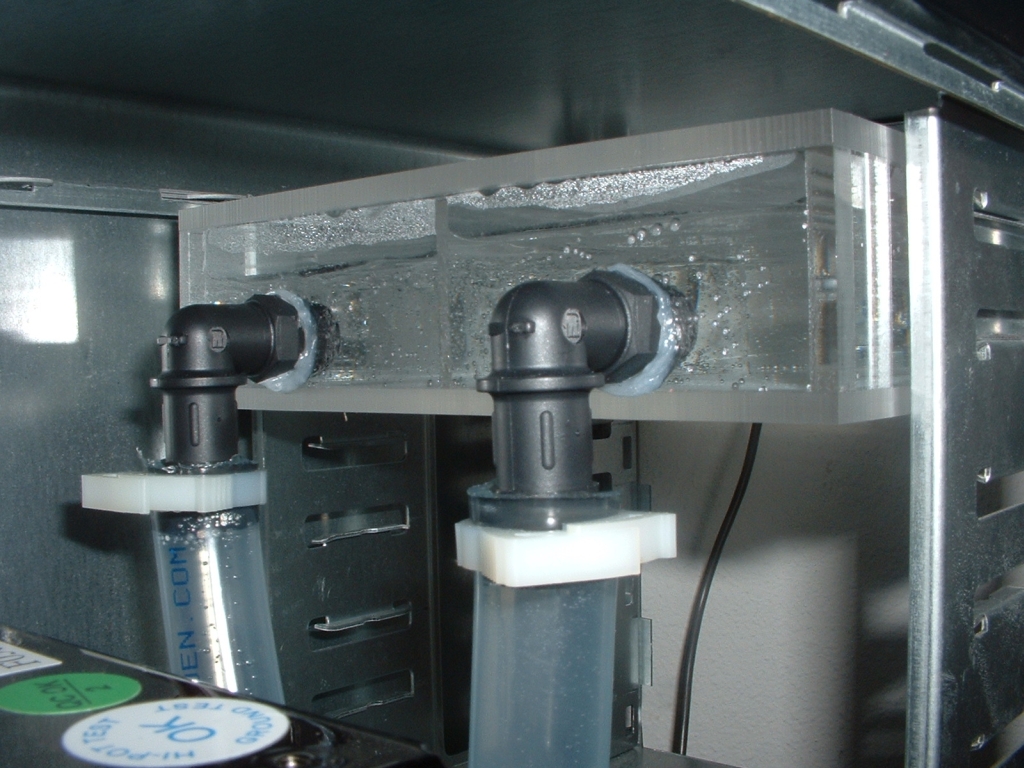
I installed my video card back into the case so that I could hook up all the tubing. I have the card setup so that the water flows from the CPU waterblock to the top fitting and out the side fitting which then goes to the reservoir. I like that the barbs are angled because it decreases the possibility of the tubing kinking.
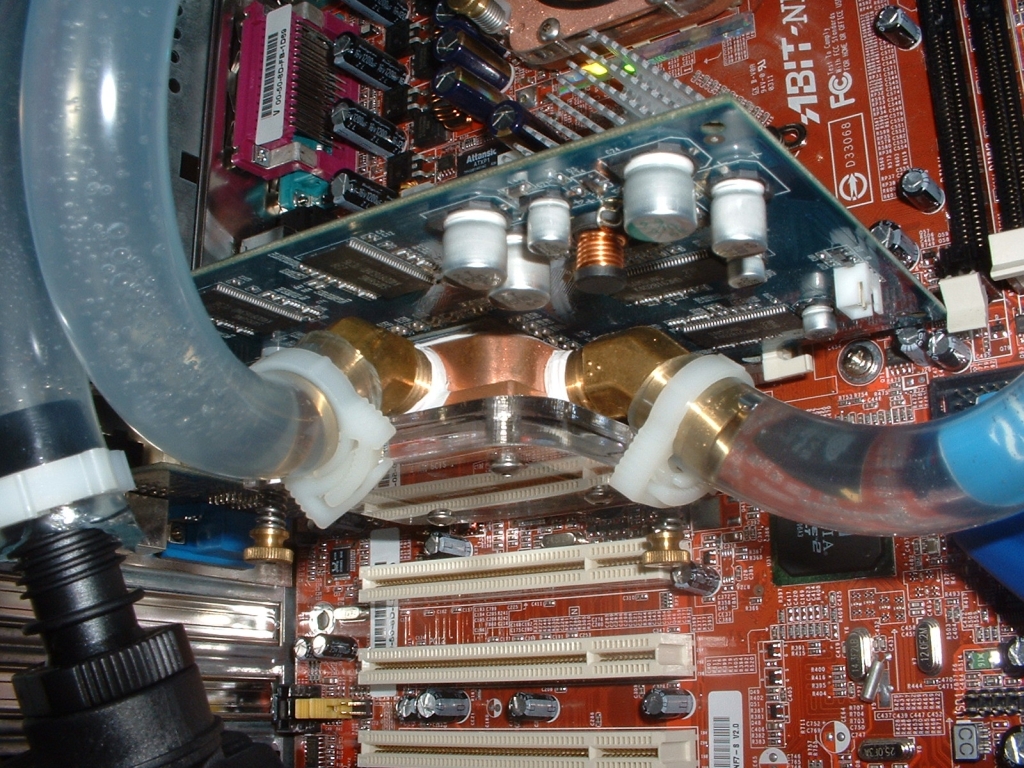
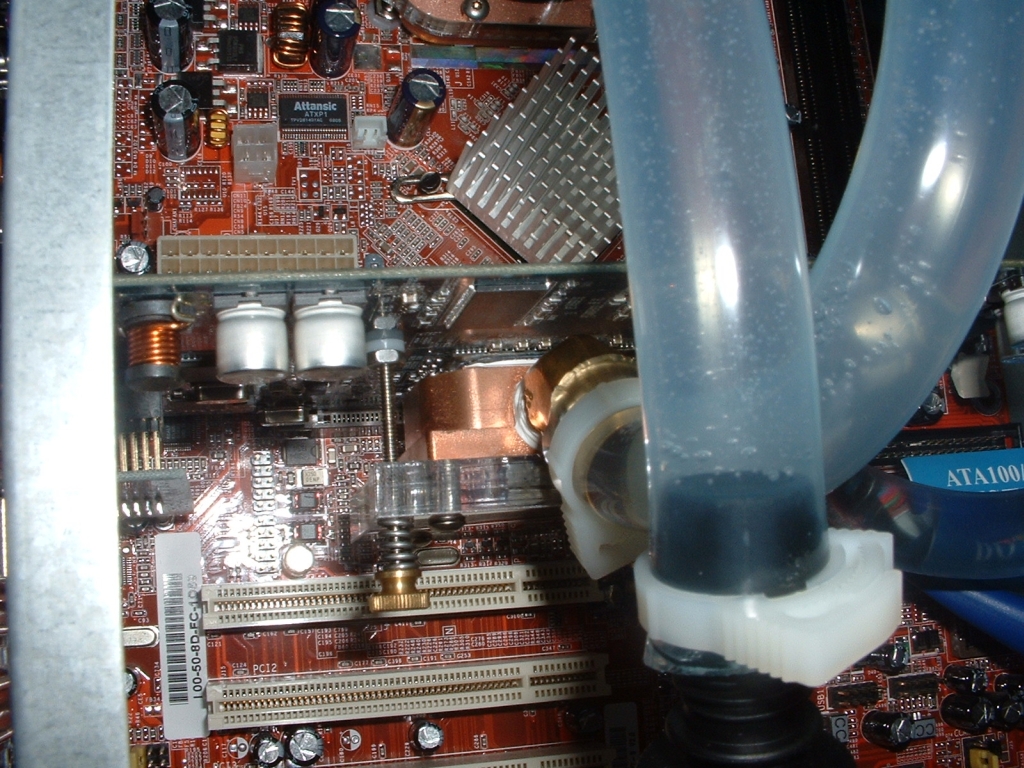
Now that I have each part of the watercooling kit installed to my system, the tubing all hooked up and clamped, and filled with water it’s time to test it out and see if all the effort put into installing this kit will produce good results.