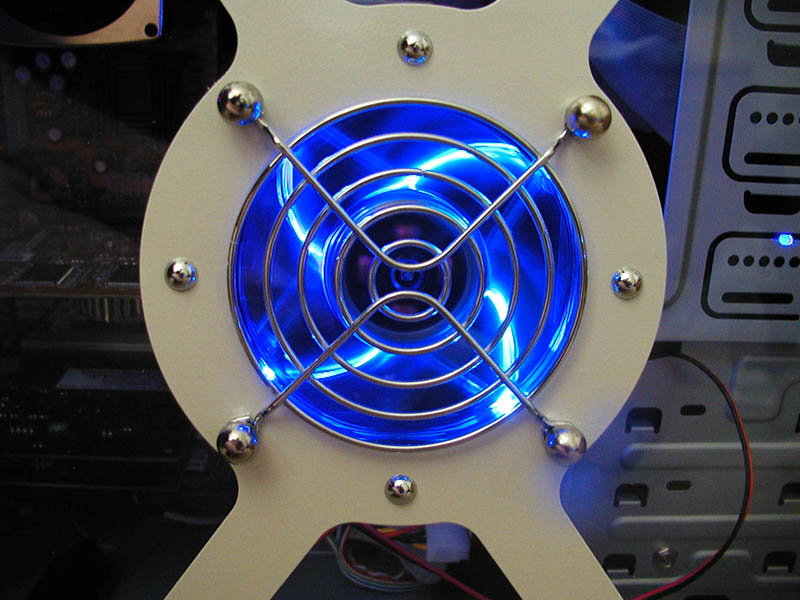
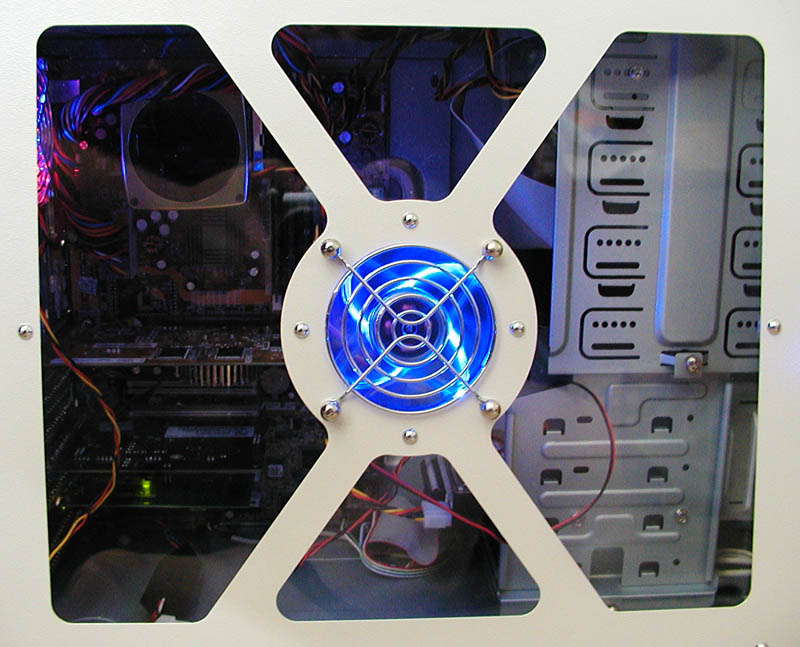
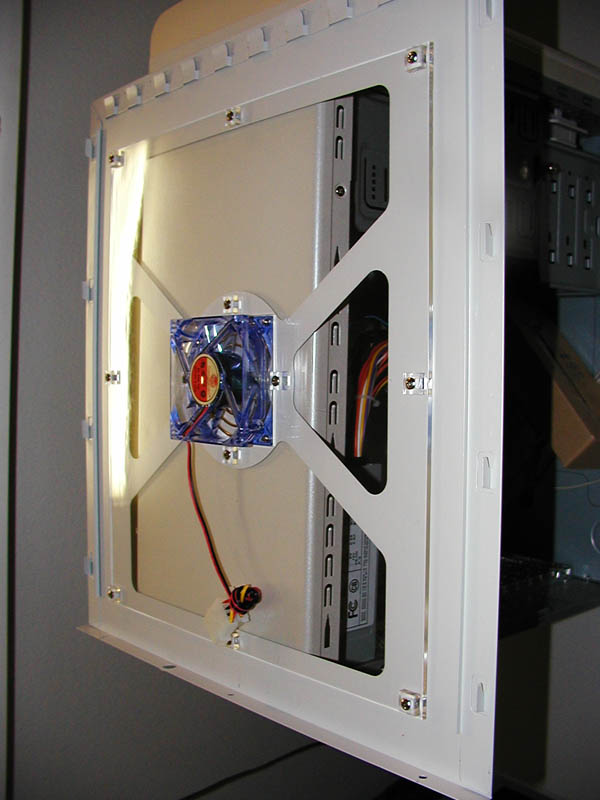
The factory-cut window is very clean, and machined very well. The thick finish was apparently applied after cutting, as the edges are coated with no metal showing. The window is actually four separate windows, with an 80mm fan secured in the center of the X configuration.
The acrylic itself is one solid sheet, with an 80mm square cut in the center to perfectly fit the enclosed crystal fan. The acrylic is secured with screws that attach to “fake rivets” viewable from the outside of the case. The screws are buffered from the acrylic by square acrylic “washers” which prevent the acrylic from cracking if over-tightened. This mounting method is quite clever, giving the illusion of being riveted into place while allowing easy removal, should the acrylic need service.
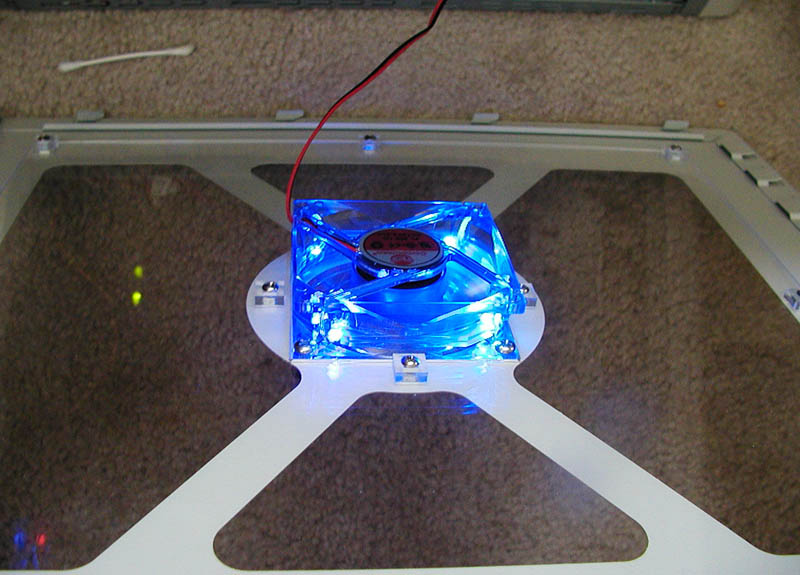
The enclosed fan is crystal clear with a slightly blue tint. It produces very little noise, as it rotates at 2500RPM. There are four small blue LEDs in each corner, which illuminate when the fan is powered through its standard Molex connector.
I would have preferred to see a standard 3-pin fan connector, but the fan is still nice. A gold fan guard is attached to this fan, but the gold color does not match the rest of the case, which uses silver accents. I replaced this fan guard with a silver one, and matches much better, IMO. I also attached the fan using rounded screw heads (found in your local hardware store lighting department) to match the “rivets” surrounding it.
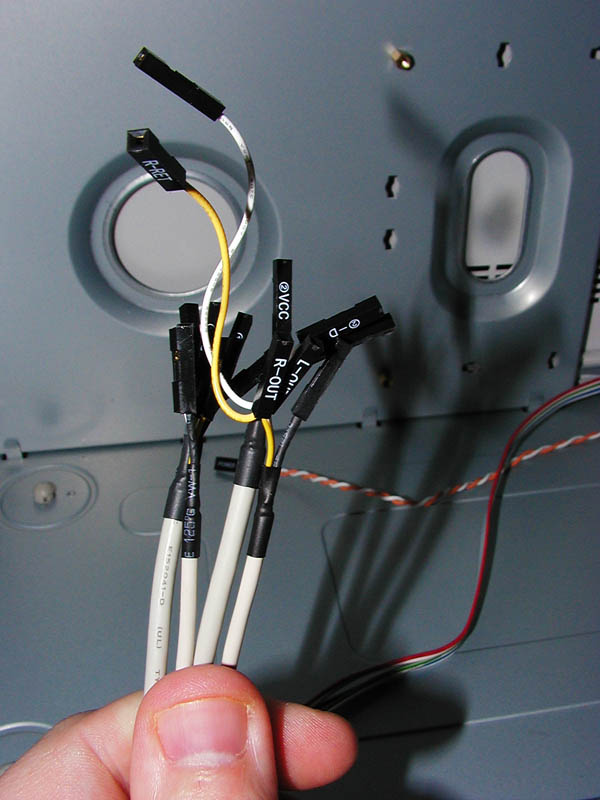
The front panel connector’s wires are separated into individual pins, which makes the front panel universal with every motherboard, but makes for longer setup. For example, some motherboard power LED connectors are either 2-pin or 3-pin (with the center pin removed).
Case manufacturers either had to include both types of connectors, or the user had to mod the case. With the pins separated in such a way, the user will not run into this problem when connecting the leads. Since the pins are not clustered together, it is difficult to know the positive/negative orientation, and one must refer to the motherboard manual.
The USB connectors are configured this way, and makes it difficult to install, although each pin is clearly labeled. Enermax should be given praise for this approach, as they are providing a solution to a problem within the industry.
Power supply
The power supply rests upon a lip created within the case’s design. Enermax chose to include a no-name brand 350 watt power supply (Powerup brand), instead of their own high-quality units. The PSU is Pentium-4 ready, with a 4-pin 12V lead, a 6-pin 12V lead, standard ATX motherboard connector, and 2 power leads (one with 2 molex connectors, and a longer one with 2 more standard molex connectors and a floppy connector).
The case is designed that the floppy should be at the very top, and the hard drives at the very bottom. Thus, it does not make sense to include a power supply with the only floppy connector is on the longest lead! The other lead just barely reaches any bottom hard drive. I understand that Enermax must cut corners somewhere to deliver a case of this quality for such a low price, and it IS a 350 watt power supply, so this is just a minor annoyance rather than a significant problem.
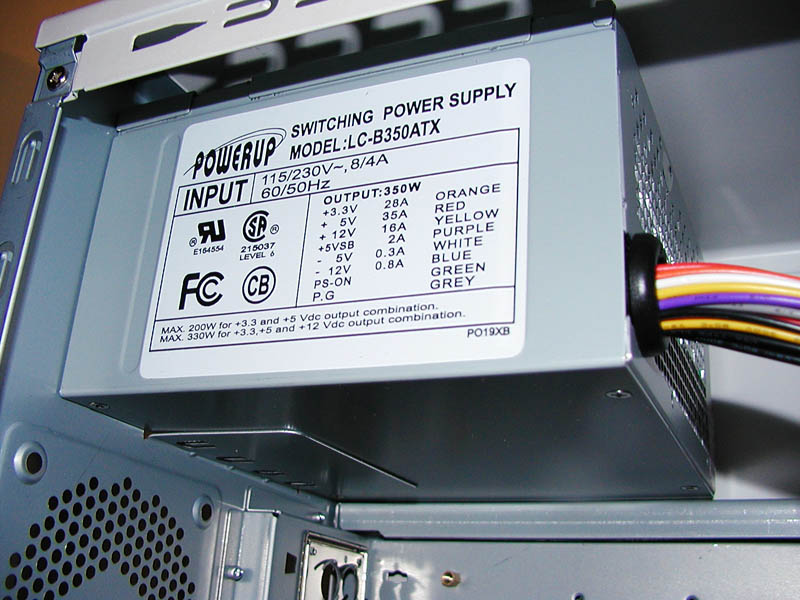
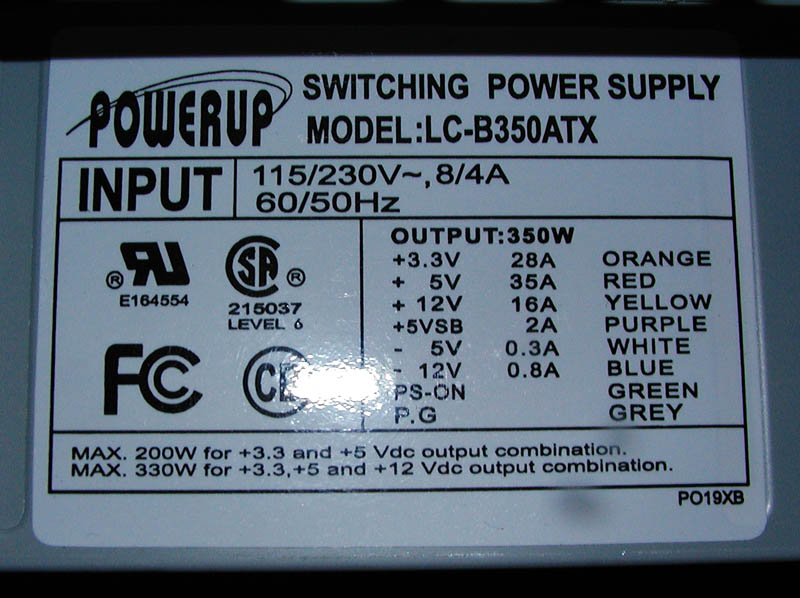
The published ratings of the power supply raises suspicion to the quality of its components. Below is a table that shows the voltage rails, its amperage, and the calculated watts. Watts was calculated using the formula “Watts = Volts * Amps”.
| voltage rail | amps | watts |
| +3.3V | 28A | 92.4W |
| +5V | 35A | 175W |
| +12V | 16A | 192W |
| Total watts: | 459.4W | |
According to these specs, once all the watts are summed up, the power supply should be 460 watts! However, the power supply states on the bottom of its specs that “Max 330W for +3.3, +5, and +12Vdc output combination. Well, I don’t know any computer that would NOT use this combination. No rigorous testing was done on the power supply, but it appears to do an adequate job under normal circumstances.