The case is opened by loosening two thumbscrews and sliding the side panel back and then lifting out, just like most standard cases. Looking inside we see a very simple design that many PC builders should be comfortable with. The 250mm fan is integrated into the side panel that we just took off, and we see that the fan’s cable ends at a standard 4-pin molex connector. I absolutely HATE being forced to use this connector. Every manufacturer should have fans that use the standard 3-pin fan connector, and give the option of a molex adapter.
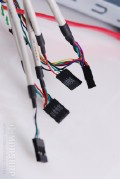
All of the connection wires are attached to the front I/O panel, and drop down into the main area of the chassis and are tied together at the top. The other side of the top area has two steel shelves to support the weight of a power supply. The main area has all of the standard screw holes to accomodate just about every type of motherboard.
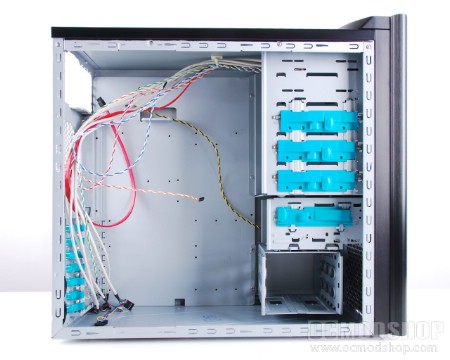
Simple internal design
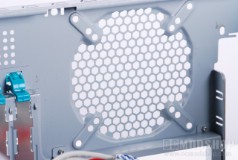
The motherboard tray is not removable, but does feature a tooless slot mechanism. In my experience these plastic pieces never hold up heavy cards against gravity, and many PC gamers utilize heavy third-party heatsinks on their video cards. I would seriously recommend using thumbscrews instead. Above the motherboard I/O panel is a fan exhaust port with an innovative design that allows you to install an 80mm, 92mm, or 120mm fan. Not only does this allow flexibility with an exhaust fan but allows you to mount an external watercooling radiator. Enermax has included a 120mm fan, but it is powered by a 4-pin molex plug, which I hate (as mentioned at the top of this page).
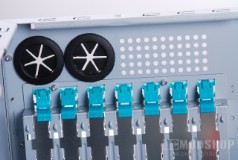
The drive area is not a single column, although it looks like it at first glance. The 5.25″ drive bays are riveted to the motherboard tray, and feature a tooless fastening system. Three plastic turquoise sliders are pre-installed. When pushed towards the front of the case, the fastener pushes any installed drive against the other side of the drive cage, thus securing it. While this allows for quick installation (and eliminates the necessity to remove the other side panel to access screws), it is my experience that drives are more prone to rattle when secured in this way. There are slotted areas to secure your drives with screws, if that is your preference.
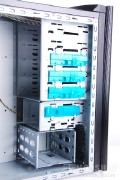
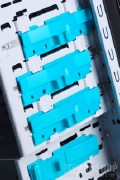
The 3.5″ drive cage is secured to the front, and drives are fastened in the same manner as the larger drive bay. While one drive bay is exposed, there is room in this cage for an internal 3.5″ device (aka hard drive).
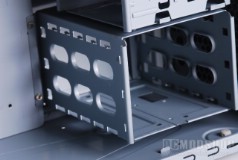
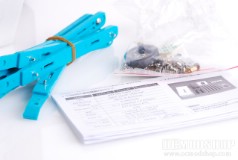
The bottom drive cage is meant for three hard drives, and is oriented 90 degrees so you can slide your drives in and out from the side using included plastic rails. You can remove the drive cage completely, but it requires loosening a few screws from the motherboard tray. The case’s “goodie box” includes six plastic hard drive rails, which you can attach to your drives, and then just slide into the bottom drive cage, which lock into place. These rails do not “screw” into your drives, so you must hold them onto the sides as you slide in. Just squeeze the plastic tabs to unlock them and slide them back out as needed. There is room between the hard drive cage and the front panel for an intake fan (which would double as a drive cooling fan), but none is included.
You ready for our verdict? I thought so… click on the next page…