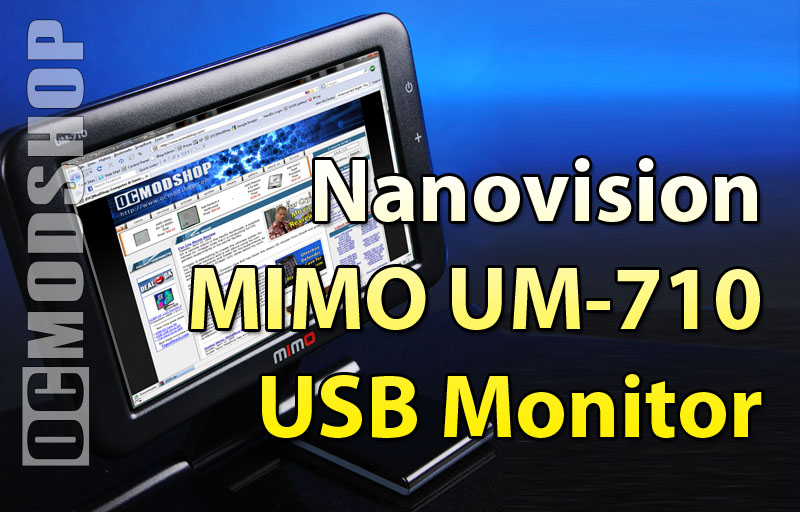
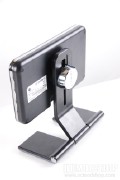
Before you can connect the display, it should be assembled. The MIMO comes with a small stand, USB cable, driver CD and a plastic knob. The back of the monitor has a threading to accept the screw on the back of the plastic knob. Just arrance the monitor so the screw fits between a slot on the included stand, and secure with the bolt. There are a few buttons on the right side of the monitor: power, brightness up and brightness down. You cannot hold down the brightness buttons, and must press them once for every level of brightness. I just keep it at the brightest available, and it still isn’t as bright as my main monitor.
Connecting the monitor to your computer is very straightforward. There is only a single USB port (located on the bottom of the display), which much be connected to any standard USB 2.0 port. You should be able to thread the USB cable through the base, but there is an inline ferrite core that prevents this. It would have been nice if a right-angle USB cable were included, so there wasn’t an unsightly cable dangling from the bottom. The monitor even receives its power from the USB cable. Once the software is installed, the display powers on upon connection of the USB cable. It takes a few seconds the first time it is plugged in, but then you can extend your desktop to the new monitor.
The monitor has an odd resolution of 800×480 pixels, so it will likely be much smaller than your normal desktop. You can only move your mouse onto the new monitor by finding the right “hole” on the right or left side of your primary monitor, so this desktop arrangement is best for windows that you don’t have to drag around very much. It works best with Windows Sidebars, gadgets, IM and chat windows. Personally I like the FrontView applciation from iMedian, which comes with the ThermalTake DH-102 HTPC case, reviewed here.
The MIMO UM-710 uses the same technology in DisplayLink video adapters (read our review here). As a matter of fact, we didn’t have to install any drivers on our test machine because we used the same machine to test the DisplayLink USB graphics adapter. In theory, the monitor has all the capabilities of your host video card, but the video signal is compressed, sent over USB, and decoded on the display.
On the next page we analyze if it’s worth your money…