
Before you begin applying the skin to your case you will want to measure things out. Because my design has a horizontal line I wanted it to be level. Some skin designs it would probably not matter too much if they were not perfect but with something like this you should take the time to measure. I first just put the skin around the case to see what it would look like and where I wanted it to go. After getting a general idea of where I wanted it I then got out my measuring tape. I made a mark on my case 14¼” from the bottom to line up the bottom of the black under OCMODSHOP.COM. Since the skin was larger than my case I couldn’t see the mark so I used the instructions to line it up correctly. I am very precise when it comes to things like this because I want them to look as good as possible.
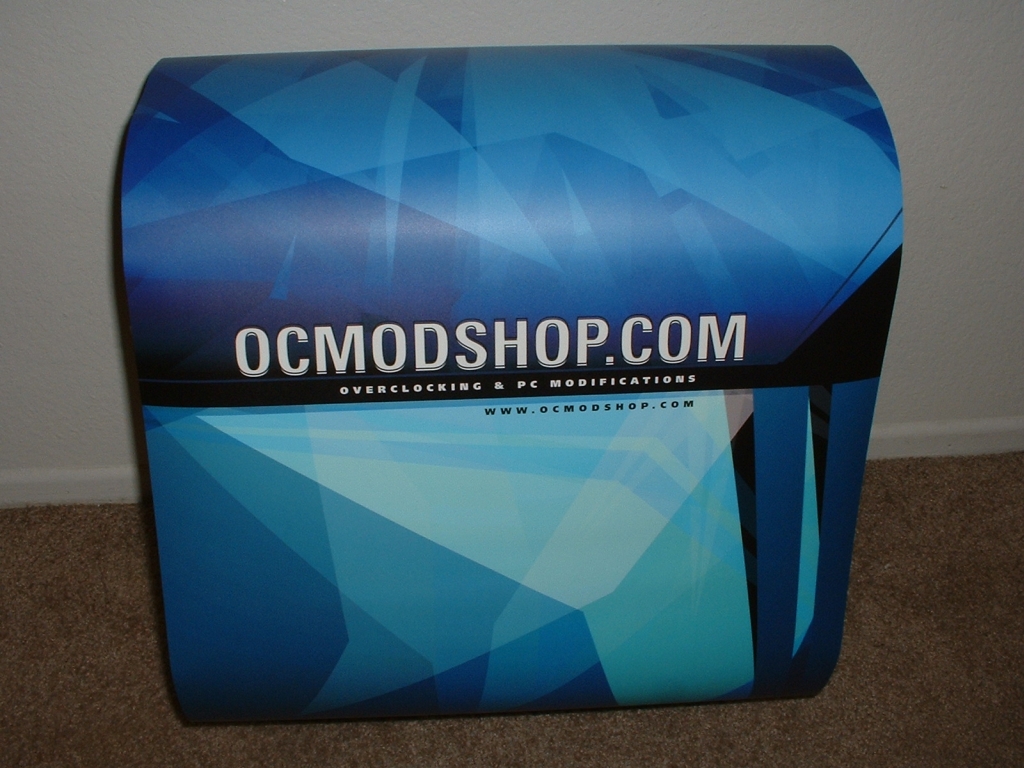
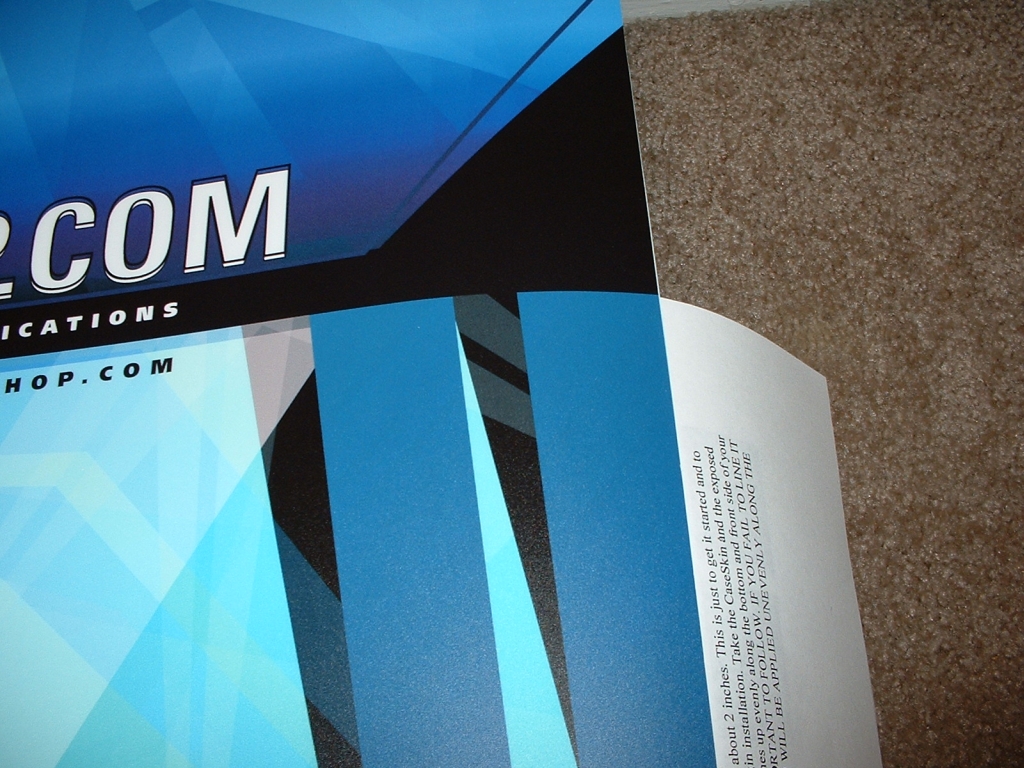
Once I had it to the point where I wanted it I unrolled a small section of the backing and applied it to the case. Application of the skin is really easy, and like they said the applicator isn’t required. I did use it still just to make sure it was on there as much as possible. You really don’t need to use it though because you can feel the material just wanting to stick into place and not be a struggle.
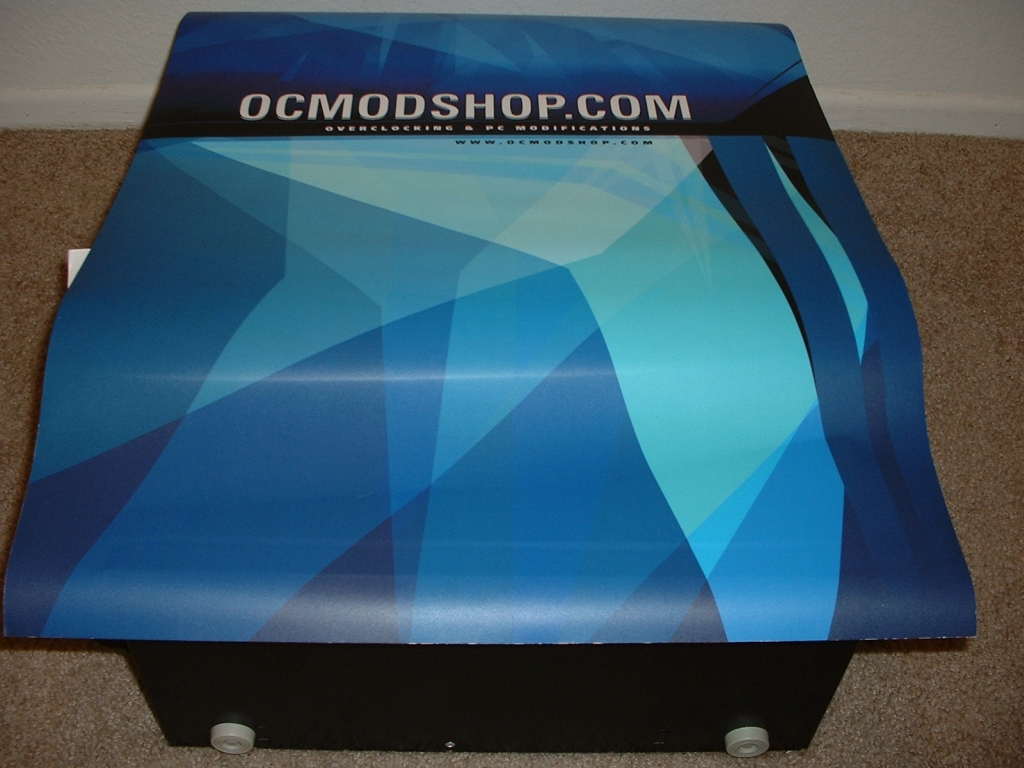
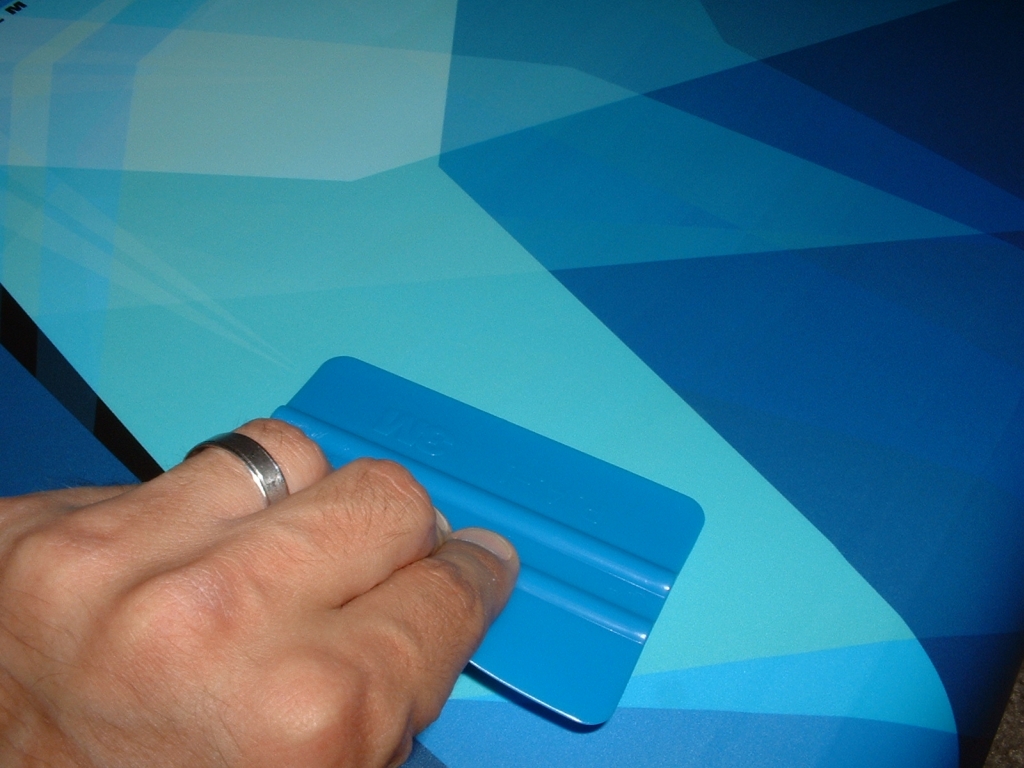
Finishing the first side and top took only a few minutes and was really easy. you can see the excess backing that is hanging off which you just continue to pull off as you go. I finished off the last side and when I pulled off the last part of the backing it was all on. I tucked the bottom excess under the case so it wouldn’t get stuck to anything until I cut it off.
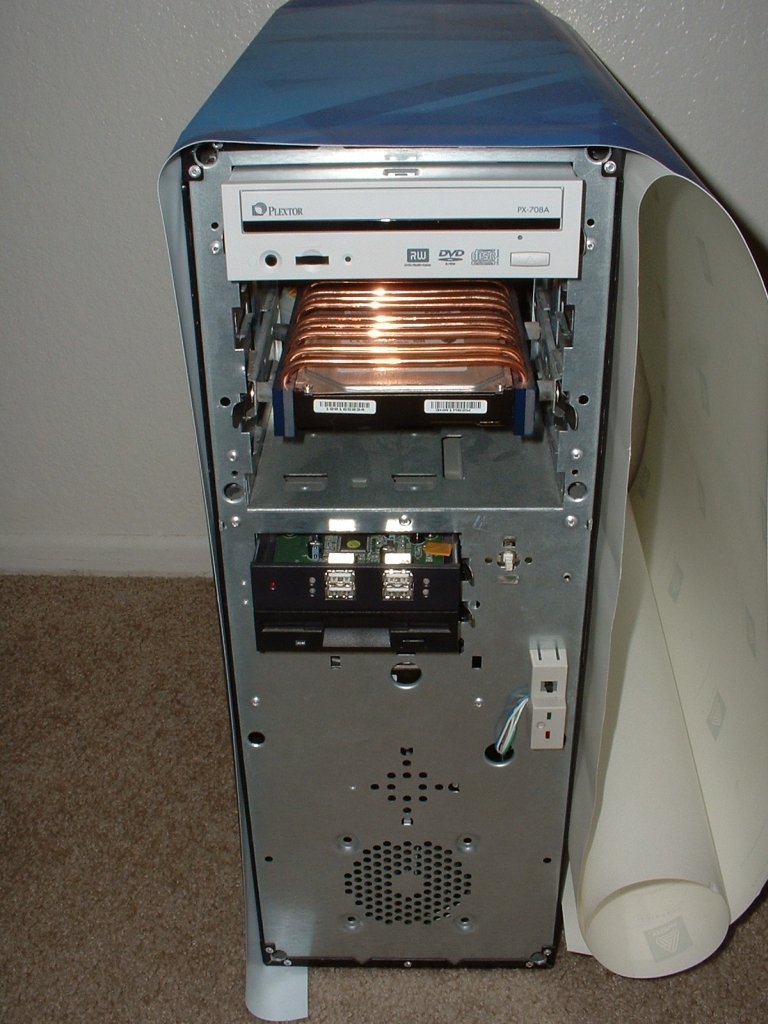
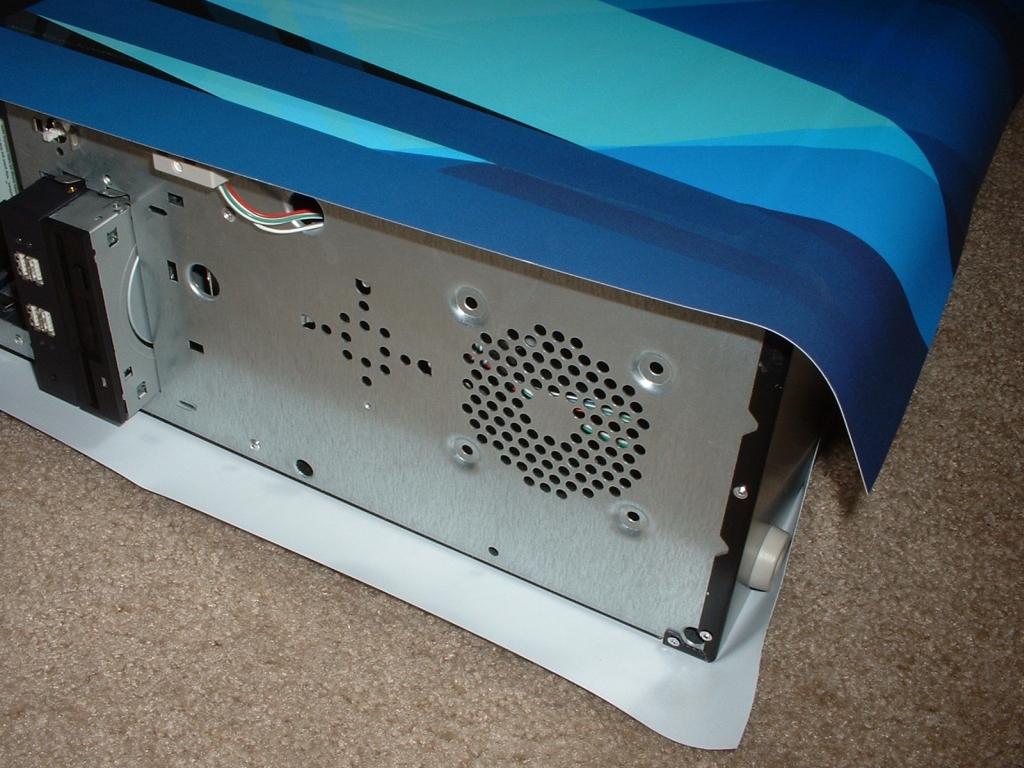
With the skin completely on the case I could now get rid of all the excess that was not needed. I took a utility knife which is just a razorblade and carefully cut away all of the remaining skin. This probably took the longest because you need to be careful to not slip, because if you do it could be ruined. After about five minutes I finally finished cutting it all off. It looks really good but there are still some minor details to be finished before the modification is complete.