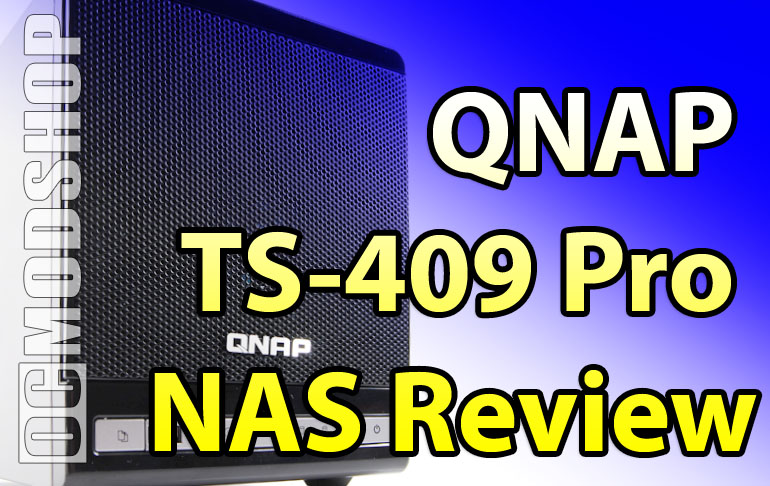
The most complicated part about installation is choosing which array you want. If you’ve already plopped down six Benjamins for this unit, then you either have several existing drives you want to use, or have purchased some brand new blank drives. Even though the TS-409 supports data migration without data loss, the drives must be initialized first, so you should start with blank drives.
So, the array you choose will probably depend on how many spare drives you have available. This unit has 4 drive bays, meaing that you can have
- 2x RAID 0 or 1 arrays
- 1x RAID 0 or 1 array + 2 single volumes (or 2-disk JBOD)
- 4x single volumes
- 1x RAID 5 + single volume
- 1x RAID 5 with hot spare
- 1x RAID 6
- any mix of JBOD and single volumes
Even though there are 4 drive bays, the unit does not support RAID 10 (1+0, 0+1, whatever…). You can mix and match whatever suits your needs, as long as you have drives available.
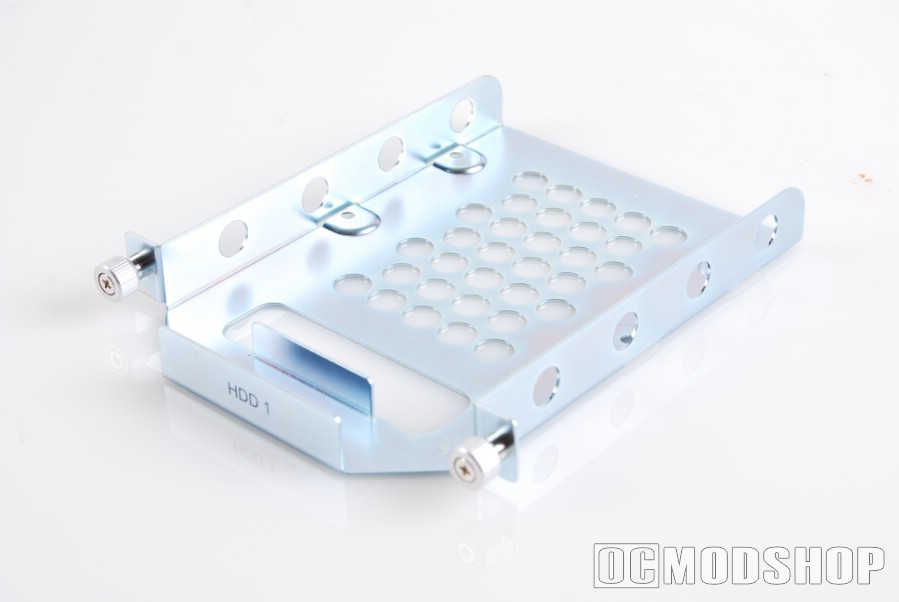
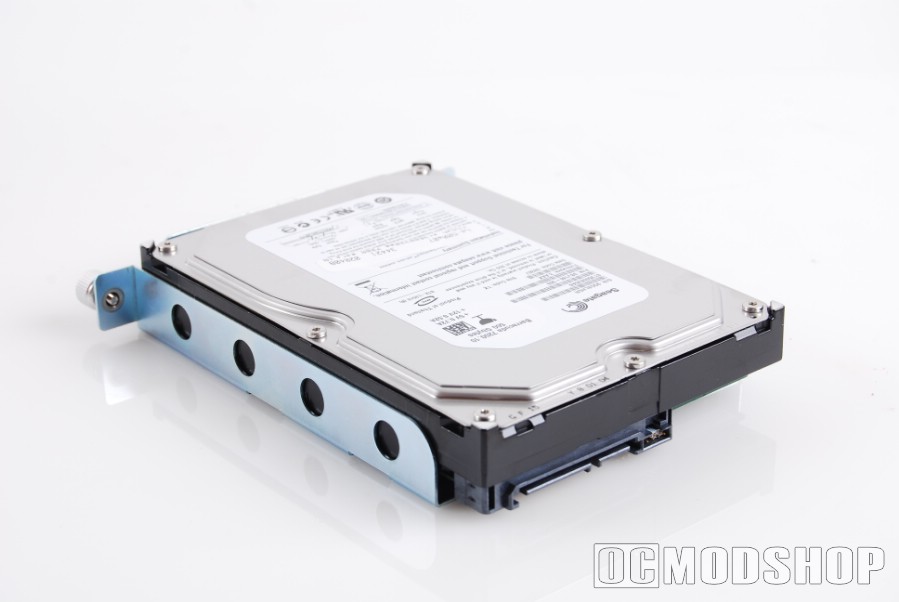
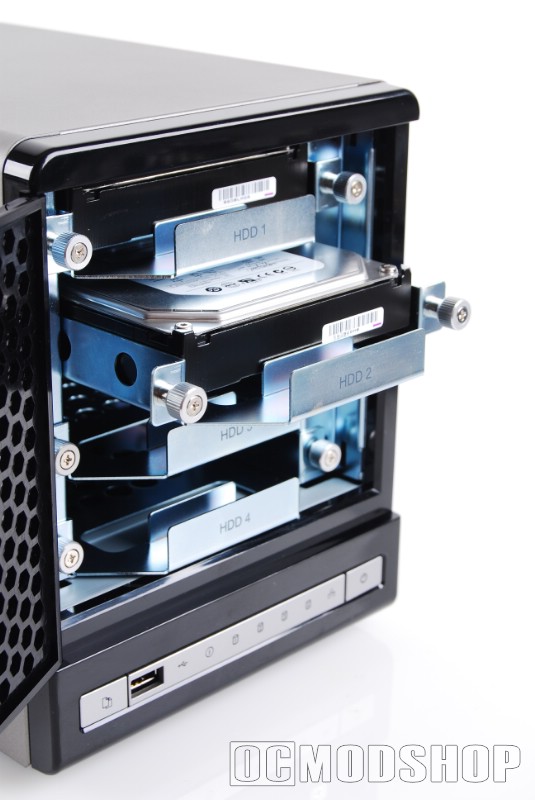
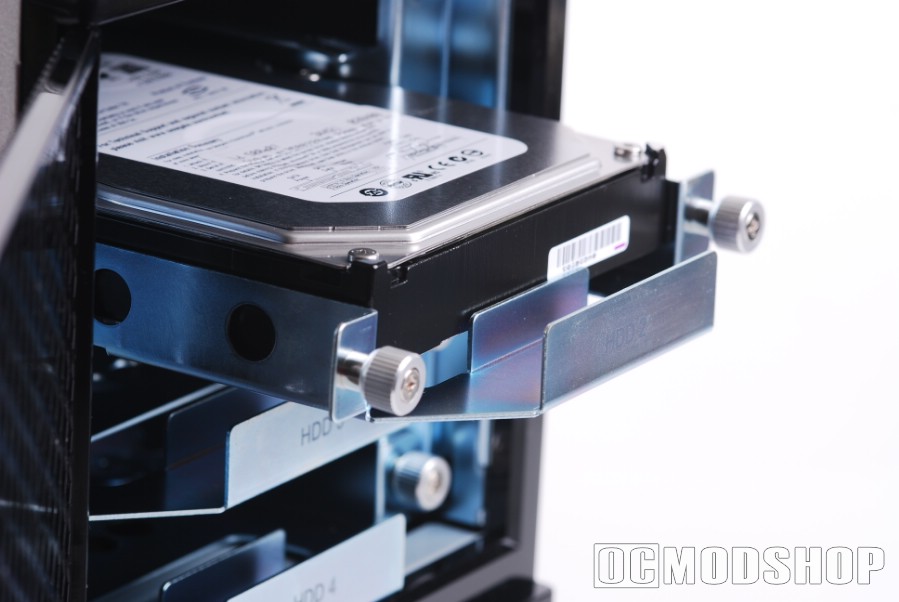
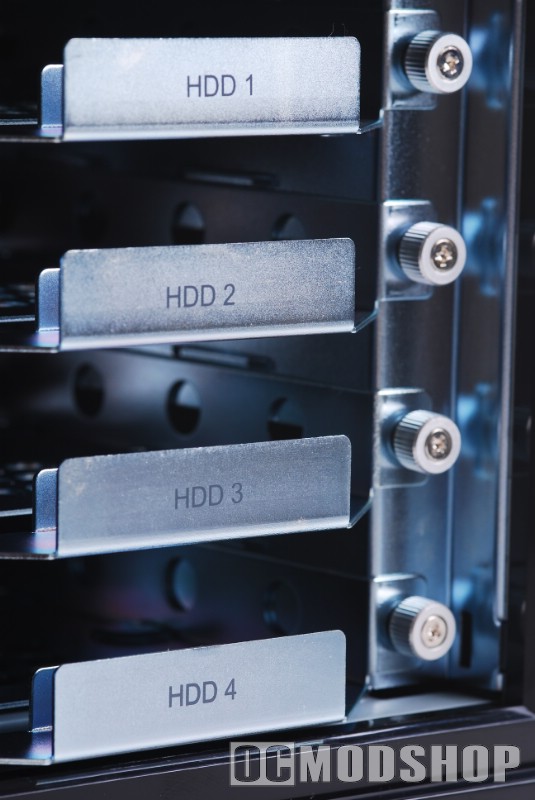
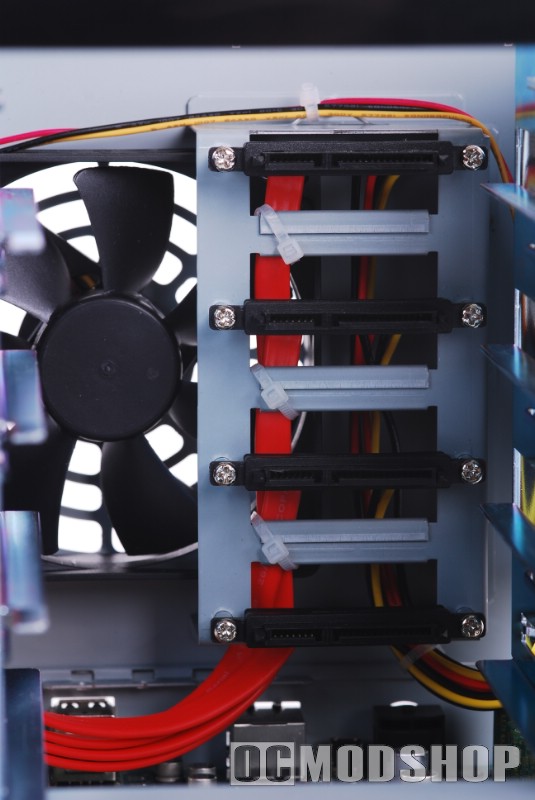
Physical installation of your drives is rather simple. All four drive trays are secured with thumbscrews, but there really isn’t enough room for your thumb to grab hold, so you really need a phillips-head screwdriver to pull the drive trays out. Once removed, you simply place your drive in the tray and secure screws to the underside of the hard drive (with SATA connectors facing the rear, of course). Then you simply slide the tray back into the server and tighten the thumbscrews back.
You can pre-install as many drives as you want, but you cannot initialize an array until you have the minimum number of drives installed for that array. The TS-409 has routines in firmware that allow you to connect to it and initialize drives, but the server isn’t fully functional until it partitions, formats, and installs the OS to them. Since this NAS runs on Linux, the unit creates several hidden partitions for the OS and swap file, so you will lose about 1GB from each of your drives. The main data partition is formatted in Linux EXT3 format, so there’s no hot-plugging a drive into a Windows machine for easy data copying.
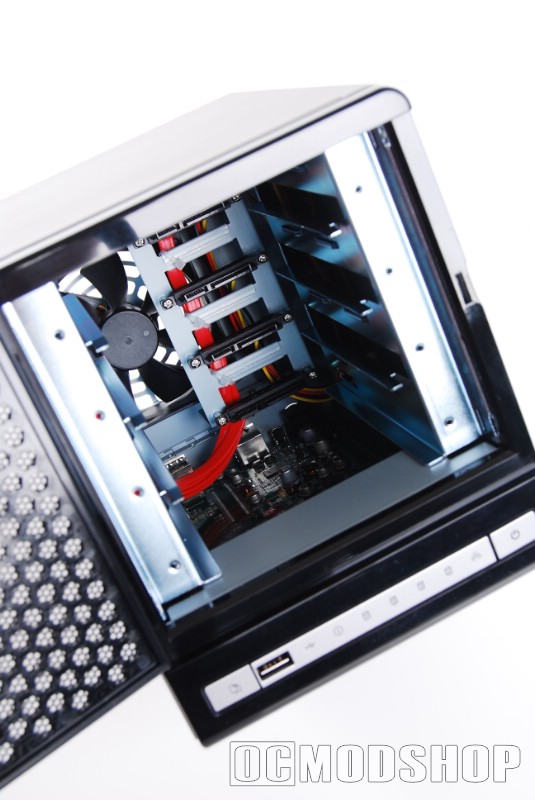
Once your drives are installed, press the power button and the NAS will go through a boot-up procedure that takes about 30 seconds. Once the second beep is heard, then the device is ready for configuration. Just for kicks and giggles, I installed a hard drive previously formatted from the QNAP TS-109 Pro, but the TS-409 Pro wouldn’t accept it until it had been wiped clean.
QNAP includes a nifty program on the installation CD called the “QNAP finder”, which allows you to connect to the device for initial setup. Once you select your device, you are brought to web browser for configuration (thankfully all administration of the NAS is handled through a web interface with AJAX support). By default, the initial account and password is “admin” (this is included in firmware, so if you start from scratch you can always get in).
You can go through a wizard that configures your drives, and you are presented with different RAID options depending on the drives you have installed. For example, if you have only two drives installed you can create a single volume, a spanned volume (JBOD), RAID 0 or RAID 1 arrays. If you have three drives then you can create any of these or a RAID 5 array.
You can have as many volumes as you want, but keep in mind that the server has certain “default” shares that only work on the first array. For example, the TwonkyMedia and other media servers only work with the “Qmultimedia” share, which cannot be renamed or moved. There is a “Qusb” share that is intended as a repository when you dump data from a USB drive, and it will only copy to that folder. You can create as many other shared resources as you want on any drive, but the default system shares only work on the primary array.
So, once you’ve selected the array(s) you’re going to use, the wizard initializes the disks, which involves creating several system partitions, copying the OS, setting up default shares and other configuration tasks. Initialization can take several minutes, especially if you have created a large array with multiple disks. In a RAID 1 scenario, it can take hours to finish “synchronizing” but you can start writing data almost immediately.