
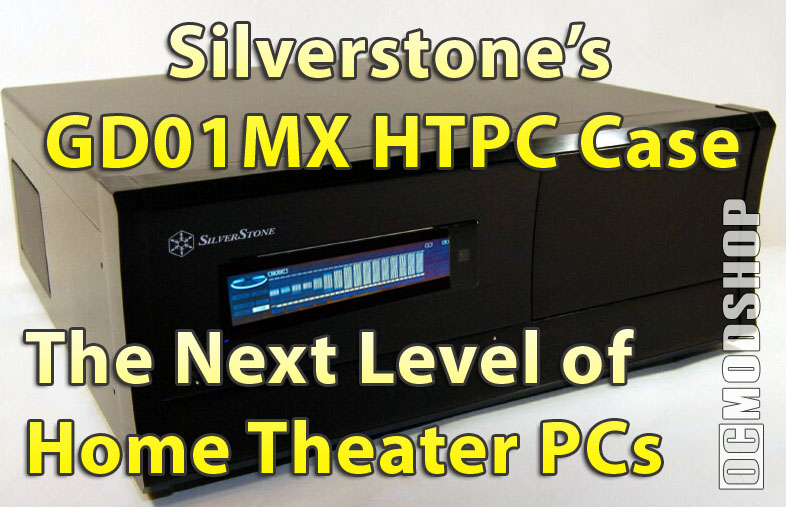
As with Silversone’s other cases, the GD01 has a good look and excellent finish that matches well with most other entertainment equipment. The front of the enclosure appears rather clean and simple; as most of the components are hidden behind spring-loaded doors. The front is segmented into two-thirds, with the LCD display (and IR receiver) taking up the majority on the left, and the drive bays hidden behind a flip-down door on the right. The 52-in-1 card reader, audio jacks, USB and Firewire ports are hidden behind a flip-down door near the bottom of the bezel. The front panel is made of aluminum, and has a concave curve shaped into it.
Accessing the drive bays is easy. Just push the door in slightly, which unlocks the latch, and the door slowly lowers on a gear-driven hinge. The doors operate smoothly and quietly, and have a good thickness and feel very robust. The same goes for the lower door that conceals the card reader and ports.
The underside of the bezel has some hidden air vents, creatively placed to allow critical air intake without ruining aesthetics. The bottom of the case also has four audiophile-quality fee, which helps blend the case in with other audio equipment, as well as raising the case up for better air intake. The sides of the case also have air vents.
Inside
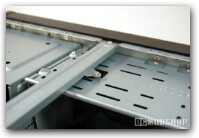
The inside of the case is accessed by sliding back the top lid and pulling up (after first removing the securing thumbscrews). While the front panel is made of hardened anodized aluminum, the inside is constructed of thick high-quality rolled steel.
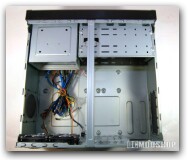
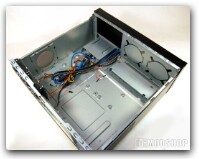
The case layout is different from other HTPC cases I have installed, and makes for easy maintenance. A center brace is screwed into position in the very center of the case, which should be removed before doing any maintenance. The brace is strong enough to lift the entire case, even with all component installed. A large hard drive cage is positioned near the front (behind the LCD display), can accommodate six drives, and has been fitted with high-quality rubber to prevent vibration. The cage is held in place with four screws and slides on a rail.
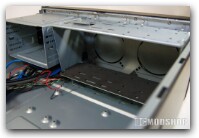
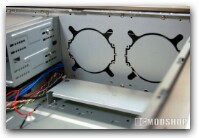
The optical drive cage slides on a rail and is held in place with two screws. This cage can house two 5.25″ drives, which can make this unit a feature-packed HTPC. Early adopters could install a Blu-Ray drive and HD-DVD drive, or video enthusiasts could install two DVD burners for automated copies. Two 80mm intake fans can be mounted to the HDD cage, and the right side panel can accept another 80mm fan. If you have a newer power supply with a 120mm intake fan on the bottom, then the rear-side air intake vent (complete with molded mesh grill) will feed your PSU with fresh outside air. Ahhhh! Breathe it in!
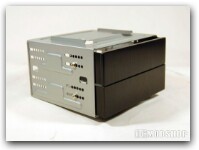
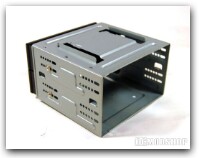
The hard drives were installed next by removing the hard drive cage. The inside of the cage is completely covered with high-quality rubber that feels like a mouse mat (I know I have used mouse mats to quiet computers in the past). Hard drives squeeze in snugly, thanks to the rubber, and the holes of the cage are positioned so the drives only face one orientation.
You might want to hook up the card reader and LCD to the motherboard while the hard drive cage is removed, as the wires are now easily accessible. Basically just connect the USB lead to a free port on the motherboard (Silverstone includes an external-to-internal USB adapter, so you could connect the LCD to the motherboard’s back I/O panel, but this method isn’t quite as OEM). The 52-in-one card reader has a USB lead that connects to one of your motherboard’s USB ports. The LCD’s power is provided with a power adapter that connects between the power supply and the motherboard’s power connector. I really, really don’t like this method, as it unnecessarily cramps wires. The advantage to this method is that it keeps the LCD powered when the PC is in sleep mode or turned off. 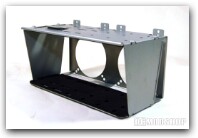
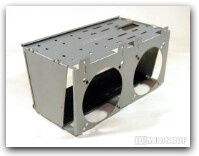
Optical drive installation is also easy: the cage is secured with two screws, which are easily removed, and the cage then slides off its rail. The drive cover plates are attatched to the cage, so there is no need to do the “twist-and-bend” to remove the plates.
The power supply is then mounted, and the wires routed to their appropriate destinations. The motherboard power connector is coupled with to the LCD power adapter, which is then plugged into the motherboard. A modular power supply is recommended to reduce wire clutter inside the case, but if not then you can tuck excess cables under the drive cage: there’s plenty of room.

