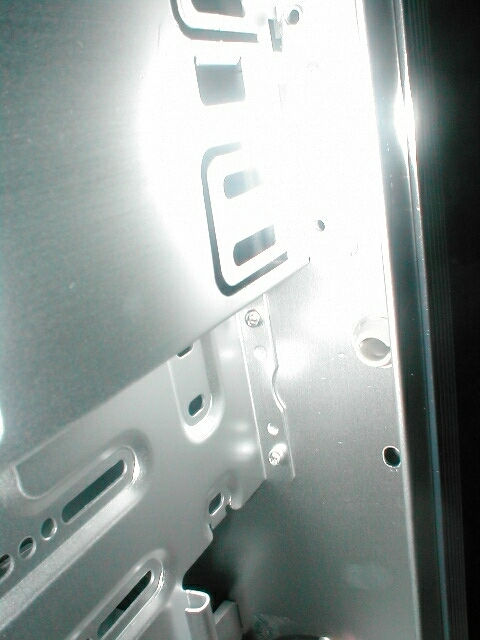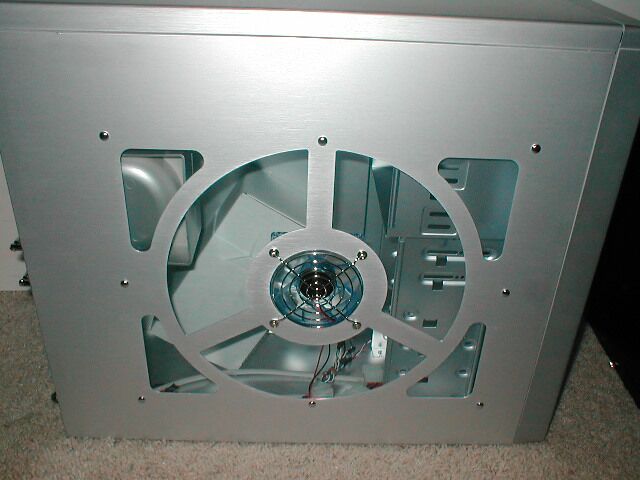
Like I mentioned before each side panel has a two position handle. it lays flat when not in use so that it is not in the way and so that you can push your case closer to a wall if you want to. When you want to take the side panels off all you need to do is remove the two thumbscrews, flip the handle up, and pull the side off. I really like these handles because they make it a lot easier to get the side panels off. After I took off one of the side panels I could see and feel how thin this case really is.
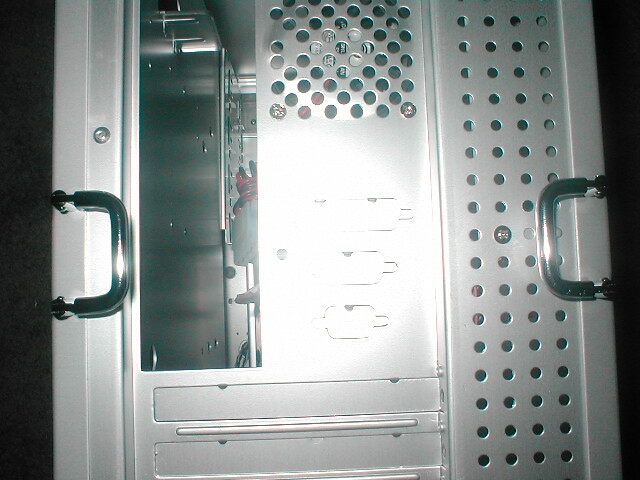
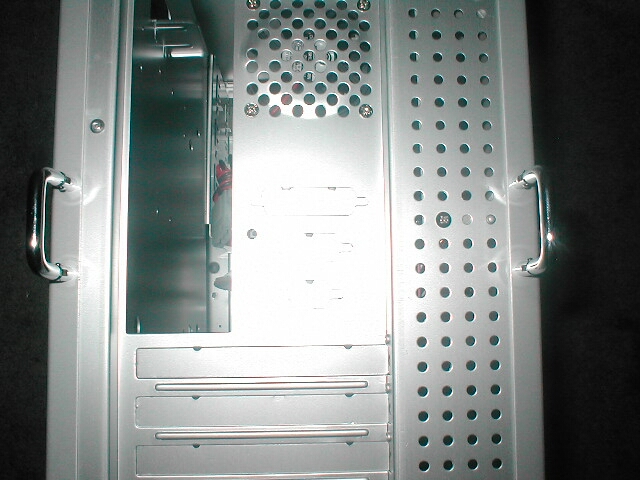
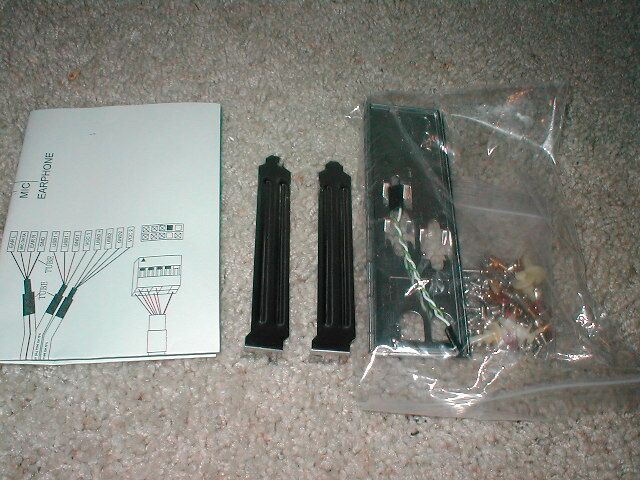
When I took the side panel off, I took a look inside and found some cool things. The first thing that caught my attention was a fanduct inside of the case which is positioned right over where the heatsink should be. The case does not come with a power supply which is a little disappointing but that would also make the price of the case more. The case comes with a manual for the front ports, a bag of screws, I/O panel, 2 expansion bay covers, and a wire which will convert the power LED for the case from a 3-pin to 2-pin connection.
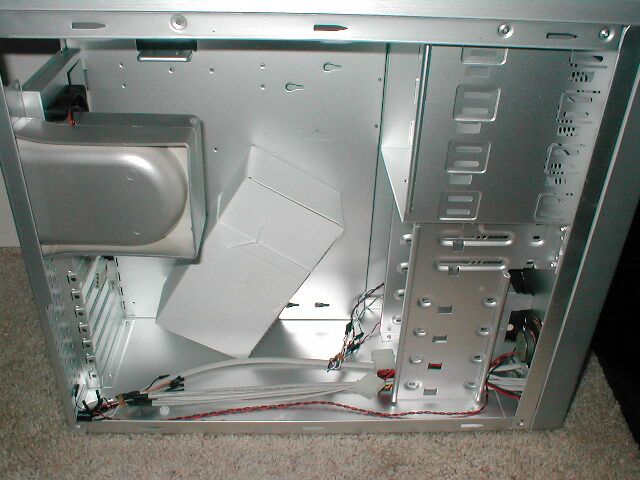
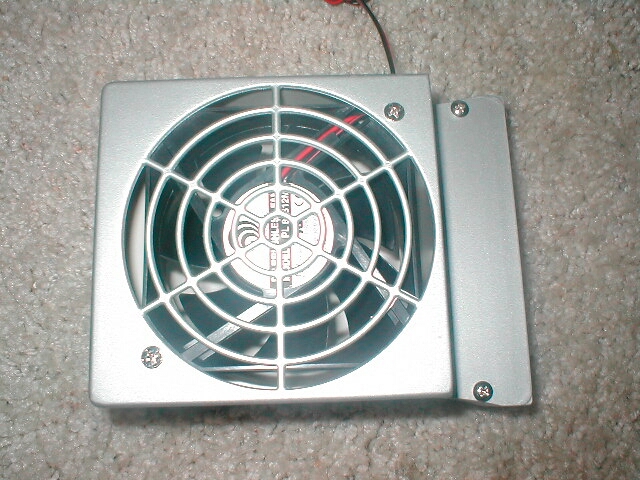
You are able to take the duct off completely or just move it so that it is positioned correctly. The duct holds a 80mm fan which vents the air from the large opening to the outside of the case. The duct is made of plastic and is a really nice feature which will help with CPU cooling. The back of the case has a bunch of holes in it which is why you are able to move the duct around. The back of the case also has a 60mm exhaust fan which will help with cooling.
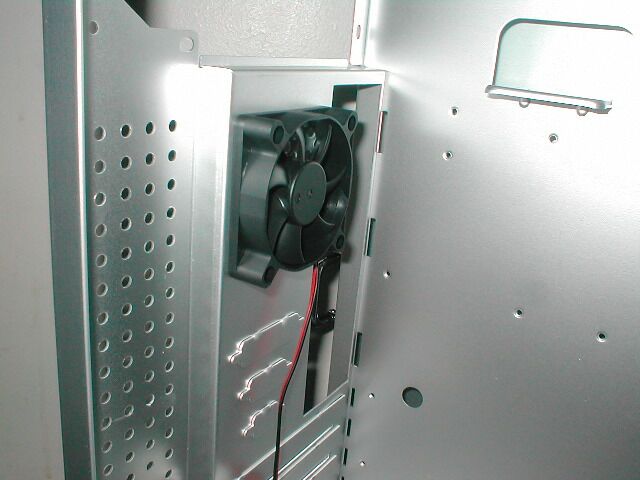
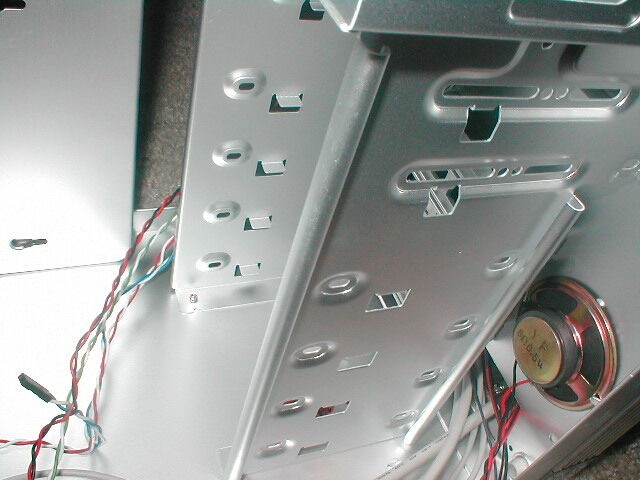
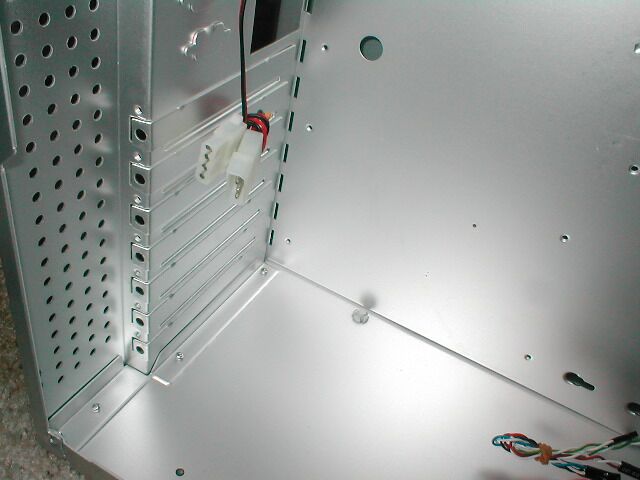
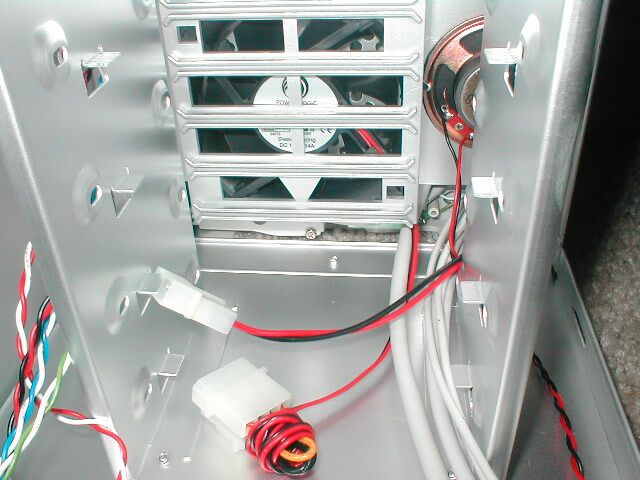
One thing I do not like about this case is that the expansion bay covers are the type which are one use only. After you punch them out to use that’s it, you cant reuse them. The case comes with 2 extra expansion bay covers to use but it would have been nicer to have all 7. It would have also been nice to get 7 more thumbscrews so that they could be used here as well. The inside front of the case has a fan housing which holds one 80mm fan, you can also see the PC speaker which is right next to it. The one Molex connector that does not go to the fan is for the lights on the side of the case, unfortunately there is no switch connected to it.
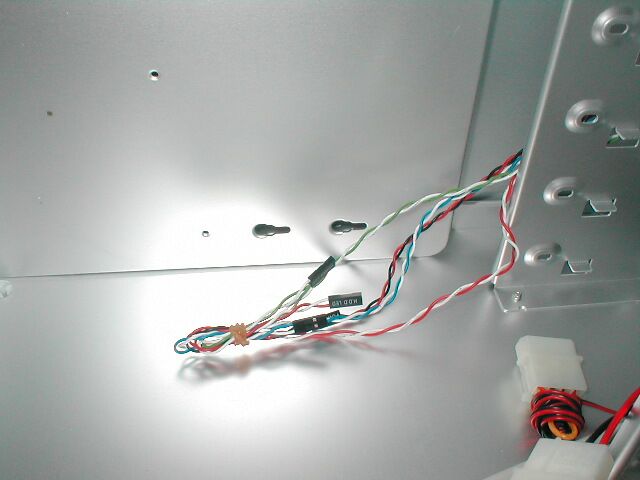
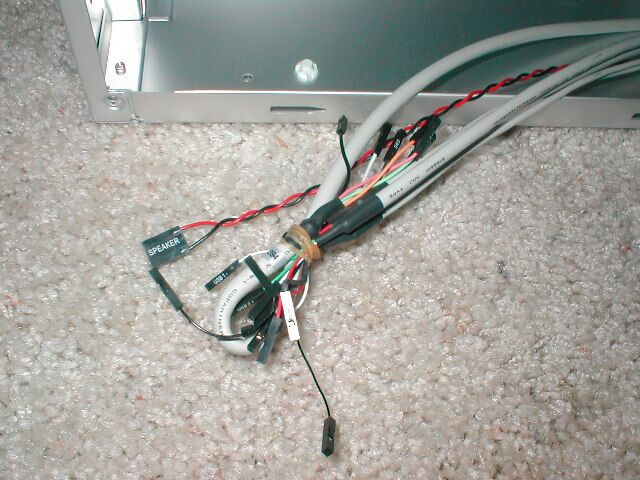
There are the standard jumpers which are for the LEDs, and switches on the front of the case. The front ports have their own jumpers as well, one set is for the USB, another set is for the front audio and there are 2 sets for the USB, you can also see in there the PC speaker jumper.
All of the edges of this case are nice and smooth, most of the edges are all rounded over so that there is no possibility to be cut on them. I really like how most companies are now making sure that all the edges in the case are not sharp because it really sucks when your case cuts you. I like the front bezel for the most part because there are circular clips which holds the bezel into place. There are three of these clips on the case and all you have to do to remove the bezel is pinch each one together and pull off the front.