
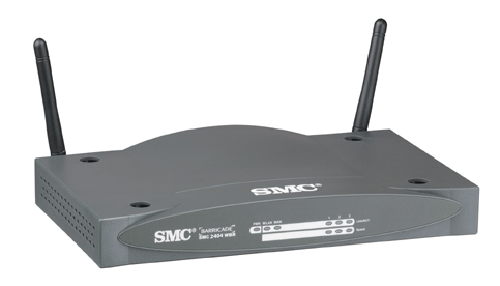
The first thing I installed was the router, which I have to say was as easy as they said it would be. To install the router you will need to plug the cat5 provided into your cable or DSL modem then connect it to the WAN port of the router. You will also need to plug the power and any hardwired computers to ports on the back of the router.
For the particular network I was setting this up on there was a hardwired desktop with a regular NIC, another desktop with the wireless PCI card, and a laptop with the cardbus in it. Installation of the software for the router was as simple as they said it would be, after a running the router setup file from the CD and going through a few screens with questions it was all setup.
I then installed the PCI card to a desktop case which was upstairs which is the main reason wireless networking was needed. We did not want to drill holes and run wire so wireless was the best solution to the problem. I went ahead and plugged the wireless NIC in and it went in with little trouble. It was a little bit of a tight squeeze to get it in because of the awkward shape of the card due to the PCMCIA part stick out of the back but it still went in.
The new revision of this card has an antenna so installation would be much easier. I had a 56k modem and a regular NIC in the computer which I removed once the wireless was up and running.
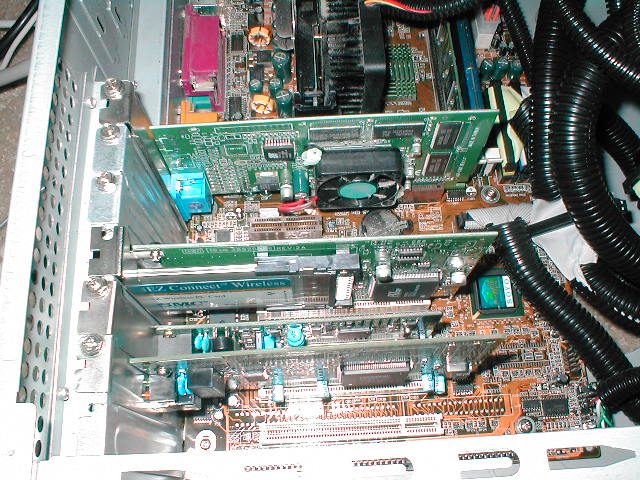
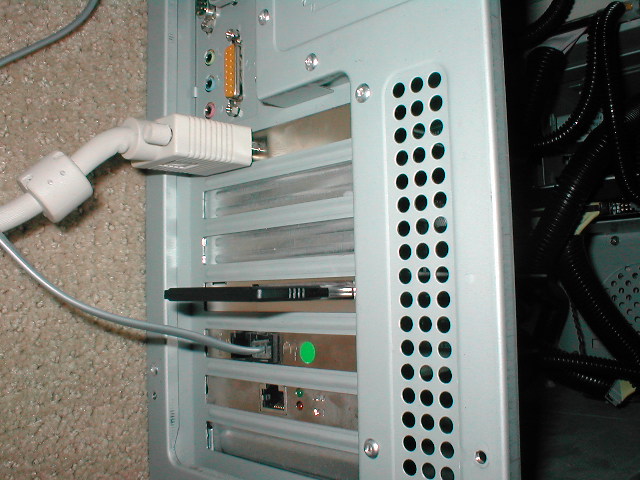
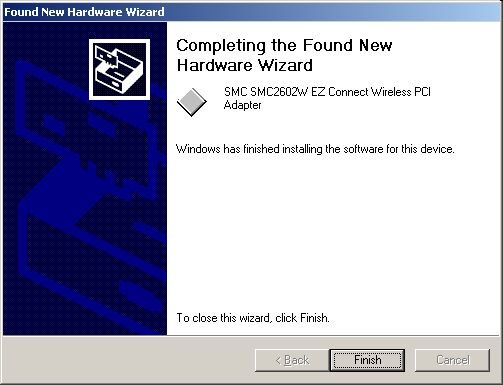
The installation of the cardbus NIC for the laptop was easier than the PCI card installation. With the cardbus all you have to do is plug it into the PCMCIA slot and away you go. PCMCIA is hot swappable meaning you can add and remove the card while the computer is on and have it be detected which is really nice for a wireless NIC. Installation of the drivers and utility software was the same for the PCI NIC and the cardbus. After booting up the computer the first thing that popped up was Windows saying that new hardware was found.
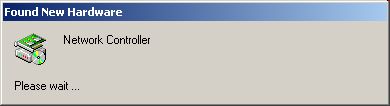
Instead of using the drivers provided on the CD with the NICs I went to SMC’s website and downloaded the newest ones they had, along with an updated version of the utility. After a few seconds the drivers were finished installing. Installation was a breeze on both Windows 2000 and Windows XP.
After the NIC was installed all I had to do was refresh my IP and do a few minor configurations with the utility and I was on the internet. The main thing that you will be concerned with as far as configuration is making sure that the SSID (Short for Service Set Identifier) which is a 32-character unique identifier attached to the header of packets sent over a WLAN that acts as a password.
The SSID differentiates one WLAN from another, so all access points and all devices attempting to connect to a specific WLAN must use the same SSID. Along with the SSID and channel settings you will need to have the encryption on the router and the NICs matching.
