
The Thermaltake ElementQ mini case is made from SGCC (cold-rolled) steel and has a plastic front. The main part of the case is covered by a “U” metal shield, which has been painted black.
The front bezel is made from molded black plastic, and has two drive bays; a single 5.25″ drive bay for optical drives, and a single 3.5″ bay, which is suitable for card readers, hard drive, or an SSD loading bay (like the one reviewed here http://www.ocmodshop.com/ocmodshop.aspx?a=1762). Below this bay is a a pull-down cover that concels two USB 2.0 ports, a headphone and microphone jack. Flanking each side of the 3.5″ bay is a reset button, power button, red hard drive activity LED and blue power LED. The bays are also surrounded by red trim, which looks rather nice. At the bottom of the bezel is a hidden air vent, which allows fresh air into the case.
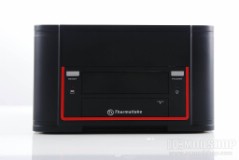
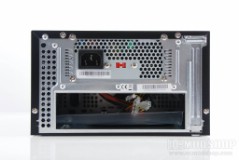
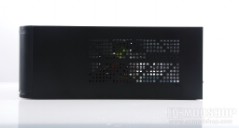
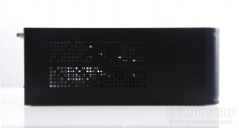
Front, back, right and left of the Element Q case
Each side of the case has a stamped pattern which allows airflow into the case. The rear of the case has ventillation holes , a slot cover for a video card, exhaust for the included 200W power supply, and an ITX I/O area. To give you a sense of scale, the I/O area is practically the width of this case.
The “U” metal cover encloses the top, left and right sides of the case, and is removed by removing four screws from the back. It can be a tight fit, and it requires a bit of force to push back on this cover.
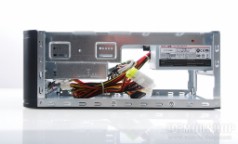
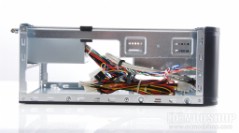
Once the cover is off, the inside of the case can be seen. The small power supply is already mounted, and a bag of screws and other mounting hardware is included inside. Of course, all of the front panel motherboard header cables are pre-wired to the front panel. It has both HD Audio and AC97 audio connectors, in addition to a single USB header, and of course power, reset, power LED, and HDD LED headers.
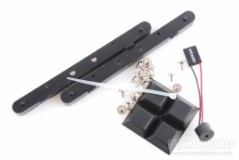 The included hardware are:
- Two plastic drive rails (for the vertically-mounted HDD)
- various case screws
- a tiny speaker lead
- four adhesive vinyl anti-slip feet
- a small clear cable tie
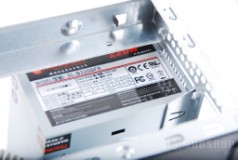
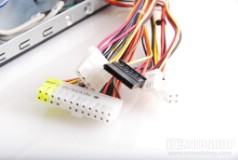
The power supply is a ThermalTake SL-B220SFX 220W type. It has a single 4-pin motherboard power connector, SATA cable, single Molex connector, 1 floppy connector, and a 20+4 pin motherboard connector cable. with the following specifications:
| DC Output | +3.3V | +5V | +12V | -12V | +5Vsb |
| Max Output Current | 12A | 12A | 3.5A | 0.3A | 2A |
| Mac Output Power | 80W | 180W | 3.6W | 50W | |
| Total Power | 220W | ||||
The case is pretty small, but you can fit a decent amount of hardware in there. There is a 5.25″ bay, 3.5″ external bay, and single 3.5″ internal bay, although this last one is not obvious. You can in theory install two hard drives (perhaps three if you use an SSD bay converter). One hard drive can fit in the internal 3.5″ bay, and another full-size hard drive can fit standing vertically opposite of the video card slot. The back and front of the case is held together by the extended 5.25″ bay and a plastic piece which holps hold everything together.
The included power supply insinuates that it only expects a single hard drive and optical drive, given the limited number of power connectors. You can easily use a power splitter for your needs, however.
On the next page we install hardware…