
The case comes with four swivel-wheels, but are not installed by default. It is recommended that you mount these feet before you install your PC hardware, which is easy to do thanks to the pre-drilled holes.
There are three major parts of installing a case: installing the motherboard, installing the drives, and installing the power supply. It is recommended to perform a new installation in that order to maximize the room you have to work with (if you install the PSU first then you’ll be moving cables out of the way as you mount hardware).
Motherboard Installation
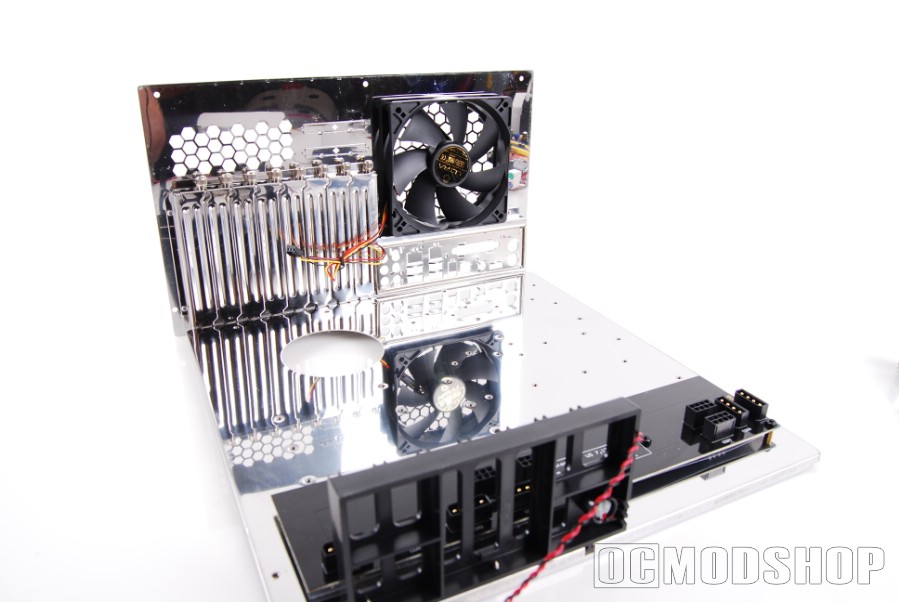
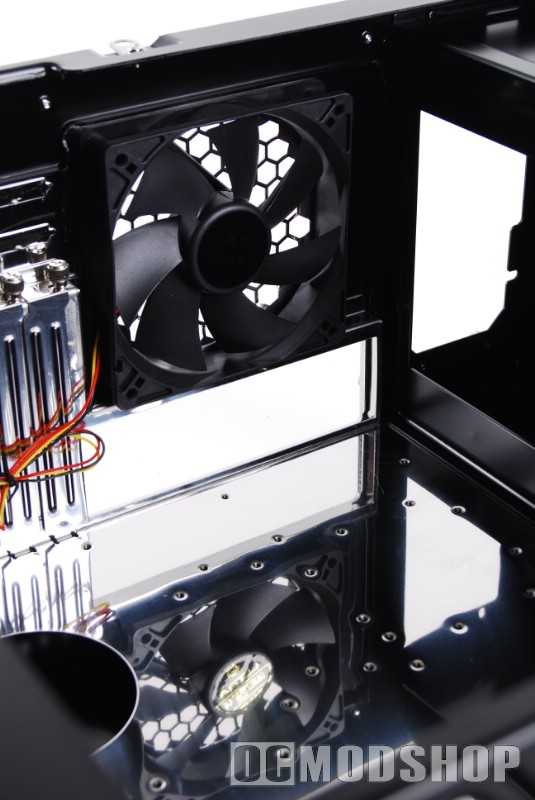
Motherboard installation is rather easy, thanks to the extremely forgiving slide-out motherboard tray. Even if this tray didn’t come out, there would be plenty of room in this case to work with. As mentioned before, the entire back of the case slides out with the tray, so the exhaust fan and option cards go with the motherboard when removed. All you have to do is loosen the thumbscrews… but these thumbscrews aren’t the “thumbiest” things in the world… you really need a Phillips-head screwdriver to loosen them.
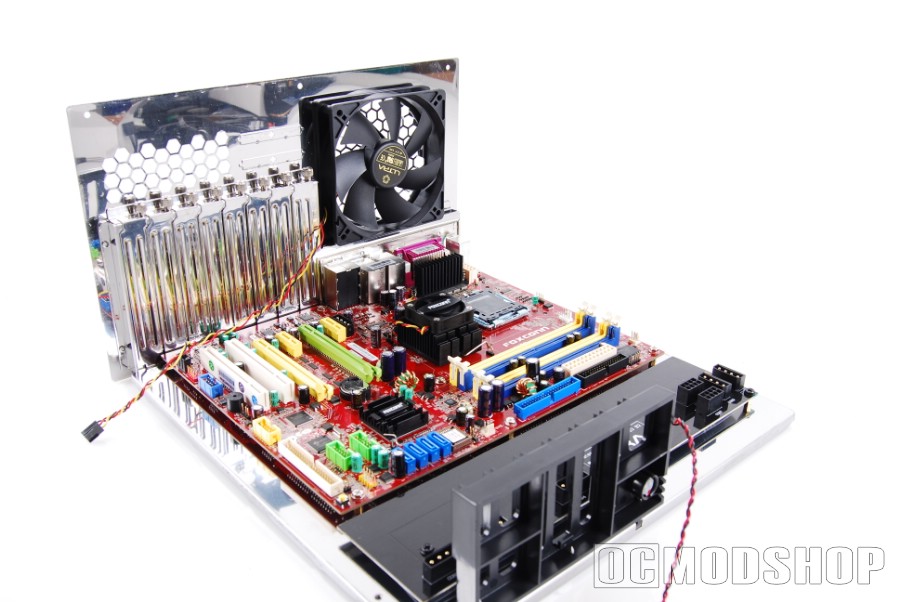
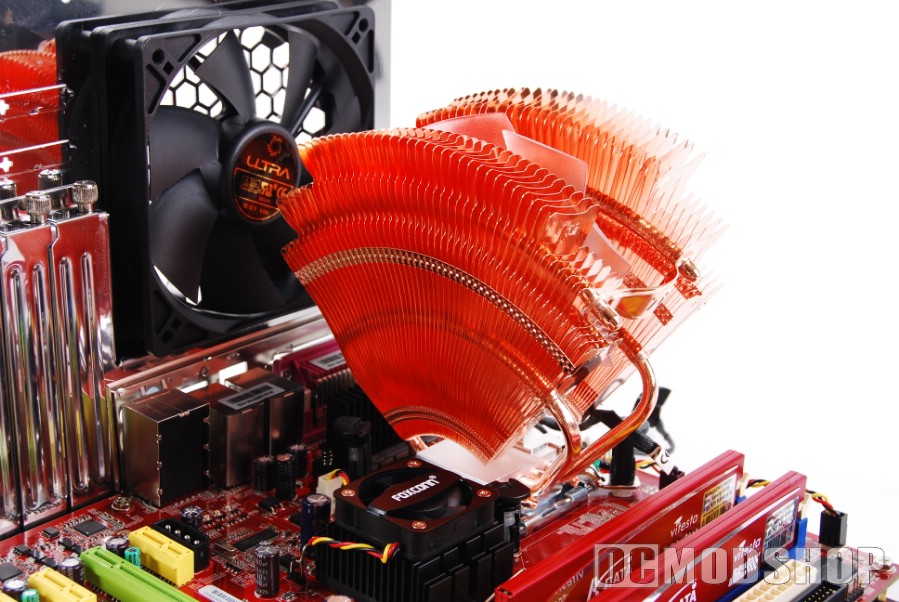
Once the tray is removed you can install the brass standoffs for your particular motherboard and attach your custom I/O shield. Since there is nothing in close proximety to the motherboard, you have lots of room. Since everything is on this tray, you can go ahead and install your CPU heatsink, RAM, VGA and other options cards. Let me tell you that installing a large air-cooled heatsink is much easier when you have this much elbow-room. Rigs with watercooling systems won’t have it so easy, and you’ll probably need to do most hardware installation inside the case. You can even plug in the exhaust fan lead to your motherboard, so once the tray is back in the main chassis then all you have to do is plug in drive connections and power.
Drive Installation
Installing hard drives and DVD-RW drives are pretty straightforward, as well. If you’re not installing a DVD drive into the top slot, then you may have to remove the plastic front to remove the drive guard-plates. There’s lots of room on the right side of the drive cages to route cables, which keeps the inside of your case looking tidy.
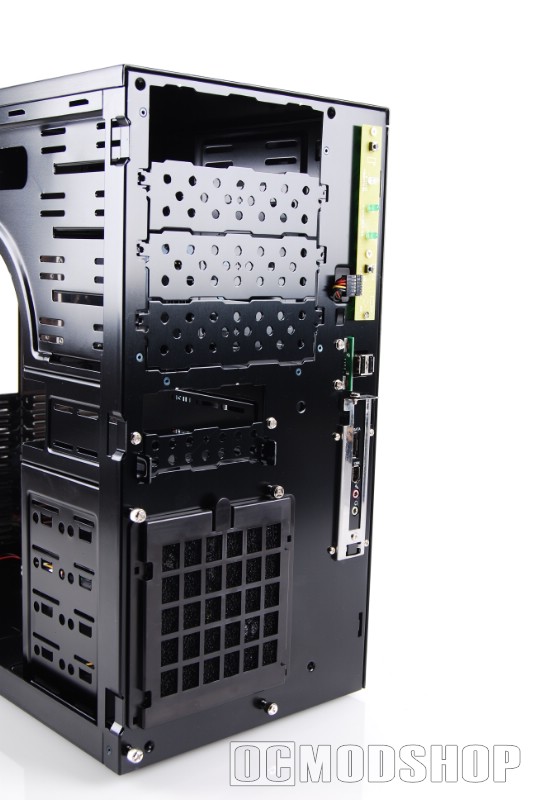
Hard drives are also easy to install. The HDD drive cage comes out completely, and is secured with two thumbscrews. It is recommended to remove the cage, install your drives, and then put back in place. We would have liked to see slide-out trays and a right-angle drive tray as seen in Ultra’s Aluminus case.
Front Panel Connections
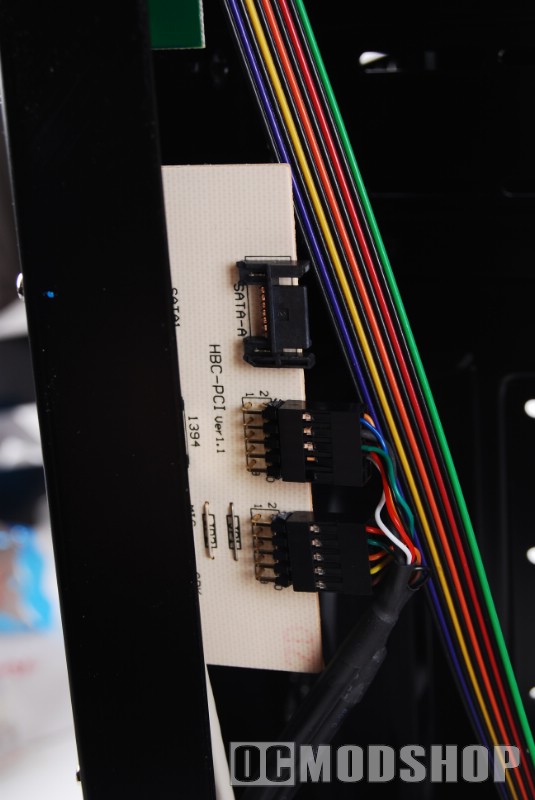
There are a few other minor things that need attention, such as the front panel connections. If you remove the right-side panel, then you’ll have access to the back of the front panel. Connect a SATA cable to the back, and route it (along with the USB and audio/mic cables) through the rounded hole that provides access to the main motherboard chamber. Then all you have to do is connect the leads to your motherboard.
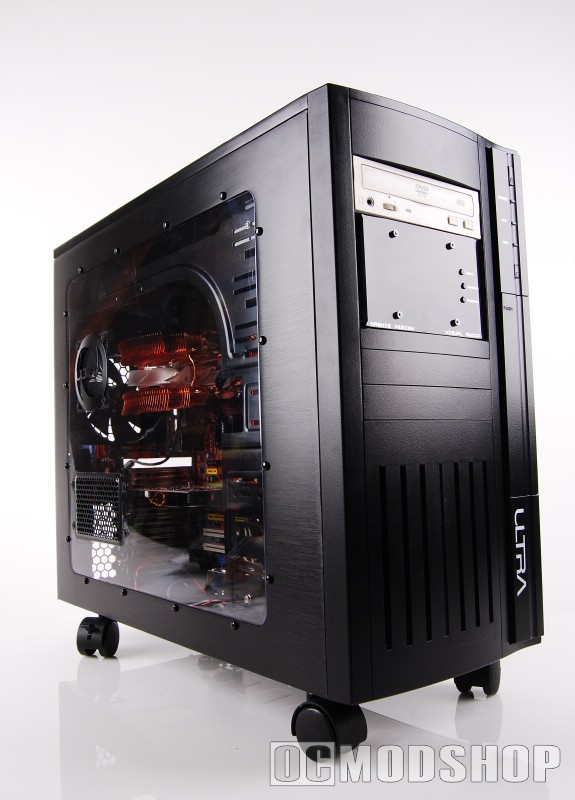
You shouldn’t have to remove the front panel unless you’re doing mainenance (like removing drive shields or cleaning air intake filters, etc). The front panel must be handled very delicately, because it is very easy to snap off the plastic hooks that attach the panel to the chassis. To remove the panel unlatch the hooks on the left side of the panel and then swing out.
Then you can pull the panel forward, releasing the right tabs from the right side of the case. It took so much force to unhinge that we broke off some of the tabs on the right side. Also, during normal use the front panel’s I/O cover lock became broken, and one of the front USB ports broke off. Not a good sign for a case that is supposed to be more rugged than Indiana Jones.

