
So my only other option was to take out the back bezel, allowing the motherboard to sit on top of the screw retainer bolts with access to the mobo ports. I got it screwed into place and grabbed the power supply. Now I run into another pain in the derrière.
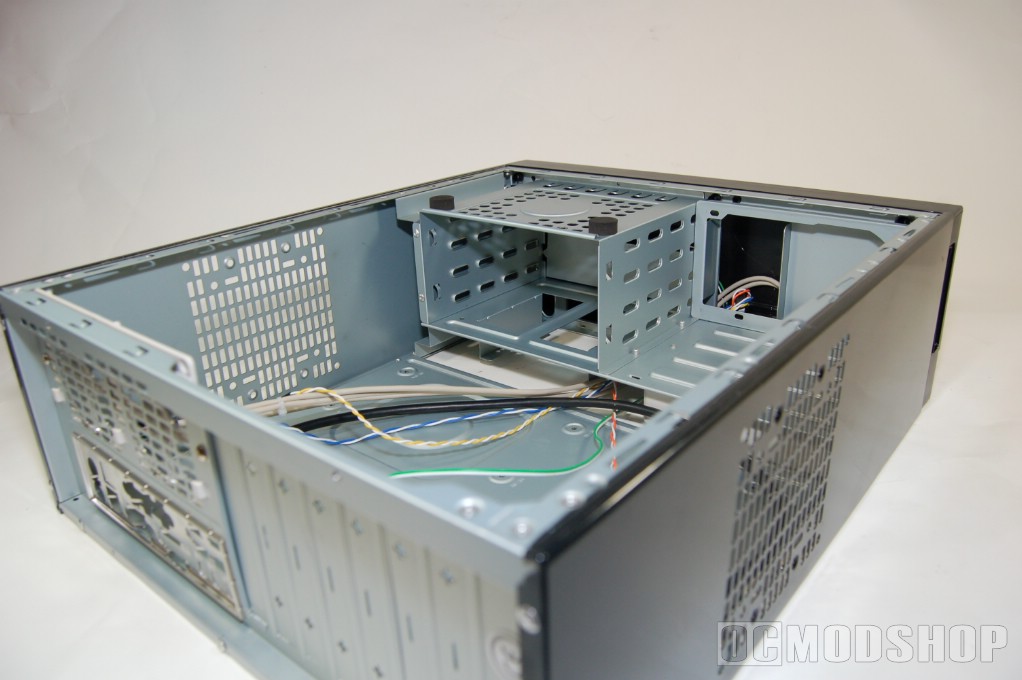
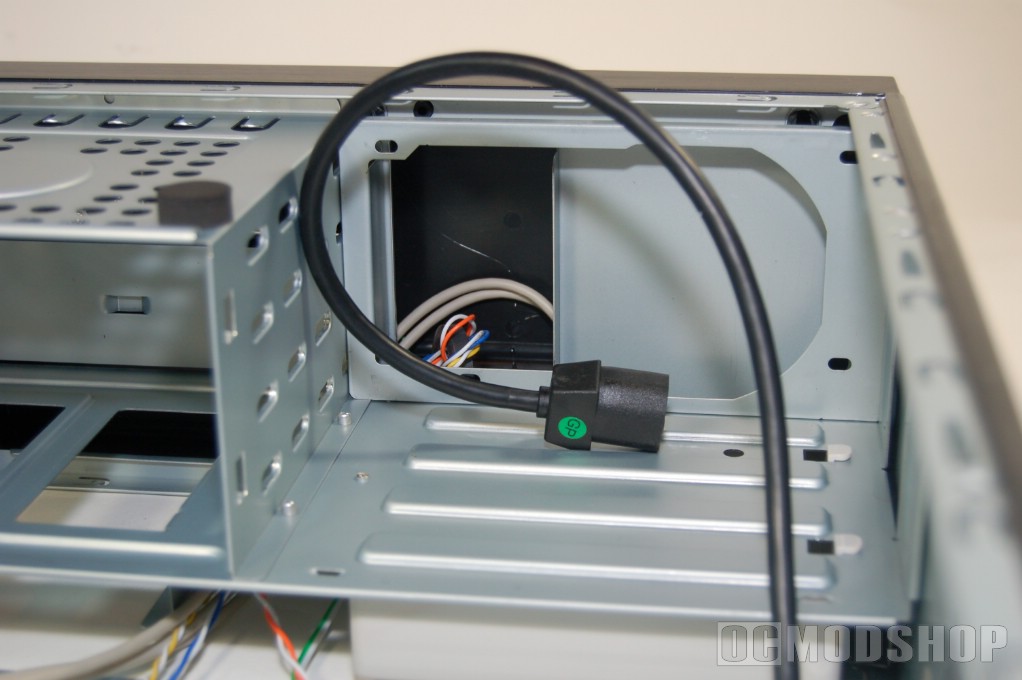
The PSU sits into a cradle at the front of the PC next to the optical drive bays. The plug port faces forward, and a connector plug runs from the rear of the case to the front, under the PSU, and plugs into the PSU port. To install this, you have to remove the front of the case, careful not to rip the wires out of the front piece.
Once you get everything hooked up and put the front back on the only option if you need to flip your PSU switch or change voltage is to remove the front again. If you have the wires already connected, you might have to unplug them due to short length.
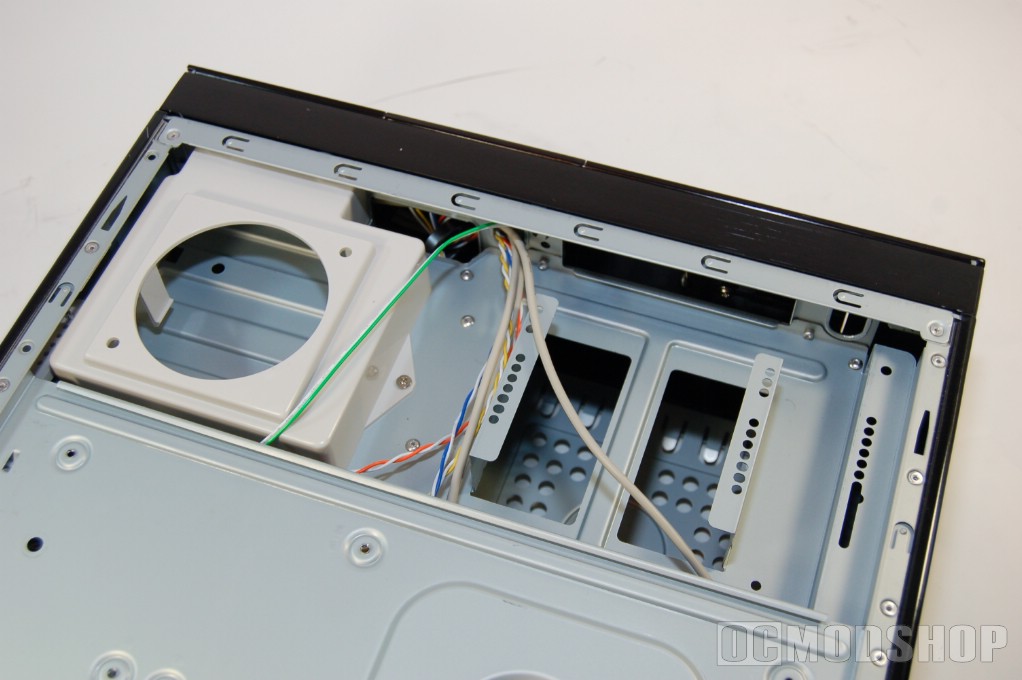
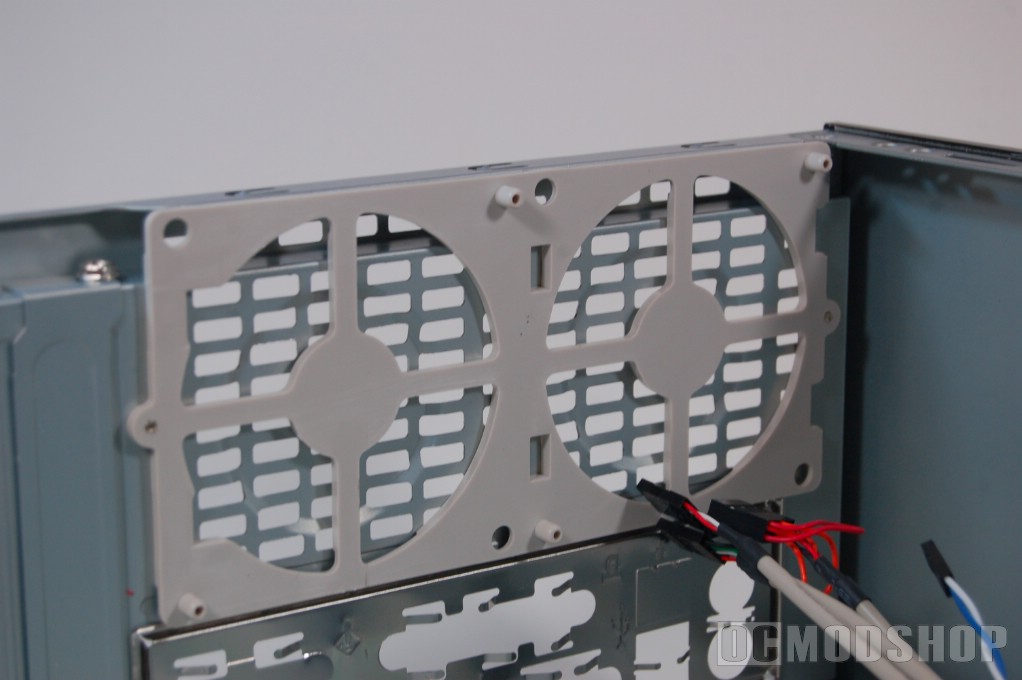
The optical drive went in easily enough, I only had to screw it into place normally. The hard drive, however, was another story. With this case, you have the option to put your hard drive(s) in four different places.
One of them is under the optical drive bays. Which you should do before you install the motherboard, otherwise this bay is inaccessible. Another is on the side of the optical drive bays opposite of the PSU. This one is not as hard to get to when the motherboard is installed, but a tight squeeze nonetheless. You can also stick them on the sides of the case.
But I noticed these are also optimal places to put fans for an enormous increase in airflow. I opted to put my HD on the side of the optical drive bay and placed a 120mm fan on each side of the case, one facing in and the other facing out. So the river of airflow right across the motherboard and CPU might make up for the rest of the case at least.
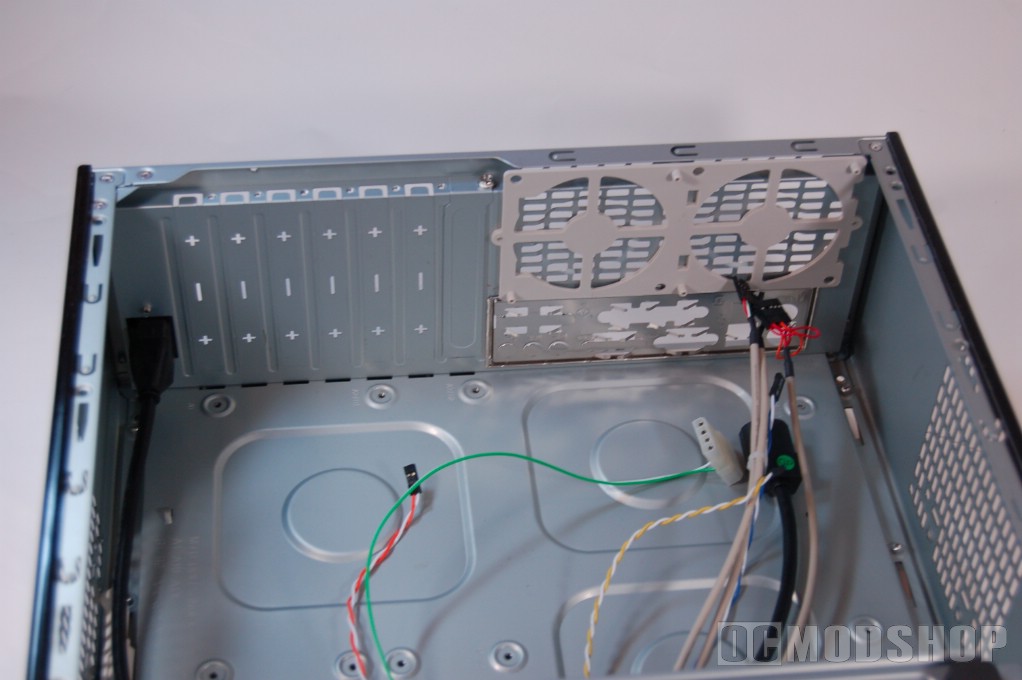
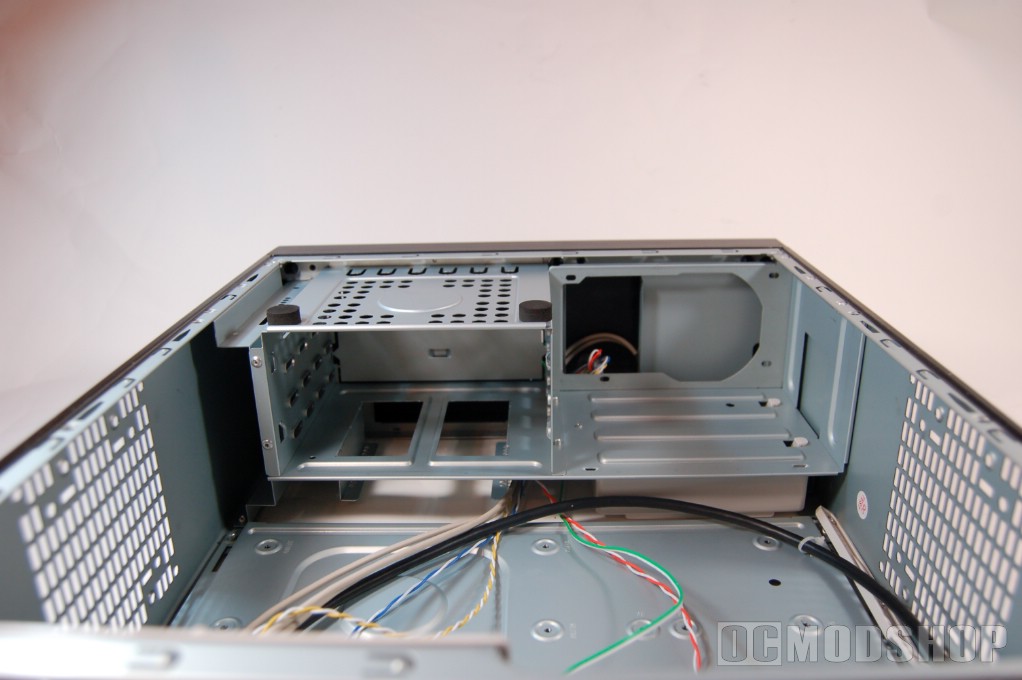
So I installed my video card, sound card, and proceeded to plug all the wires to the motherboard. Since the wires of my particular PSU come right out over the place where the power, HD light, and power light wires plug in, I had to plug them in first. It’s a tight fit, and I had to use my fingertips due to the PSU in the way, but I got them all plugged in. Then I connected everything to my PSU.
After a double check that everything was a go, I fired it up. It ran beautifully. The airflow across the motherboard was astounding, and with the top on the case and the two 80mm fans in the back for extra exhaust, I would bet that if there had been anything other than a stock heatsink and fan that this would have been a very chilled machine.