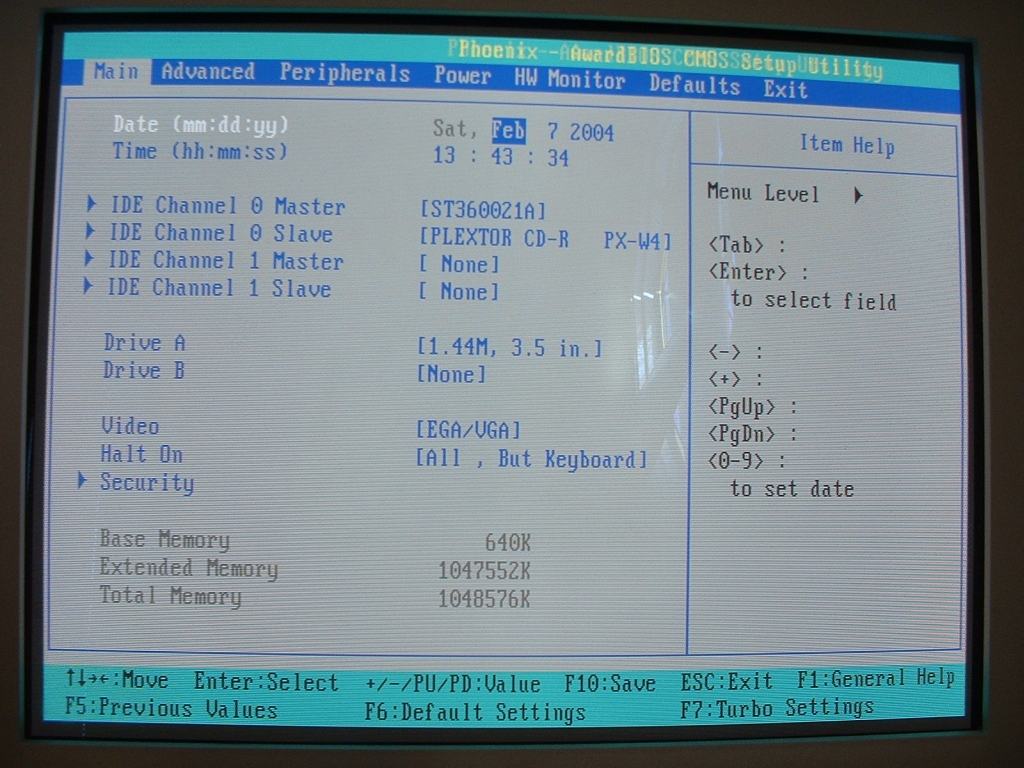
This Phoenix AwardBIOS main screen is like that of most motherboards allowing you to get information on and change the time/date, IDE channels, A & B drives, halt on , and get some memory information.
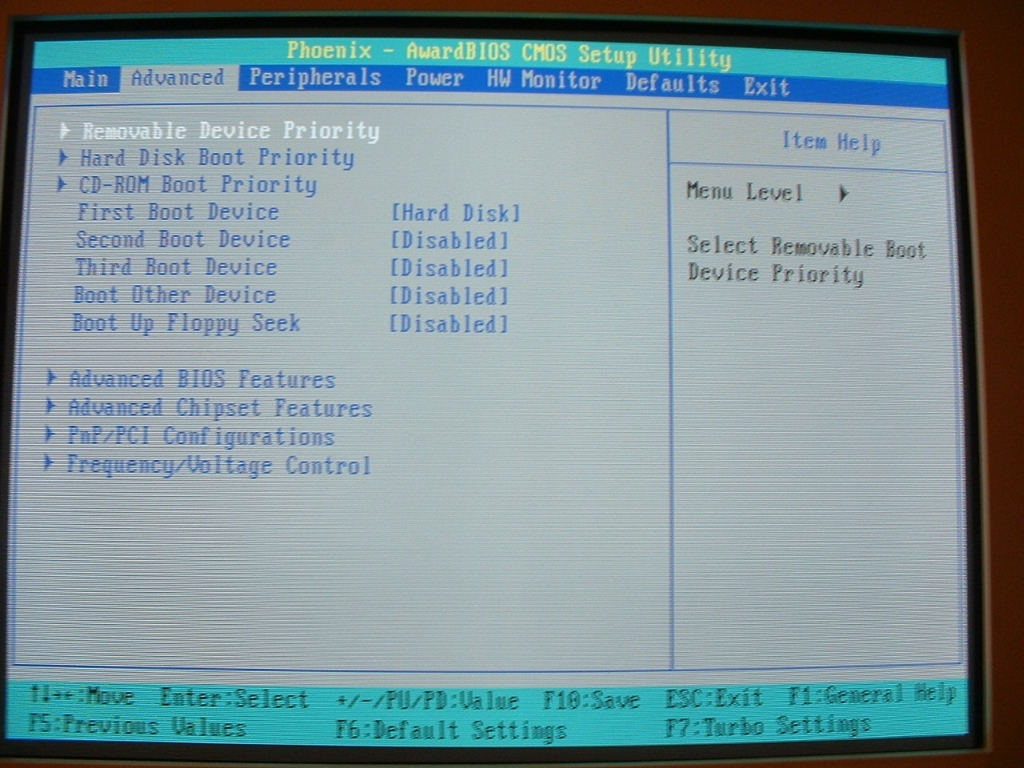
In the advanced menu of the BIOS you can set your boot priority for your system. There are also the following sub menus some of which we will look into further: removable disk priority, advanced BIOS features, advanced chipset features, PnP/PCI configurations, and Frequency/voltage control.
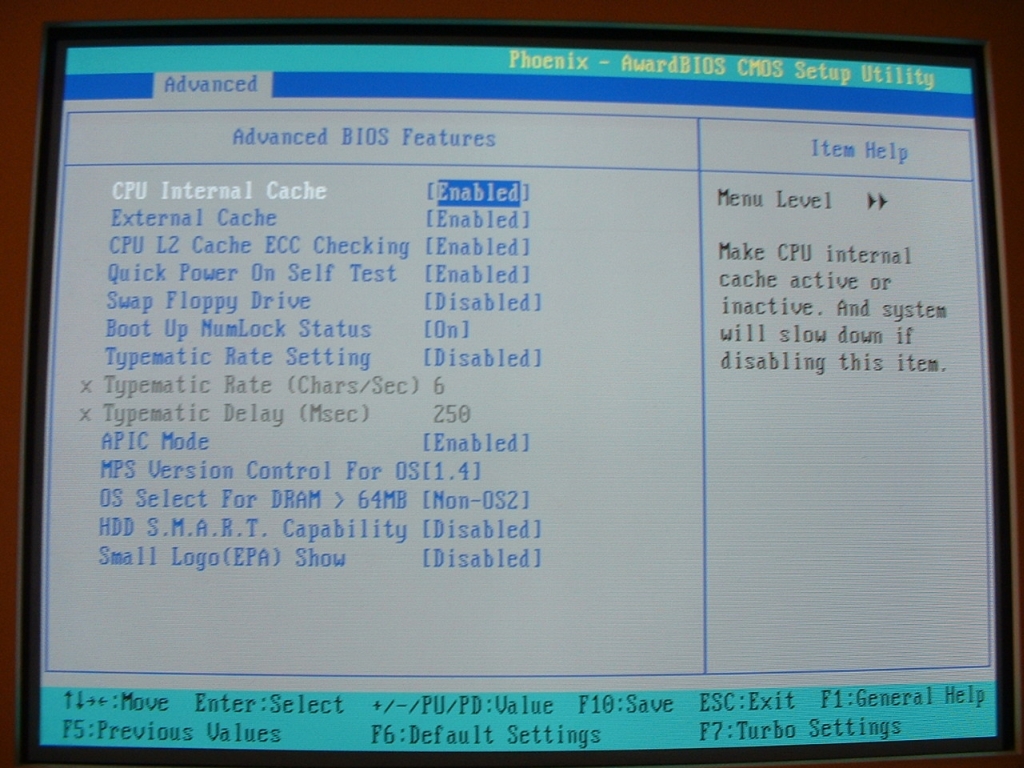
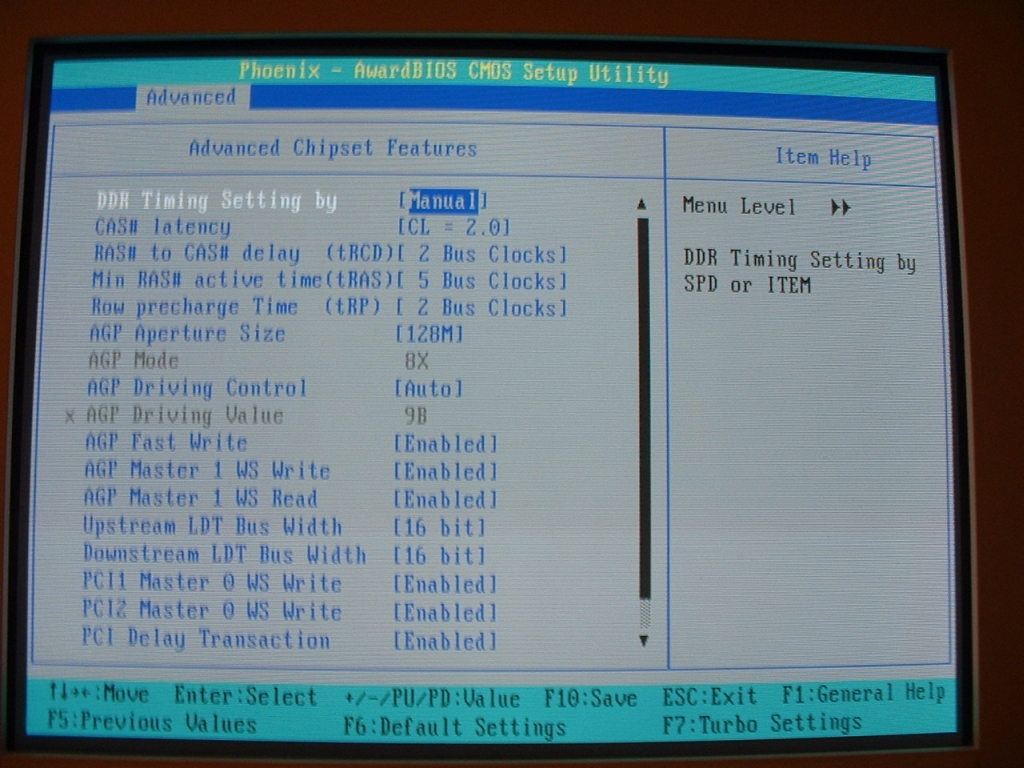
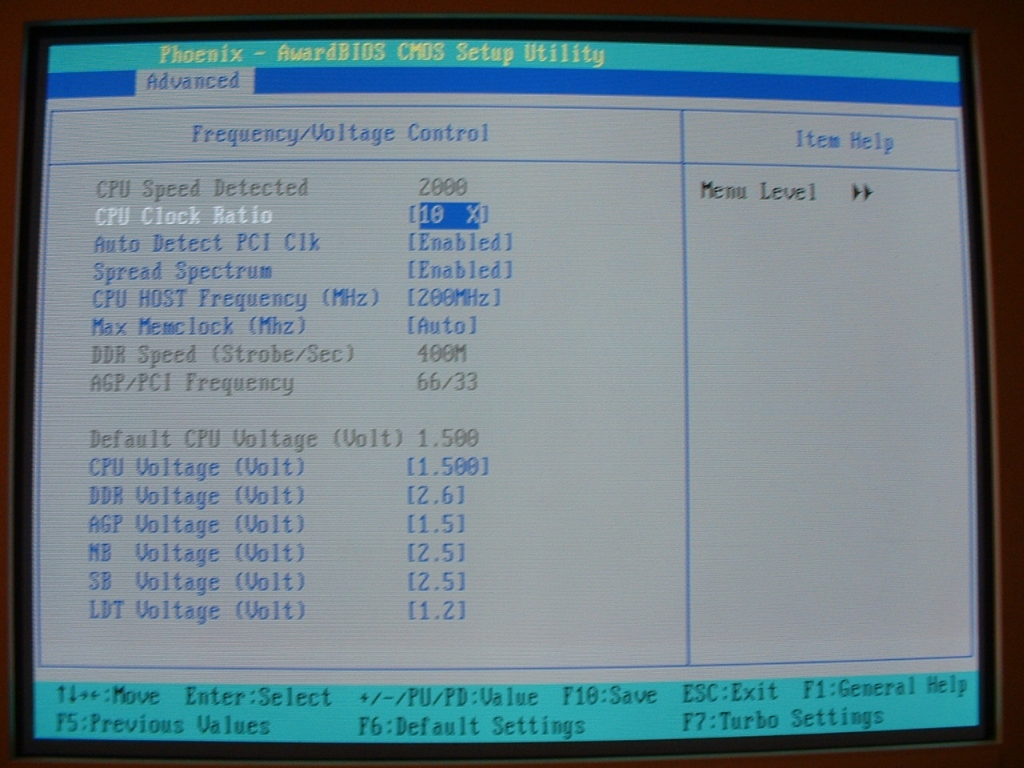
The advanced chipset features sub menu has a good amount of RAM, AGP, and PCI settings that will assist in overclocking ventures. I set all of the RAM settings to the fastest to get the best performance. The frequency/voltage control sub menu is where you will do your overclocking.
The CPU ratio only goes up to 10 because the BIOS revision I am running is a little old and at the time the 3200+ was the fastest CPU available. The FSB also goes high enough for you to overclock as much as should be possible. There are also a plethora of voltage options. You have the ability to change the CPU, DDR, AGP, NB, SB, and LDT voltages. All of these options listed in this paragraph should help in overclocking.
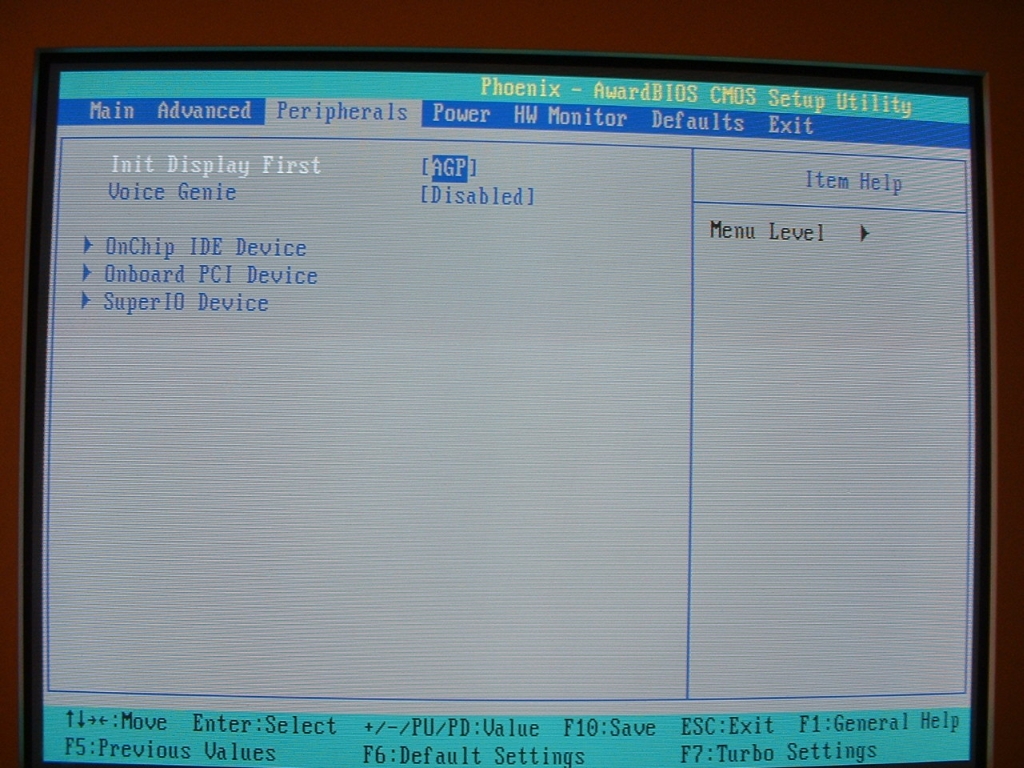
The peripherals menu is where you can set the first display device and the voice genie. There are also three sub menus for the on chip device, onboard PCI device, and super IO device. These are onboard options that you will need to configure deepening on what you plan on using and how you plan to use them.
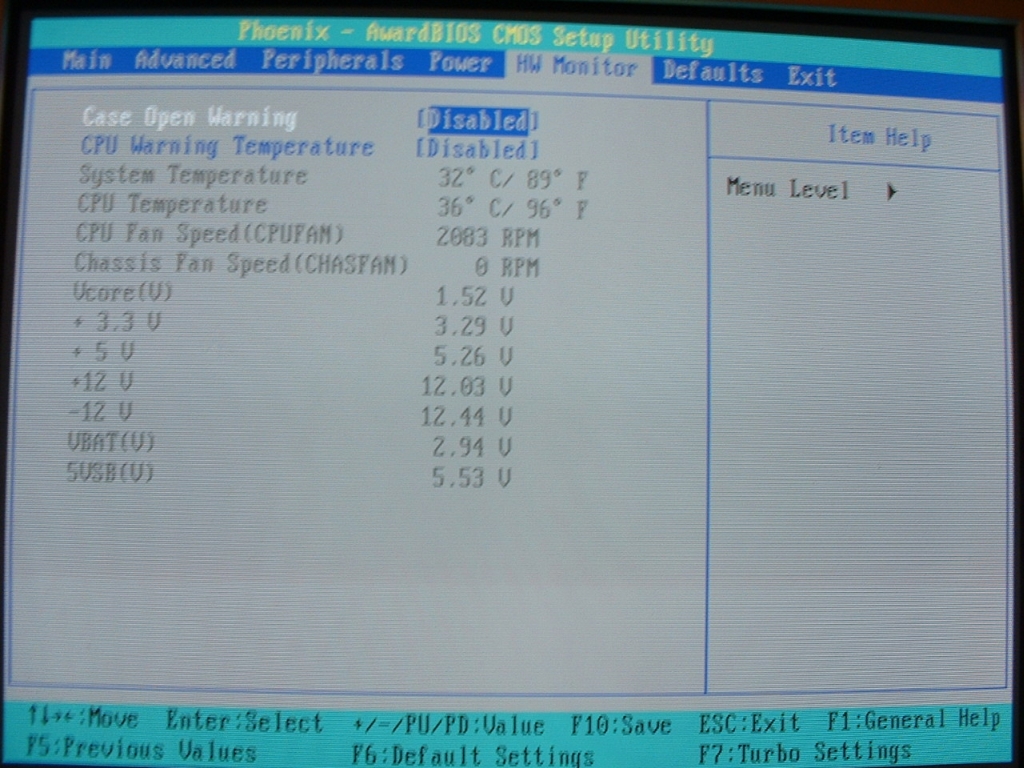
The HW monitor menu is where you can set the case open warning and CPU warning temperature. I have both of these two options disabled however it is always a good idea to set the CPU warning temperature so that you don’t minimize the risk of damaging your CPU. You can also see your systems voltages, temperatures and fan speeds from here.