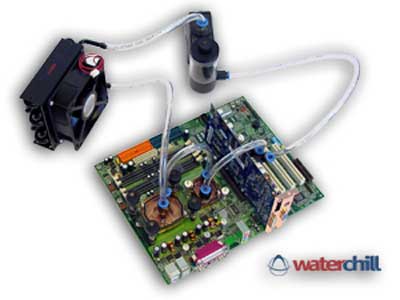
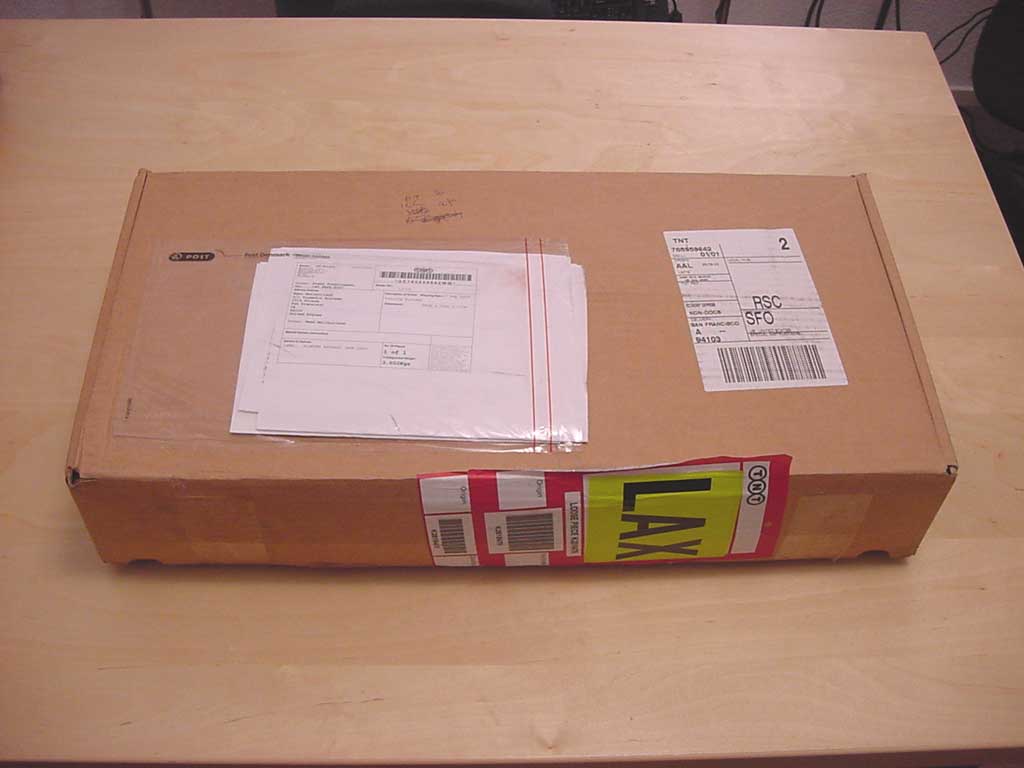
The kit I received was shipped to me all the way from their headquarters in Denmark. It came in a decently sized box about 2’x1’x4″ and wasn’t exceptionally heavy.
I expected to find another box inside, but this shipping box was also the product box! Efficient use of materials, I must say. Opening it up, the contents were neatly packed and organized. The eggcrate-style foam seemed to keep everything in order during its long flight to San Francisco.
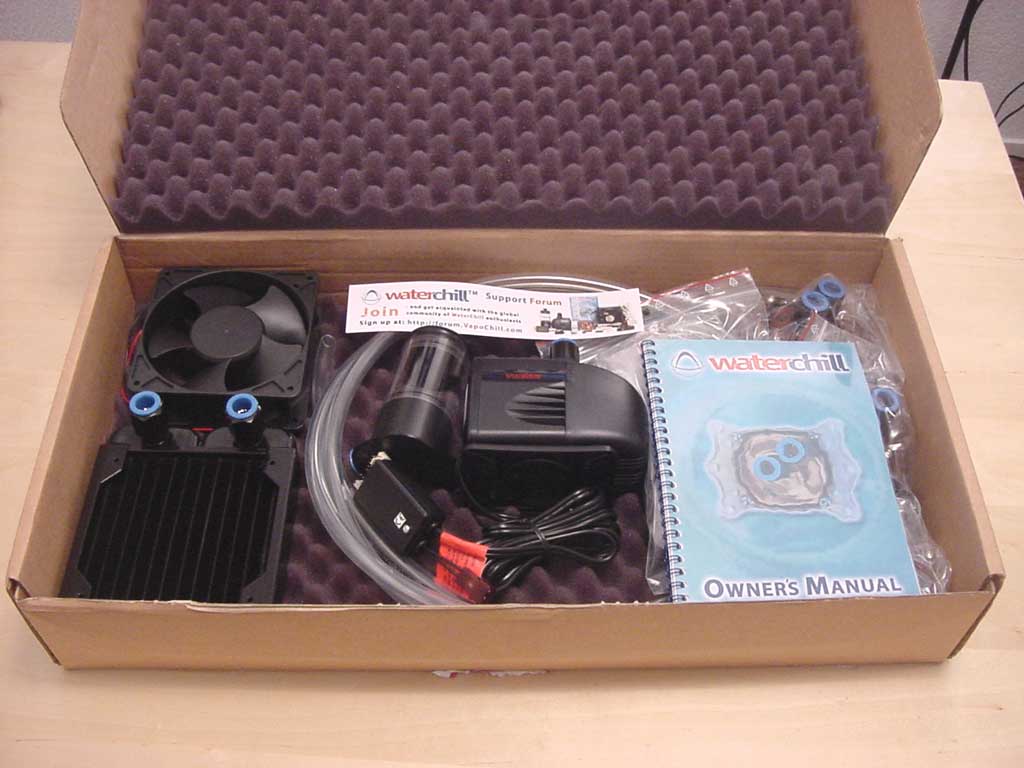
Alright, enough about the packaging – let’s see what we have inside!
THE GOODS
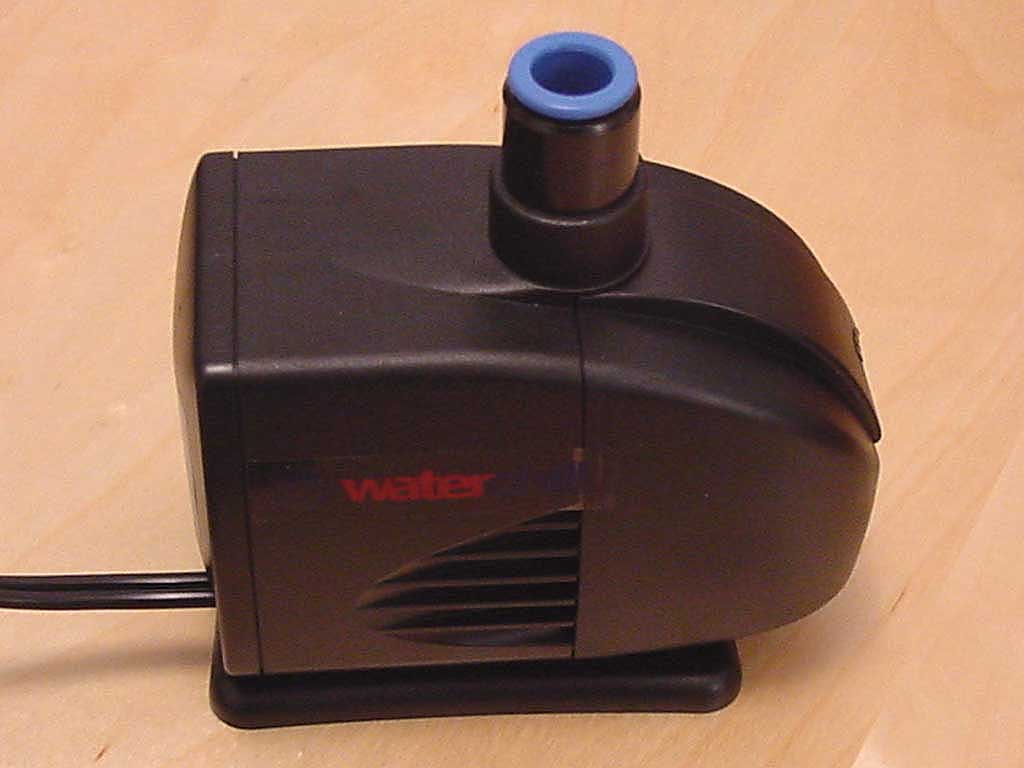
I’ll start with the heart of any watercooling system, the pump. A crappy pump can lead to crappy performance. The Waterchill comes with a Hydor L30 pump, rated at 1200 liters per hour (that’s about 320 gallons per hour to us Americans) – not too shabby! The pump runs a 6′ head, and looking at it’s flow graph it holds up pretty well under low pressure. It’s not especially big, and that’s a good thing if you plan on getting it to fit in your case. Asetek slightly modifies the pump by adding in quick-connect fittings rather than the traditional hose-barbs.
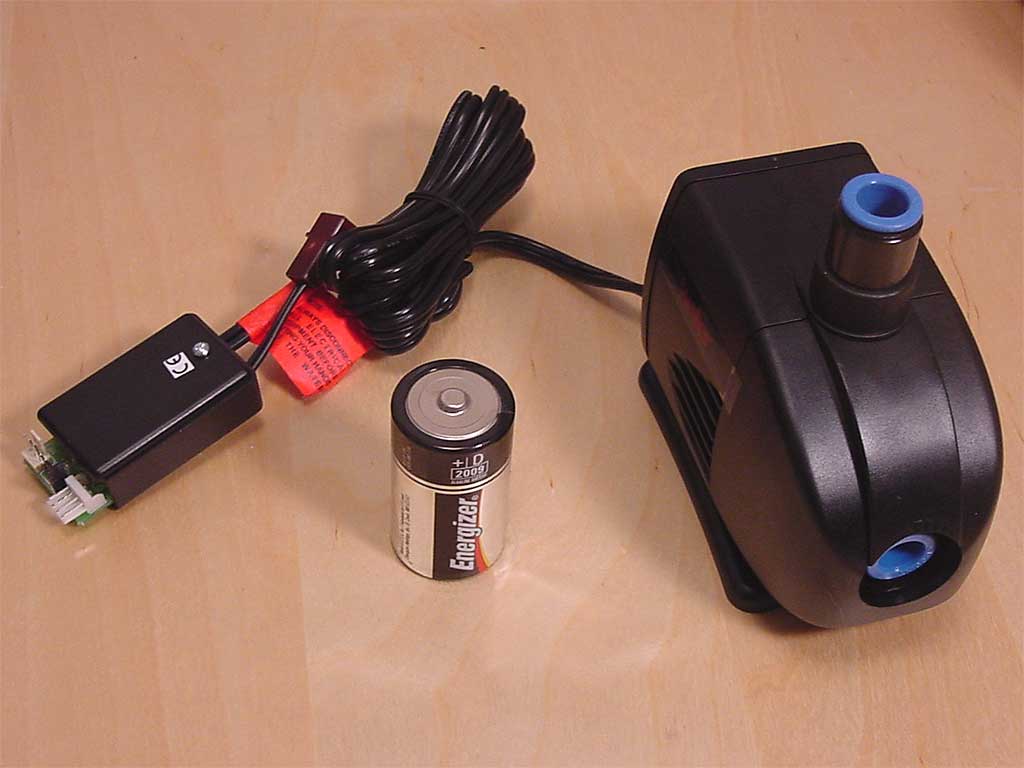
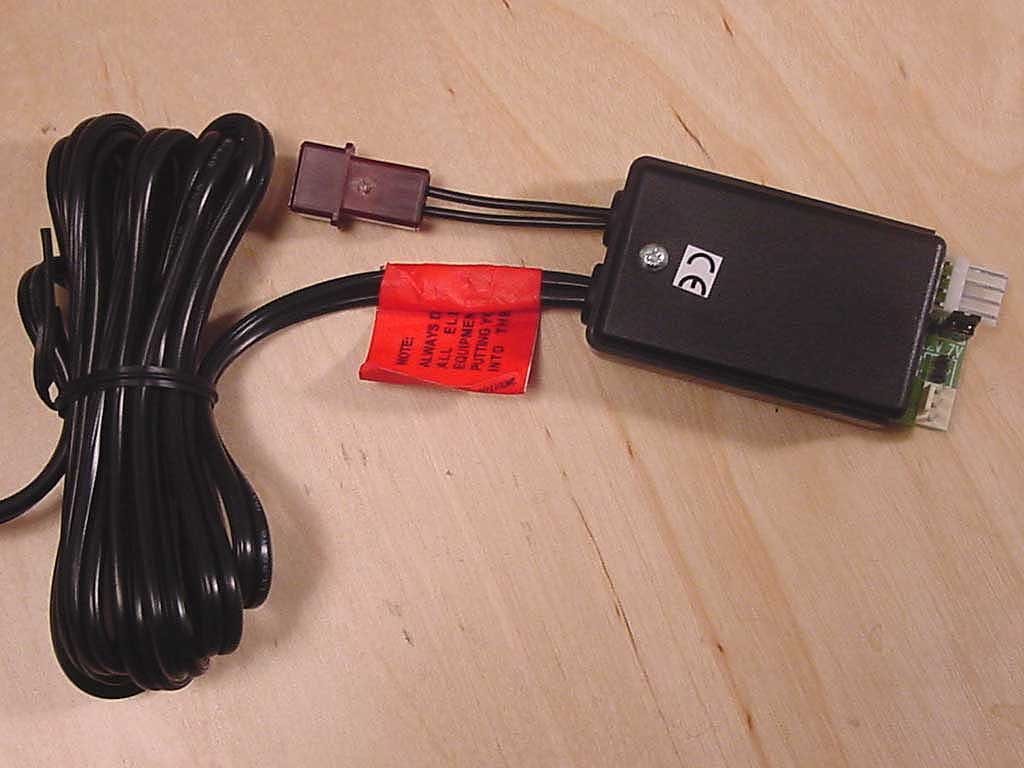
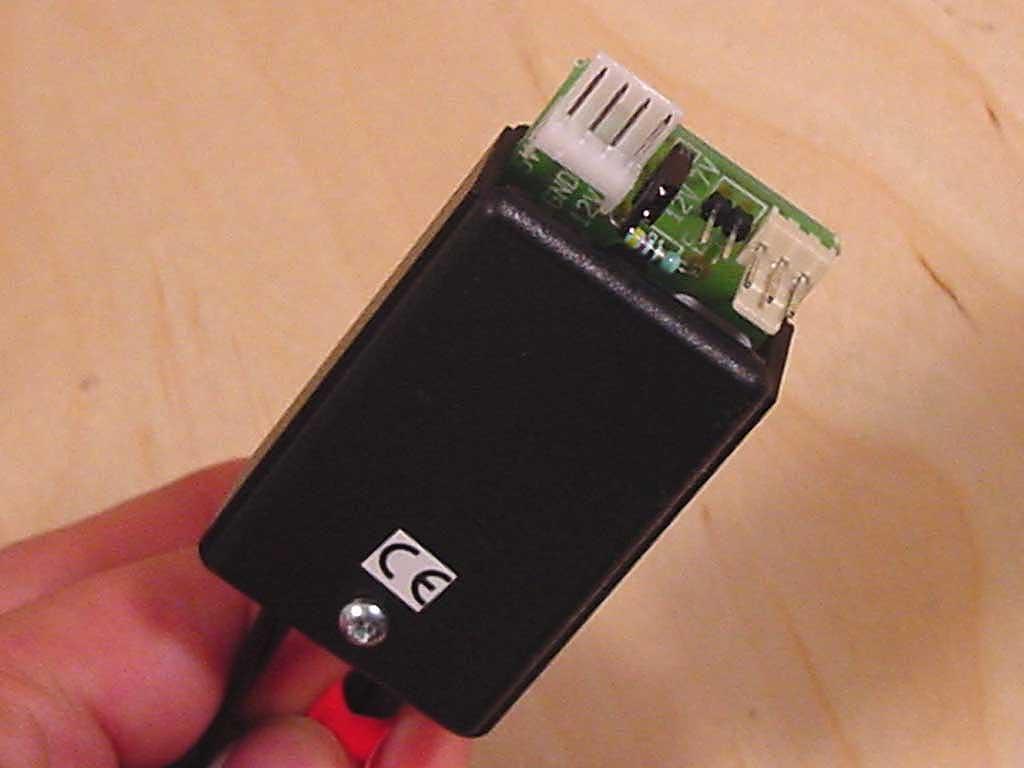
Attached to the pump is the relay and fan controller. A relay is a device that basically turns the pump on and off when you turn the computer on and off. The fan controller allows you to select between 7v or 12v operation by setting a jumper, thus allowing for quiet cooling, or louder but more effective cooling. You’ll also see a small two-prong connector. That attaches to a cable that runs through a PCI slot-cover (included) to a hermaphrodite connector (I know, it made me laugh too). Regarding hermaphrodite connectors, you know how connectors are referred to as male and female? These are both.
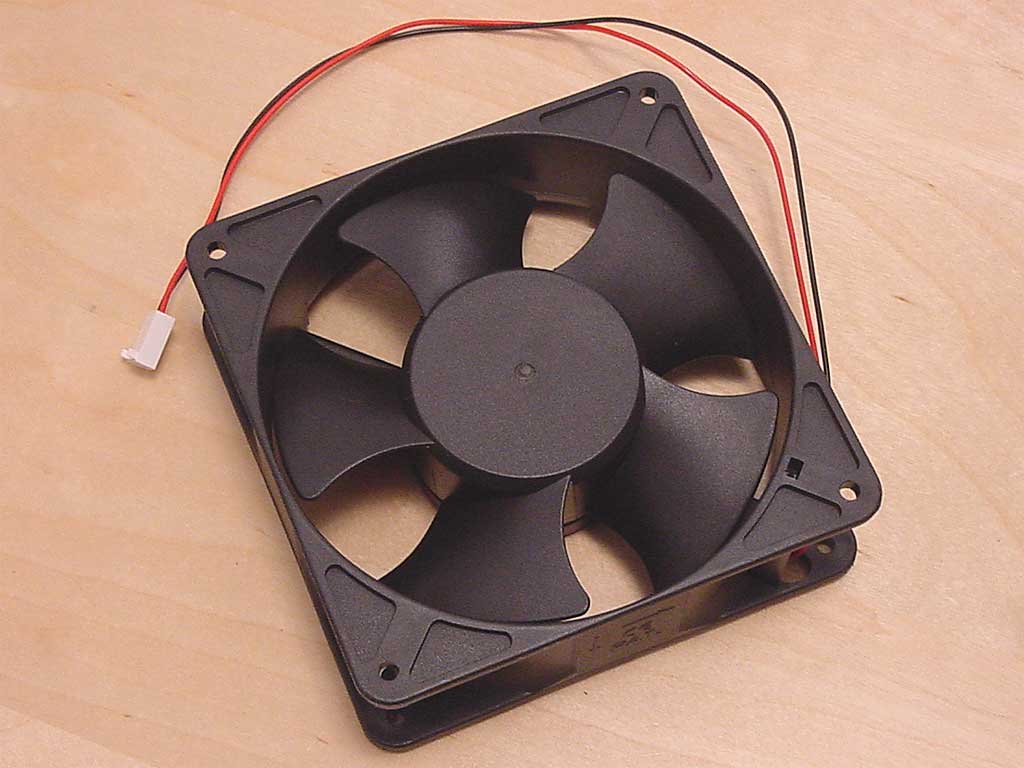
Next up is the heatercore-style radiator and the big 120x38mm Sunon fan. Don’t be scared by the fan’s size, it’s not that loud (and it still manages to push 83 CFM @ 12v). The heatercore rad differs from traditional radiators in that it doesn’t just attach fins to tubing, it actually pumps water through channels in the fins to greatly increase heat dissipation. And without the many 180 degree turns found in traditional rads, heatercores are less restrictive to pumps. I have previously used an ’87 Chevette heatercore in a previous setup, this one is MUCH smaller. The heatercore has holes to mount two 120mm fans, but only one fan is included. Not to worry, this allows you to mount the fan in the most convenient side of the radiator in your particular setup. I must say this rad bears a striking resemblance to the Black Ice Pro radiator, but it isn’t marked as such.
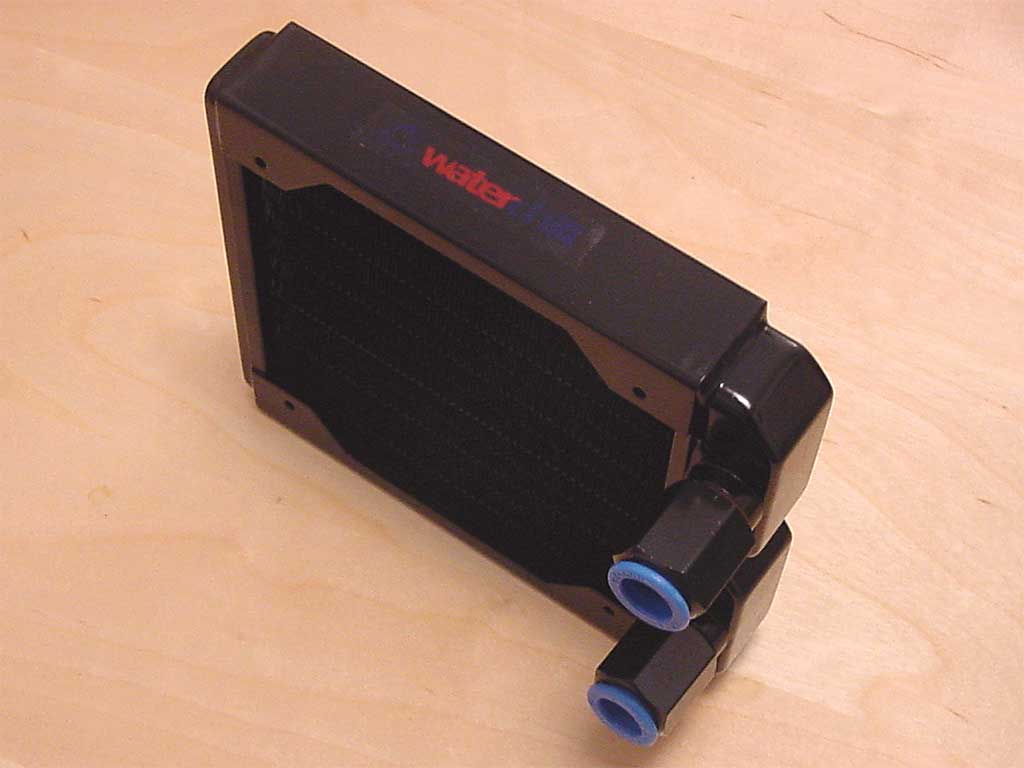
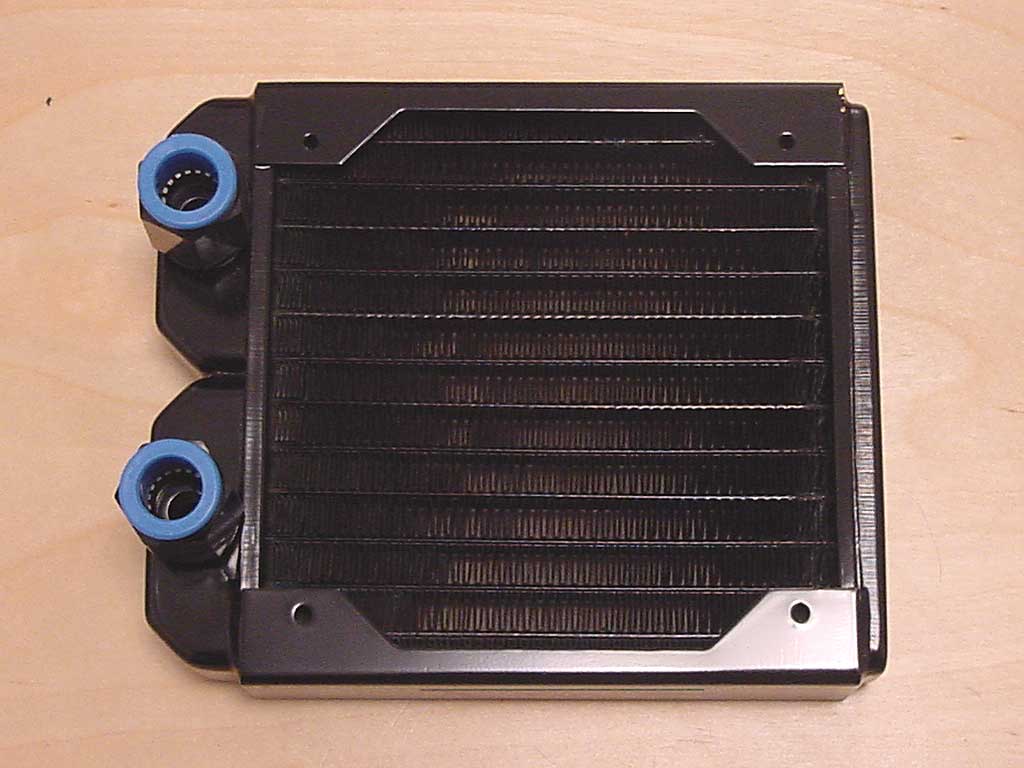
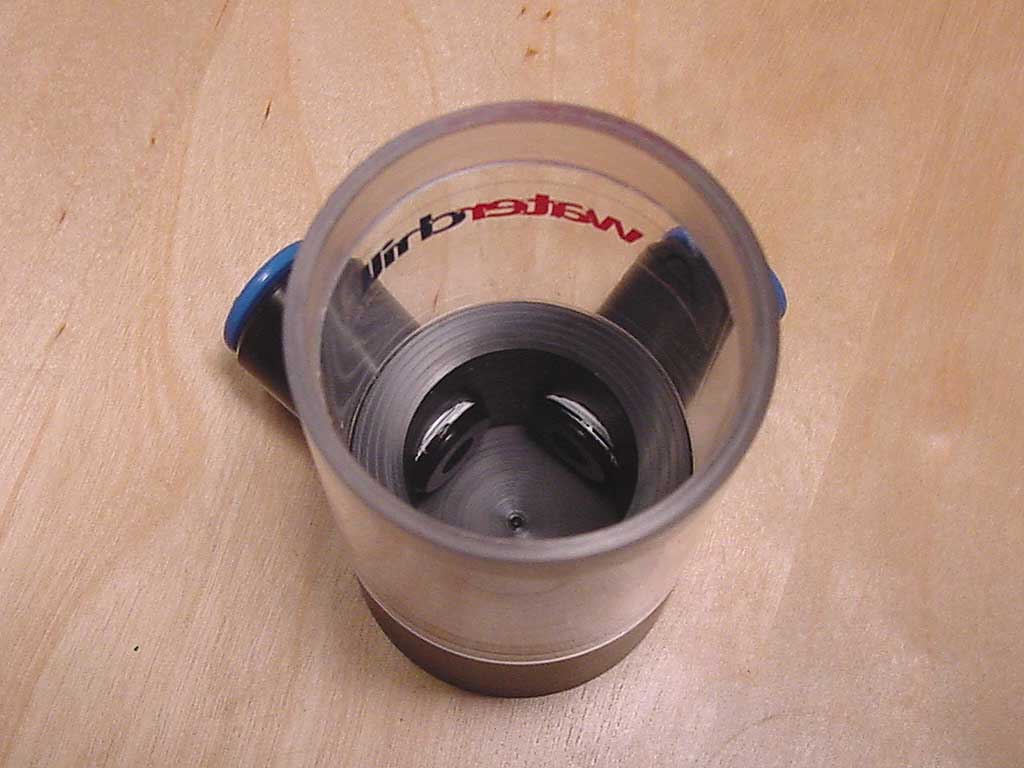
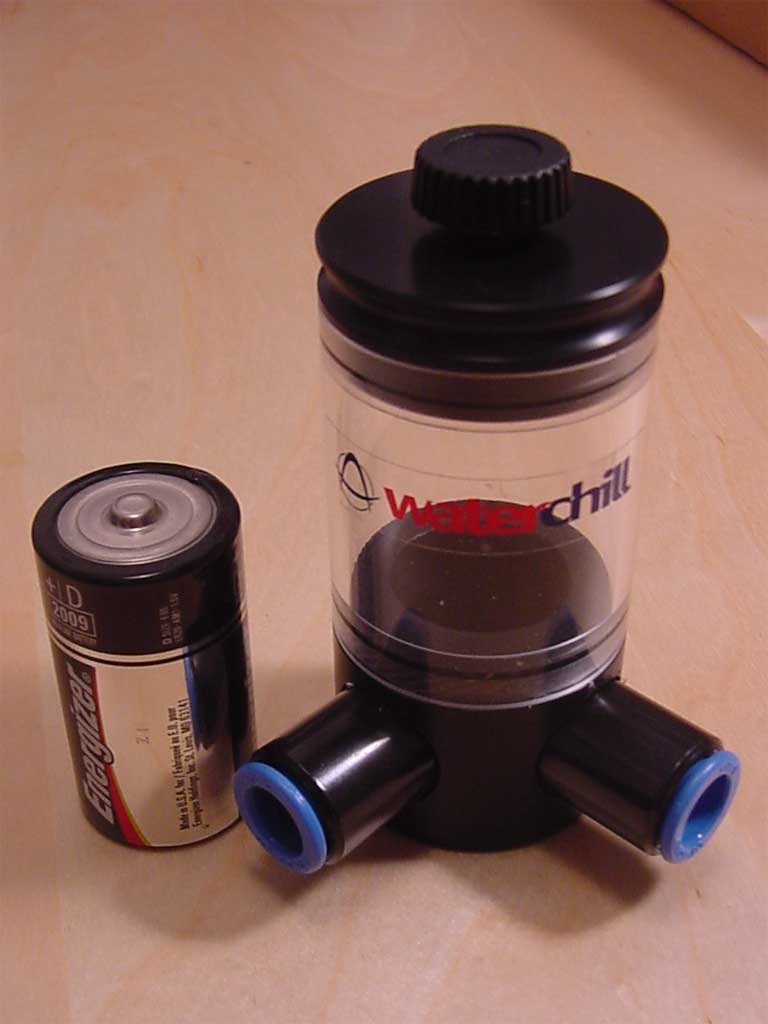
Next is the reservoir. Despite the grandiose name, this device isn’t actually meant to hold much water. In fact, it’s quite small! The main function of a res is filling and bleeding the system. In other words, it’s a place where you initially fill the system up and the place where all the air in your system eventually bubbles out of.
This res uses 90 degree fittings allowing you to stick it into a corner of your case, and by this design it is allowed to bleed more quickly than a straight-through type res. Why? Because the intake shoots water and bubbles into the side of the res, slowing it down enough for air to bubble up easily. The downside is a slight reduction in flow, but very slight indeed. The included res includes a push-on top with a screw. The screw makes the seal air tight, thus preventing the top from accidentally coming off. The quick-connect fittings are epoxied in, so I wouldn’t worry about leaks.
The block also comes with a great many accessories. Most of these are self explanatory, so I won’t spend much time here. We have a well written instruction manual, mounting hardware for all three blocks (including thermal paste), 25ml of anti-algae fluid, the hermaphrodite connector and PCI slot cover, screws to mount the fan to the rad, an extra AMD poly-top for the CPU block (nice! I didn’t expect that).
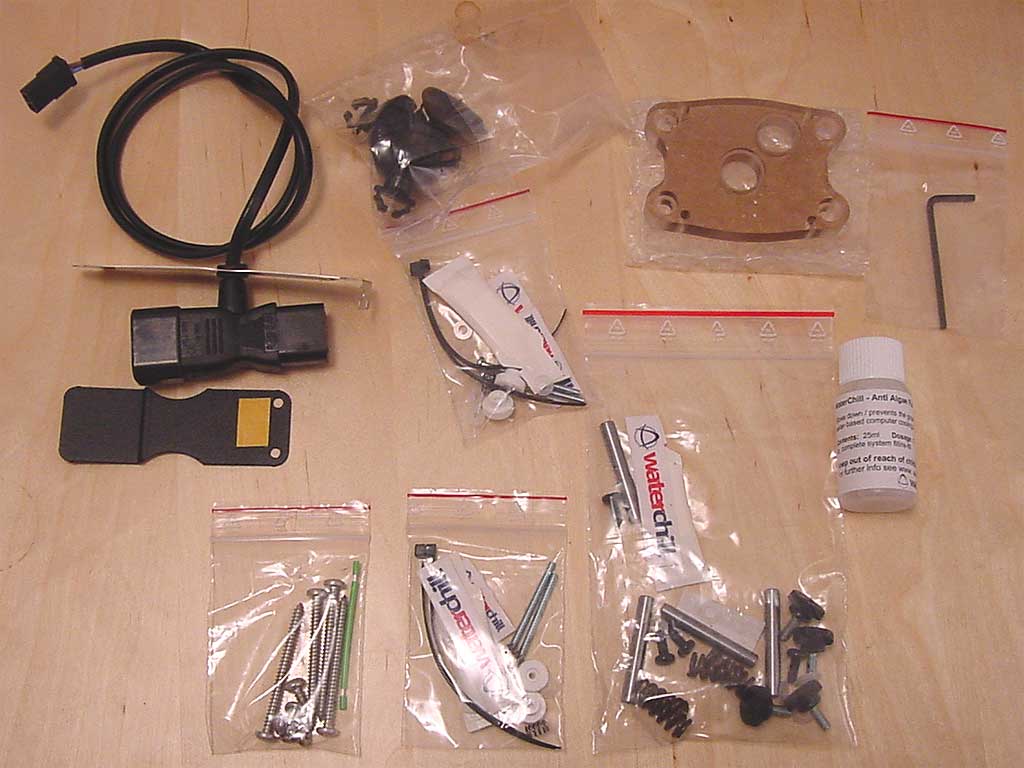
The kit also includes a proper hex-wrench to take apart any of the included blocks (nice again!), a brace to mount the res to the pump, and some suction cups to attach the pump to your case. Also included is about 8′ of 3/8″ID, 1/2″ OD hard wall tubing (not shown in picture). Hard wall tubing is needed for the quick-connect fittings, but the downside is it can be very frustrating to work with.