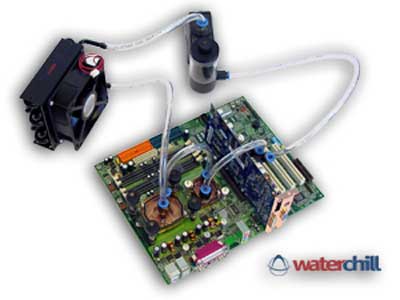
Now that my blocks are in, it’s time to route the tubing, mount the pump, reservoir, and radiator.
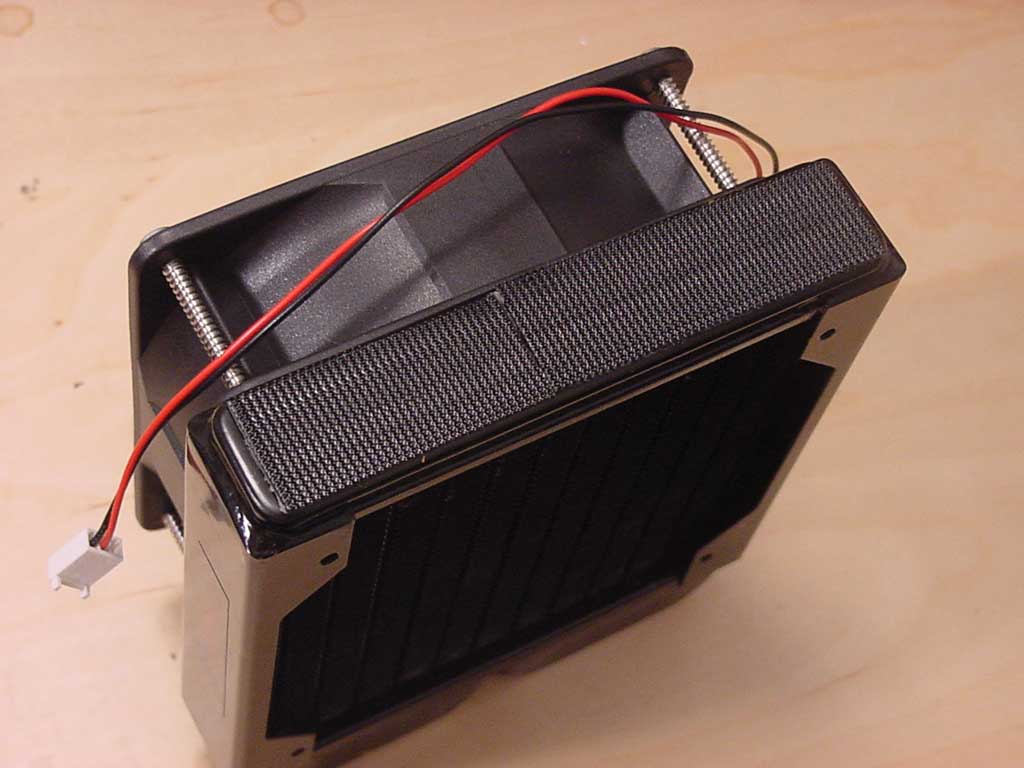
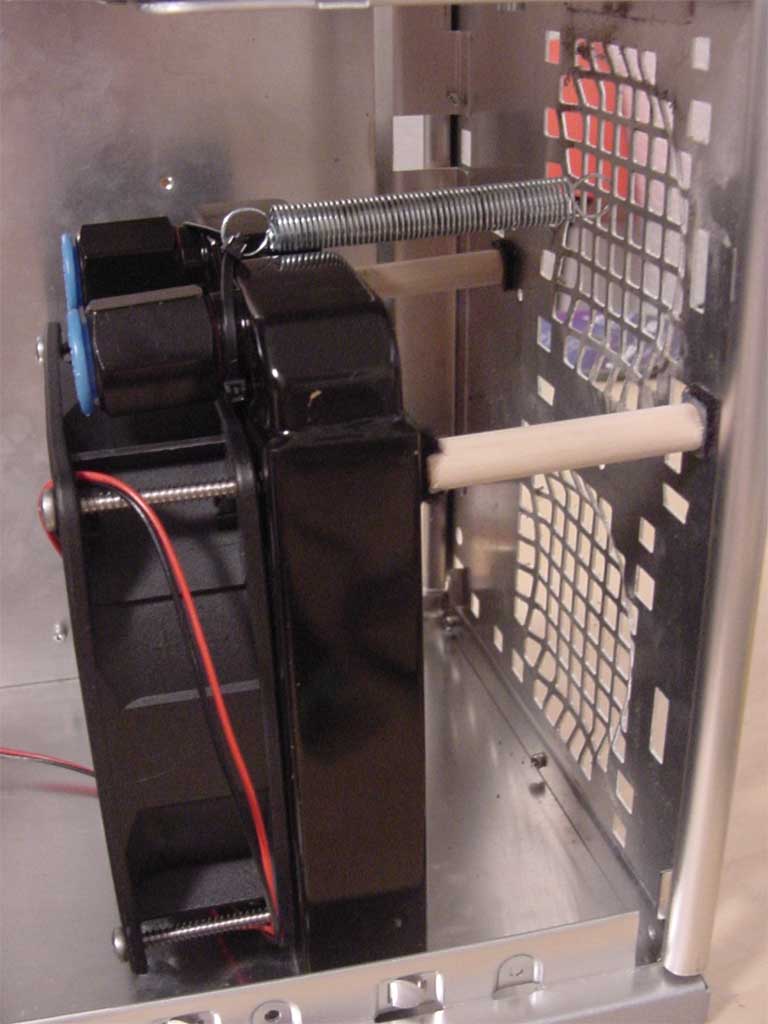
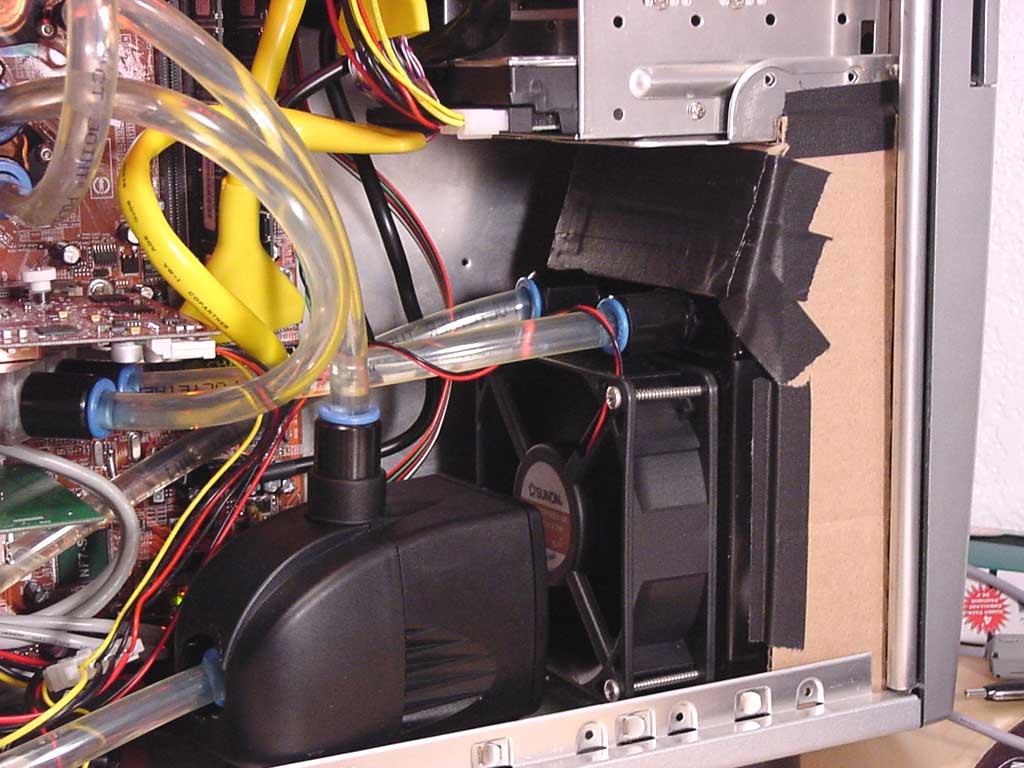
First thing here is to mount the fan to the radiator. Four long screws are included to do so, and it’s very easy. Not wanting to cut my case apart, I came up with a unique way to mount my radiator with industrial strength velcro from home depot, some lengths of dowel, and a spring. Confusing? Well, the spring pulls the rad back into the dowels, which push back against the spring. This tension keeps the
top of the radiator in place. The bottom is lined with industrial strength velcro which keeps the lower end of the rad in place ($8 @ Home Depot). So you think it looks flimsy? I had to turn my case on its side several times during the review, and it held strong – even when full of water.
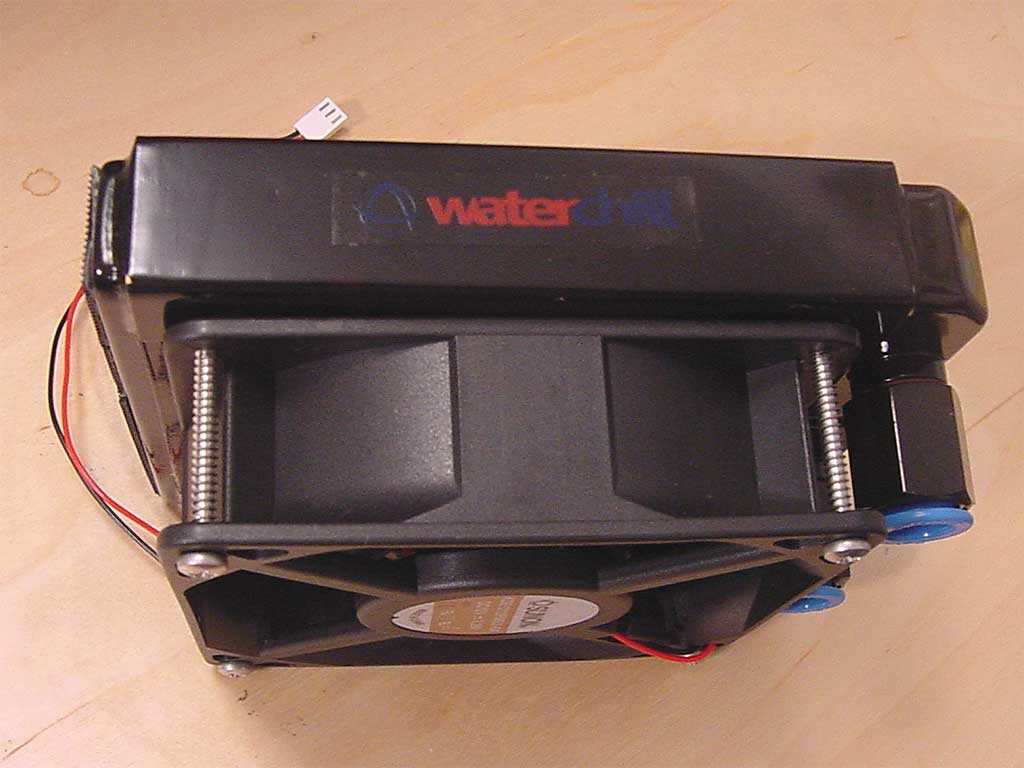
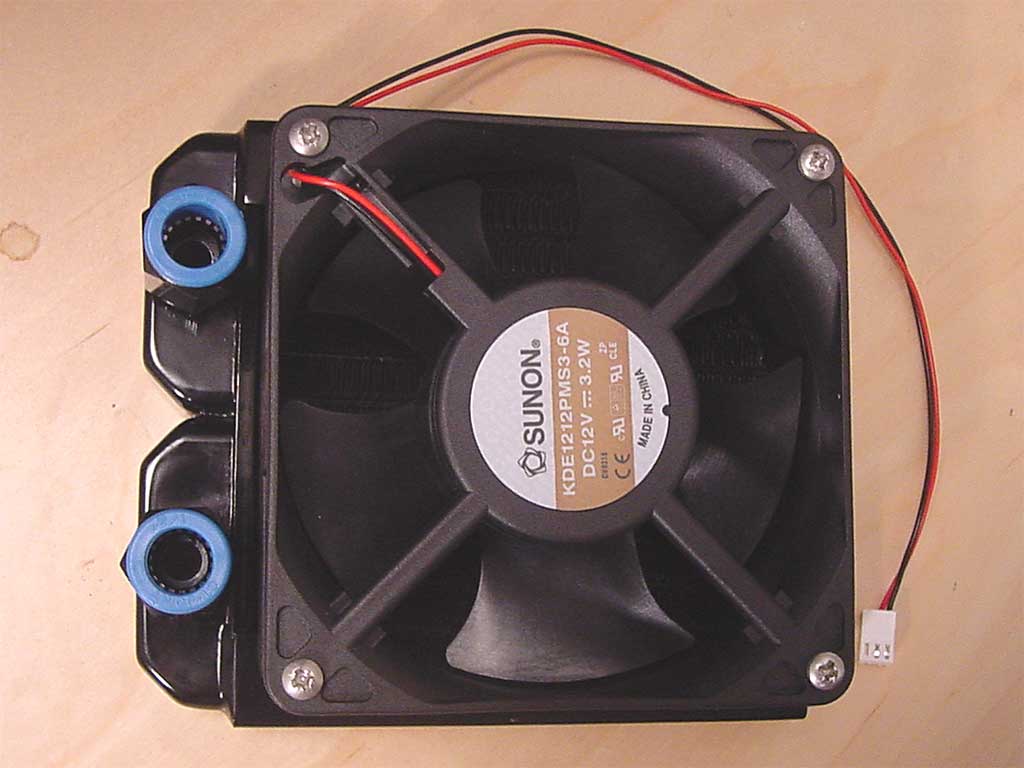
I opted not to modify the two 80mm fan holes existing in the case. I did some calculations and found that the area of the two 80mm holes is 90% the area of a single 120mm hole. Factoring for the dead spot of the 120mm fan and the CFM of the fan, the two 80mm holes should provide plenty of airflow. Later in the install I will add a shroud, and the difference in airflow between open air and the shrouded 2x80mm holes is unnoticeable.
Next was the pump, res, and tubing. After place-testing everything and figuring out which places were best, I started to set things up. I put the suction cups on the pump and put it in my case, and was surprised to see how secure it was. Those are some powerful suction cups. The included bracket to mount the res on 1) didn’t work and 2) didn’t fit my case. It seems this bracket was made for the Hydor L20, as with the L30 it was a bit off and didn’t really do anything. Even if it had worked, I didn’t have the room in my case to put the two side by side. Instead, I put some velcro on the bottom of the res and put if farther away from the pump.
Now that everything is in place, time for the tubing! I must say this took me a very very long time. Since the tubing is so rigid, cutting it even a 1/2″ too long would throw things out of whack. For example, the line between the GPU block and the rad, if it was a little too long it would push the GPU block really hard and put lots of stress on the fittings. In fact, the tubing was so strong the line from the pump to the CPU would push my pump into the case door and pop off the suction cups (now that it’s been running a few days, it seems to be acting less stubborn, but it still happens).
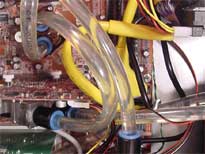
The tubing has a very powerful memory as well, i.e. it wanted to stay coiled as it was during shipping. This made getting it to do any type of bending rather annoying. None of this would have been so bad if the tubing weren’t so difficult to cut! Cutting hard tubing with scissors is a bad idea, and with a razor it took forever as the blade frequently got stuck.
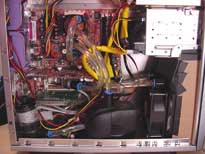
With the tubing finally out of the way, here is the final result. NOTE – I deviated from the recommended loop of pump->radiator->cpu->nb->gpu->Reservoir because there was no way this tubing could make the needed bends. I had to modify the loop to pump->cpu->nb->gpu->Radiator->Reservoir. And check out my bad-ass shroud! Fellow reviewer and mod-specialist Bozenago would be proud.
UPDATE: After reading through my review, the people at Asetek reconsidered their choice of tubing. They just sent me a sample of the new batch and I must say, it is a VERY big improvement. It has a bend radius comparable to to Clearflex-60 or Tygon tubing and is just easier to deal with overall. Great work Asetek!
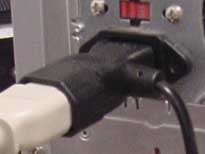
The last step was to hook up the power! Nothing to difficult here, just hook the 3-pin fan connector into the relay, hook the two-pin AC power connector into the PCI slot cover/hermaphrodite connector wire, and you’re done!
One thing worth mentioning is that this needs a 4 pin floppy power connector to run. So does a 9700pro. And so does a floppy drive. So what’s the problem? Most PSU’s that I’ve seen only have two floppy connectors! Luckily a nerd like me happened to have an extra molex-Y splitter that had a floppy connector on it, but for some this could add extra hassle. If you have a 9700/9800 video card make sure to go out and get an extra Y-splitter before installing this kit.