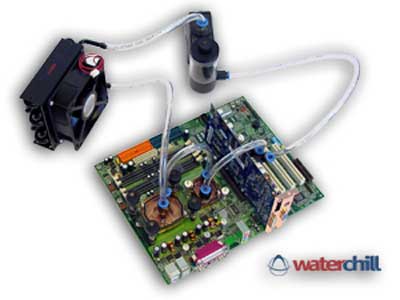
Installation of the kit is one of its selling points – it’s supposed to be easy! Quick-connect fittings, just push in the tubing and your done! Well, it’s not that easy, nor is it especially difficult. Compared to other water installs I’ve done, this one is just about even in terms of difficulty (my previous work was a custom 4′ acrylic waterbong, much harder, and an external heatercore box, easy).
Installing the blocks involved motherboard removal. I don’t like it, but it’s to be expected when working with water. Luckily the actual install of the blocks was very intuitive and easy. Too bad dismantling the entire machine and reassembling is so time-consuming… The installation of the CPU block hardware was simple. Just put a washer on a screw, put it through the motherboard mounting holes, and screw it into one of the mounting ‘pipes’. All the needed hardware is packaged cleanly in a zip-lock bag, and the directions in the manual are clear and concise. This step took me less than five minutes!
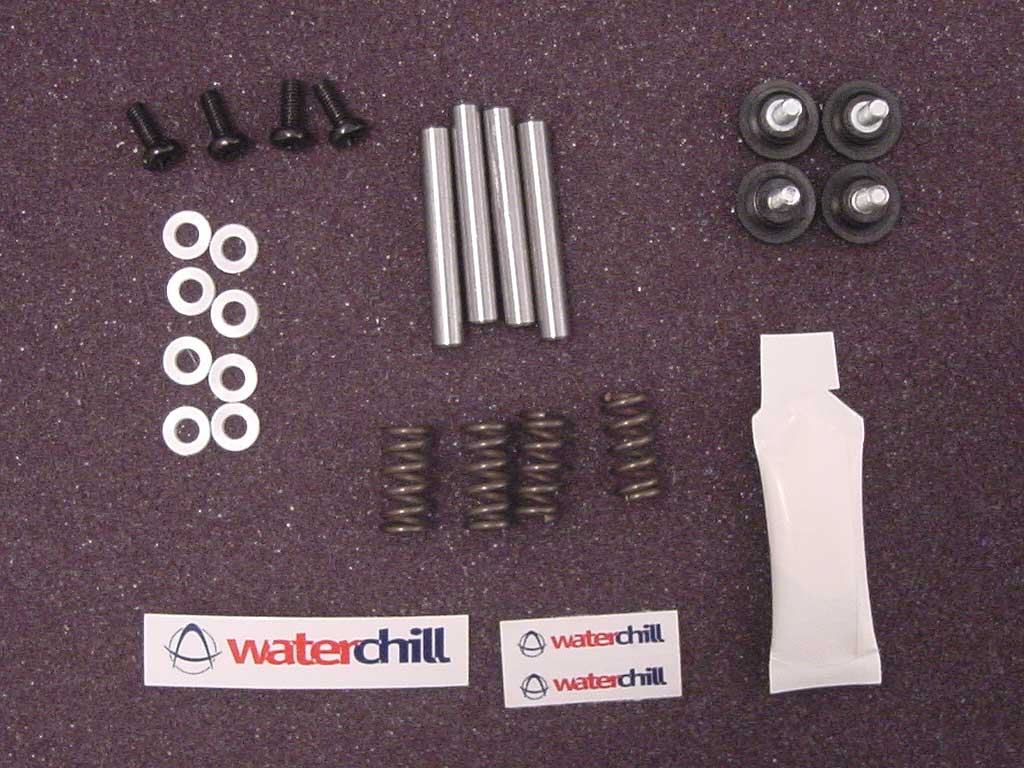
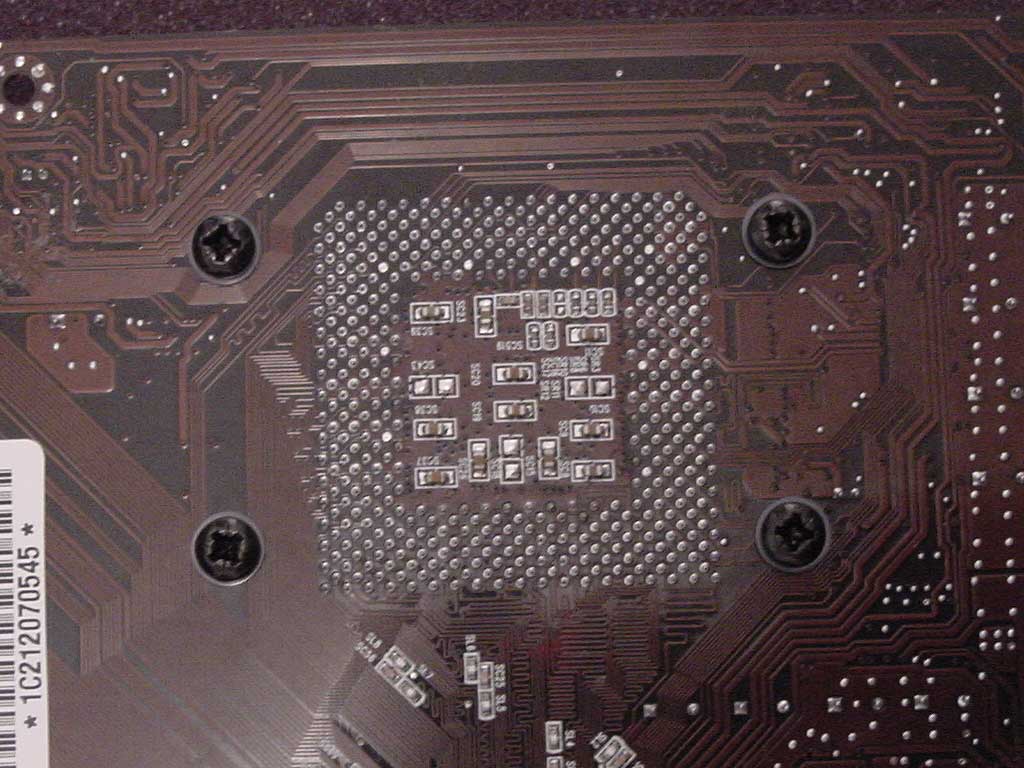
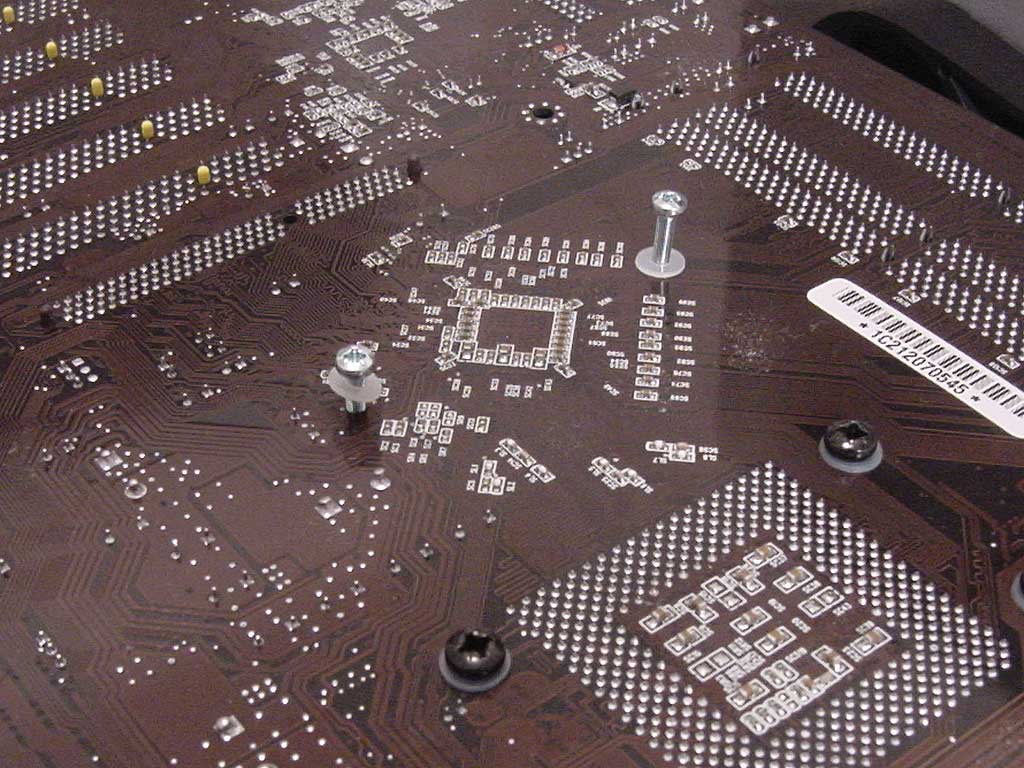
A great thing about this mounting hardware is it doesn’t interfere with onboard components at all! I’ve had to modify the hardware for all my previous blocks to work with my Chaintech 7NJL1, but this one fit perfectly. You can see in my pics how close some onboard resistors come to the mounting holes.
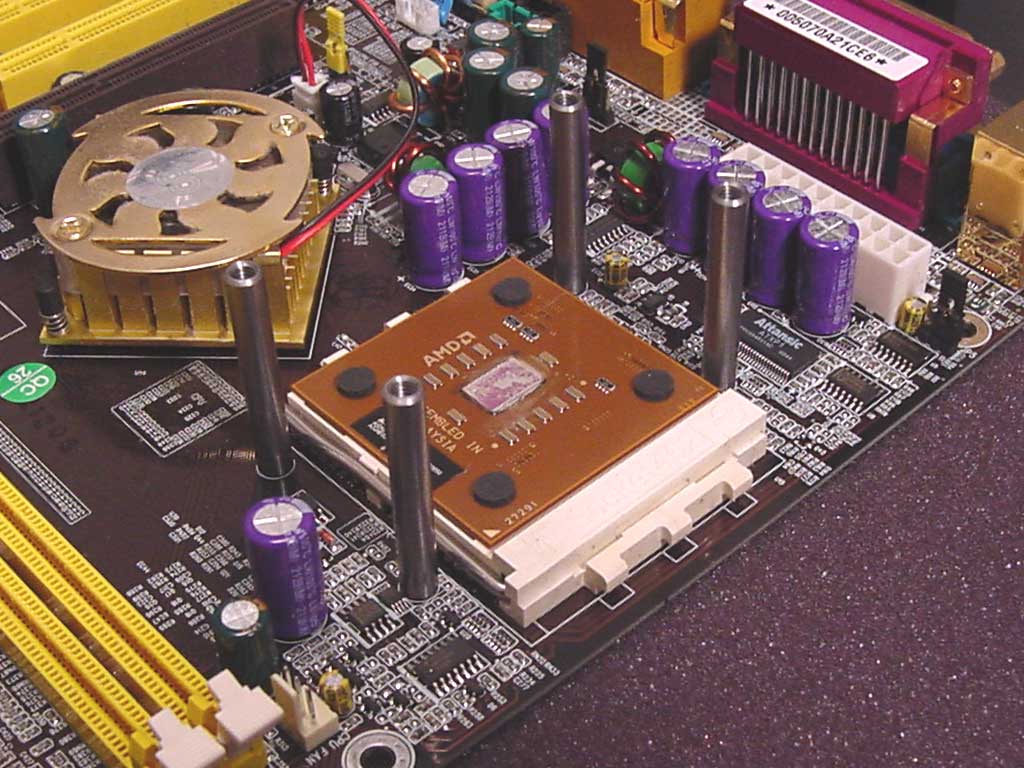
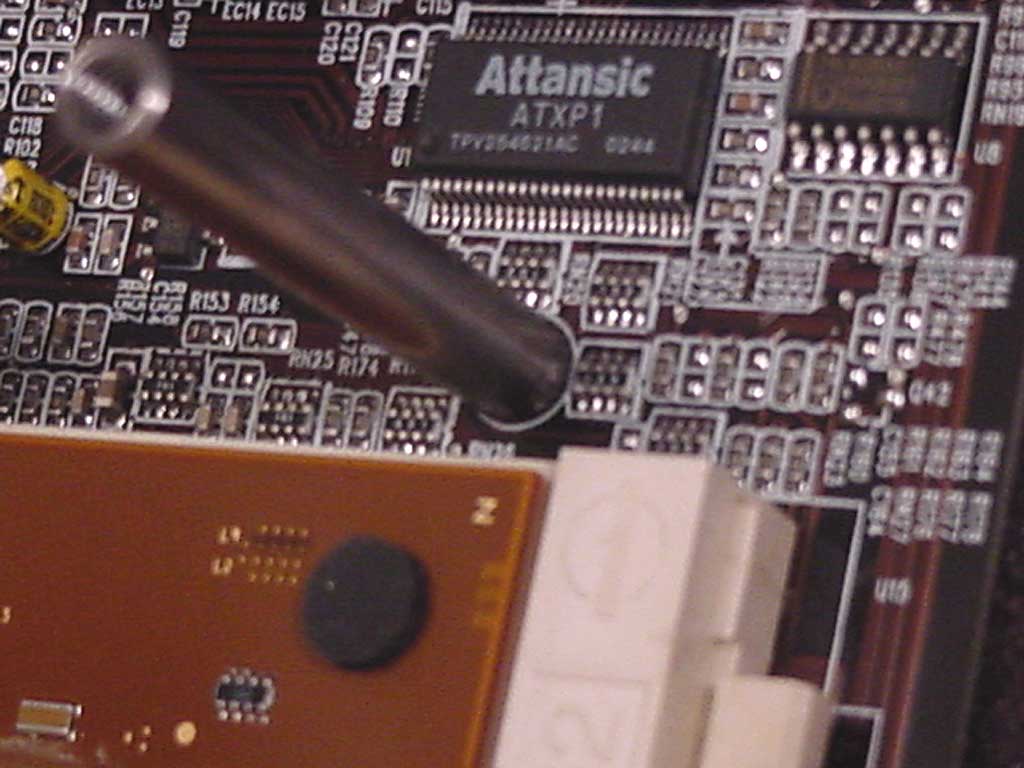
While the mobo is removed we also have to put in some hardware for the NB block. Again, it was packaged wonderfully and instructions were clear. All you have to do is put a washer on the screw, stick it through the mobo, and then on the other side just add some more washers, a spring, and a thumbscrew.
This step took ten minutes or so, and that included spreading thermal paste nicely on the northbridge. Securing the CPU block was just as easy. It slid onto the mounting ‘pipes’, then you just add on the springs, washers, and thumbscrews. A great thing about the CPU block is the screws will only go in to a certain point, therefore making over-tightening impossible! This is a concern with AMD chips as over-tightening can sometimes crush the CPU core.
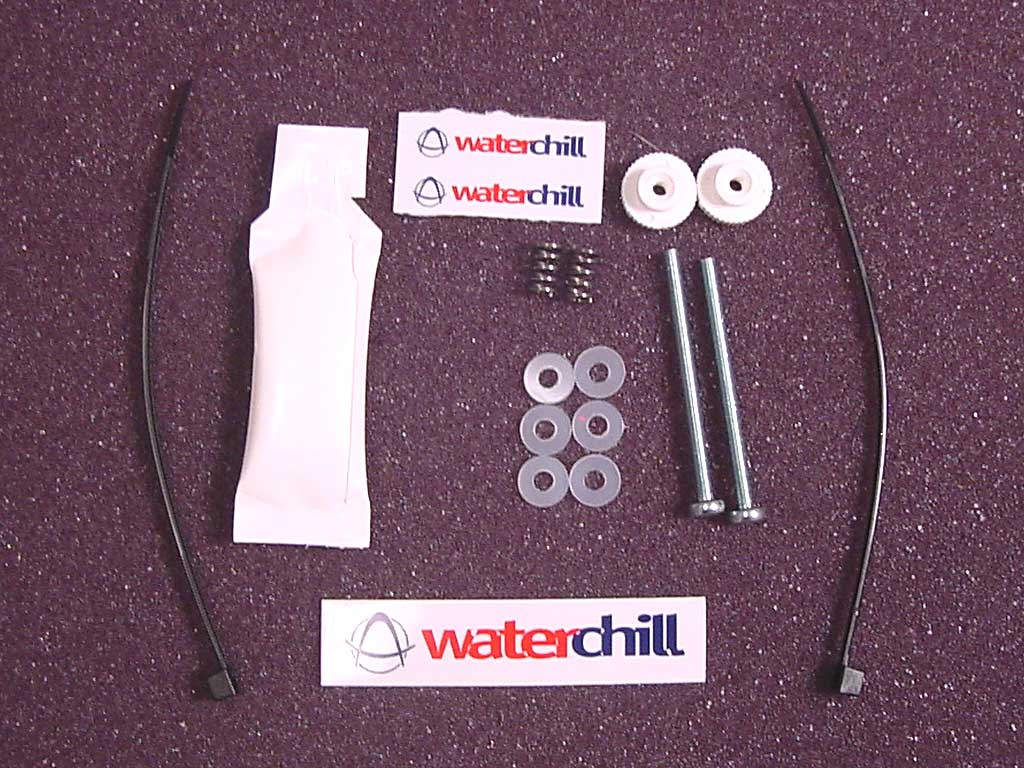
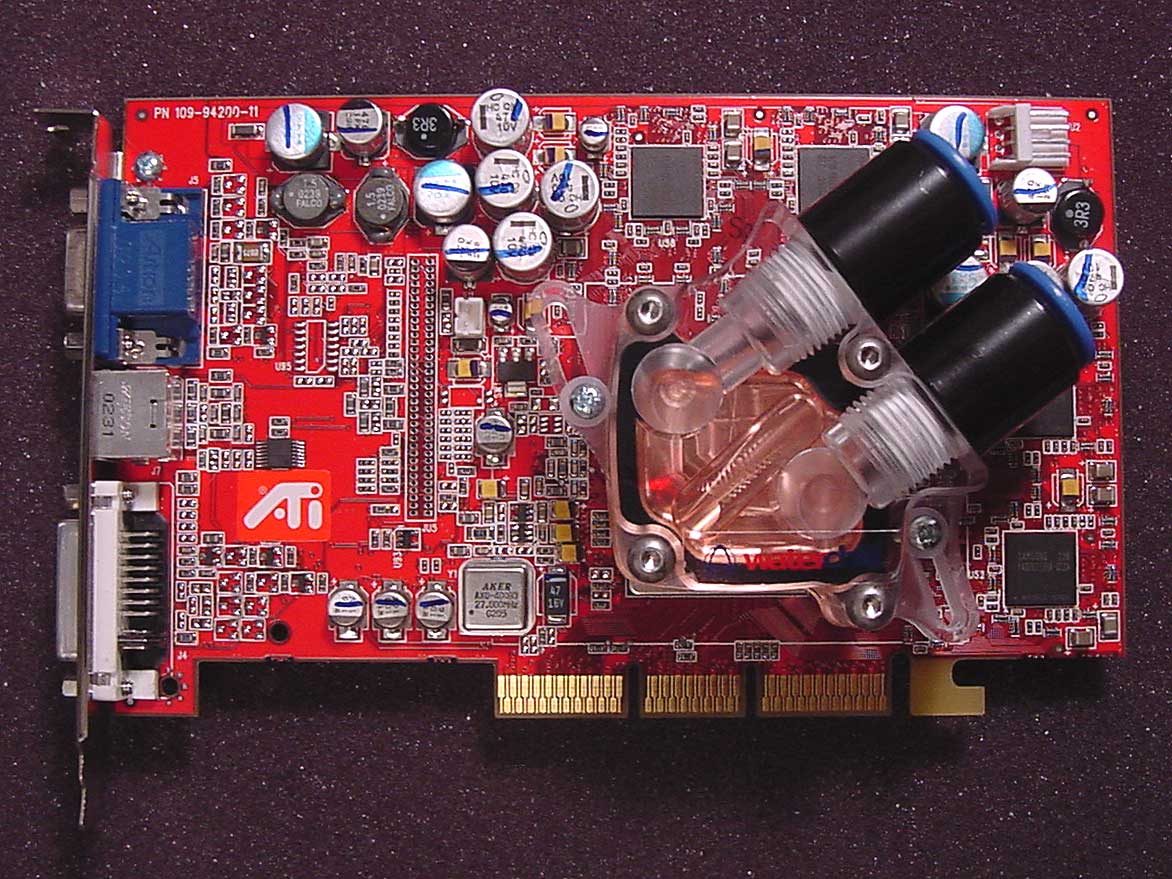
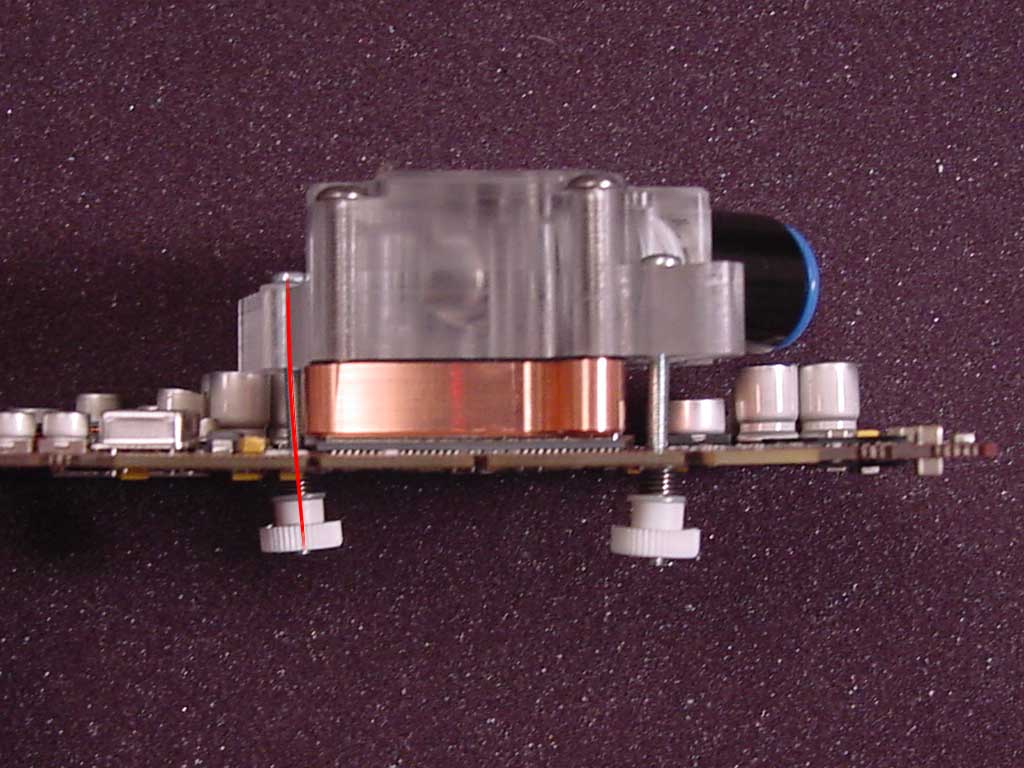
Mounting the GPU block on my 9700pro was also pretty easy. In fact, mounting hardware and procedure for this block was identical to the NB block. The install wasn’t perfect though, as the mounting holes for the card don’t seem to line up 100% with the mounting tracks on the block. I tried several different orientations to no avail. In the following pics I marked the curvature in red to show how severe it is. It doesn’t seem to affect anything but the screw, but this is worth pointing out. When brought up to Asetek they showed me pics of 9700pro installs where the screws did line up, however on mine it seems to be off about 1/16″ or so, thus causing a bit of curvature.
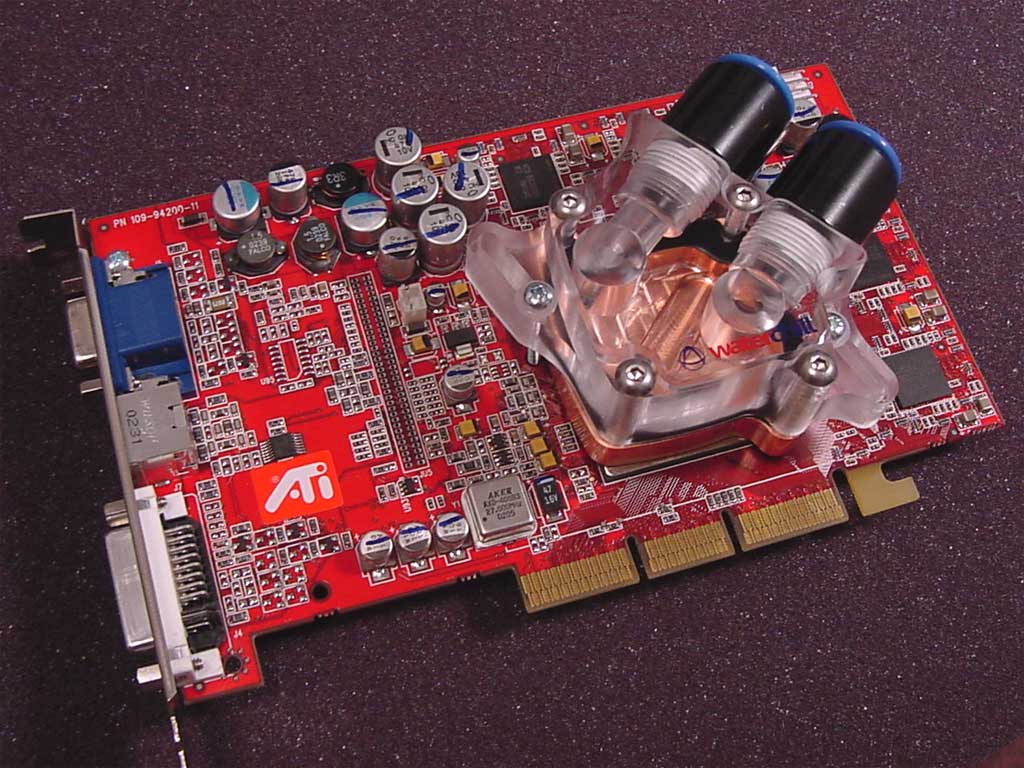
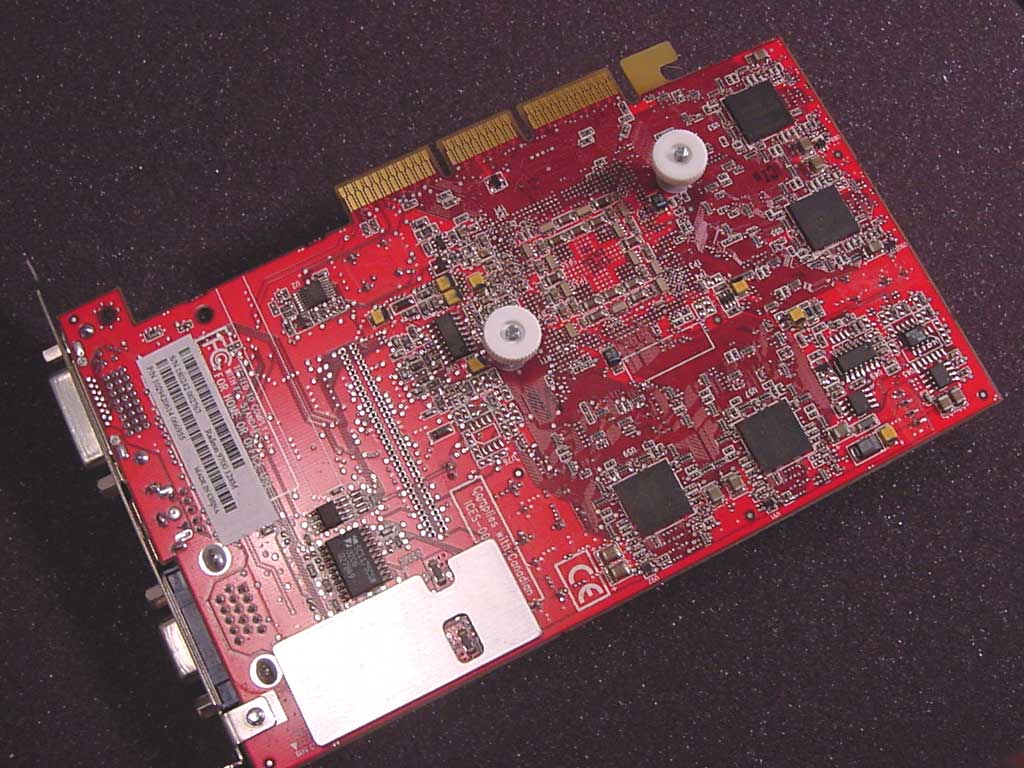
Another thing I didn’t like is that this block is not machined to fit within the ATI 9700 and 9800 series shims. Yes, one can remove the shim – but only at the cost of the warranty! With lesser cards I wouldn’t care, but this one cost me hundreds of dollars… Some GPU blocks by Swiftech and others are made to fit inside the shim, it was a shame that this one did not. Doing this would mean Asetek couldn’t use the same base for the NB and GPU, but it would have been nice. Lastly, the inlet and outlet of the waterblock pass over some of the memory on the card. There is plenty of room for BGA ramsinks underneath, but if you use very tall sinks this could be an issue.
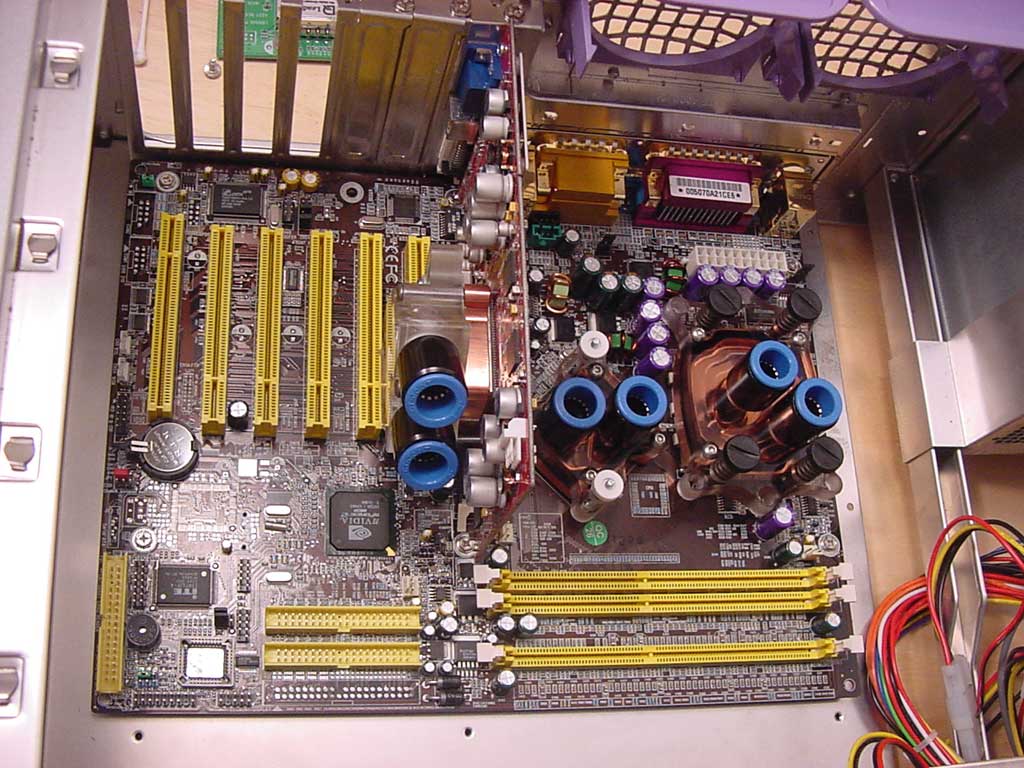
Here’s everything installed and in the case.
It’s Not Over…
Midway through my review I changed motherboards for unrelated reasons. I went from my Chaintech 7NJL1 to an Abit NF7-S v2.0. All was well until I tried to mount the CPU block…the extra mounting holes conflicted with some of the Abit’s capacitors! I had to significantly trim down the poly-top of the CPU block to make it fit.
In case you’re wondering, the poly-top was easy to cut and file down using a hacksaw and wood file. It took about 30 minutes and I didn’t even remove the top.
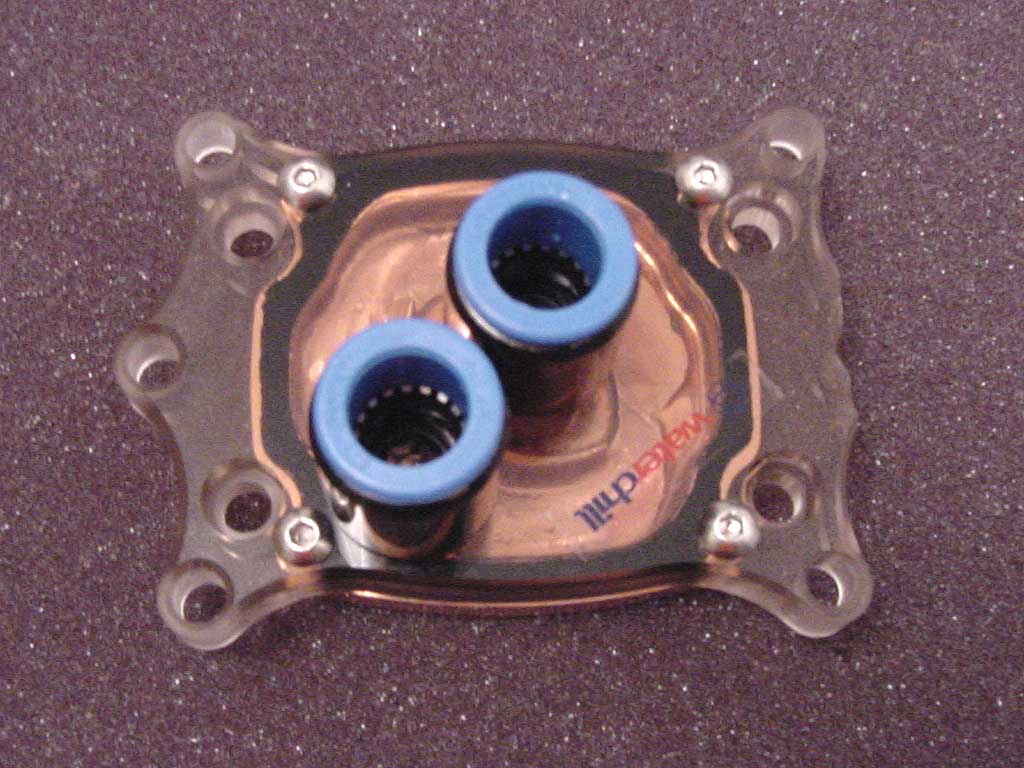
But alas, all my work was in vain! When shown to the Asetek people they pointed out that the replacement top is not just a replacement, but an AMD-only top. This means that as long as your AMD mobo follows all heatsink clearance specs – and pretty much all of them do – all you’d have to do is change tops and there would be no filing needed. I had thought it was an identical replacement top!