

Cutting a hole is where you can FUBAR the entire project. Take some extra care when positioning the switch. Initially I wanted to place them vertically but when I double-checked (be sure to always DOUBLE CHECK!) I noticed that the switch would not clear the board on the inside. There was enough room if the switch was oriented horizontally… so the rest is self-explanatory.
To make the initial hole I used a Dremel with a worn-down cutting disk (a reduced diameter makes for precision cutting). A quick trim with a scalpel blade (or needle file) made the switch fit properly and then I soldered on two wires to the switch and connected them to the board.
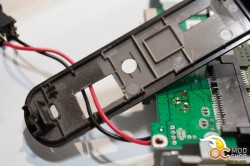
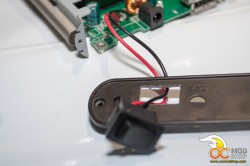
Cut a hole and thread the wires through
Note that you will want to thread the wires through the hole before they are soldered, else you won’t be able to fit the switch anymore (depending on the switch type, but valid in this case). When put back together, everything looks like it came from the factory. I plugged in the power and eSATA cable and enjoyed my new, improved hard drive enclosure (now with on/off capability).
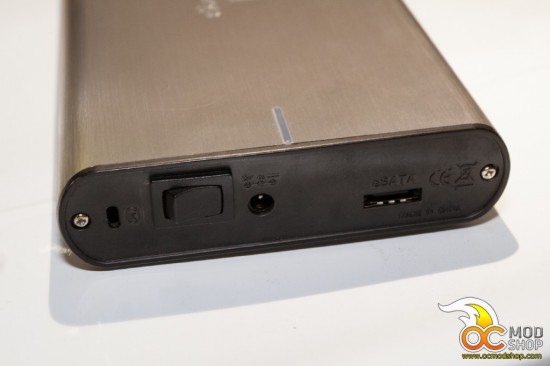
It really didn’t take that much effort to do this mod. Painting took less than two minutes (without drying time). Inspecting the board took three minutes, and de-soldering the resistor only took another few minutes. And of course slapping an OCmodshop decal only makes you look more boss. Cutting the holes in the enclosure and testing took the most amount of time.
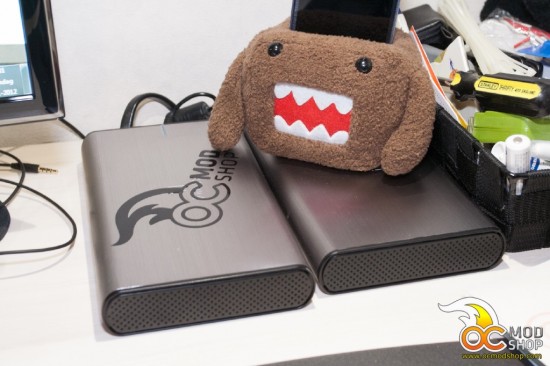 Domo-Kun approves of the OCmodshop decals!
All in all, 15 Euros ($20) and about a half-hour of time, and you too can have your own personalized and modded hard drive enclosure that boosts throughput up to 500%.
HAH! Beat that!


