
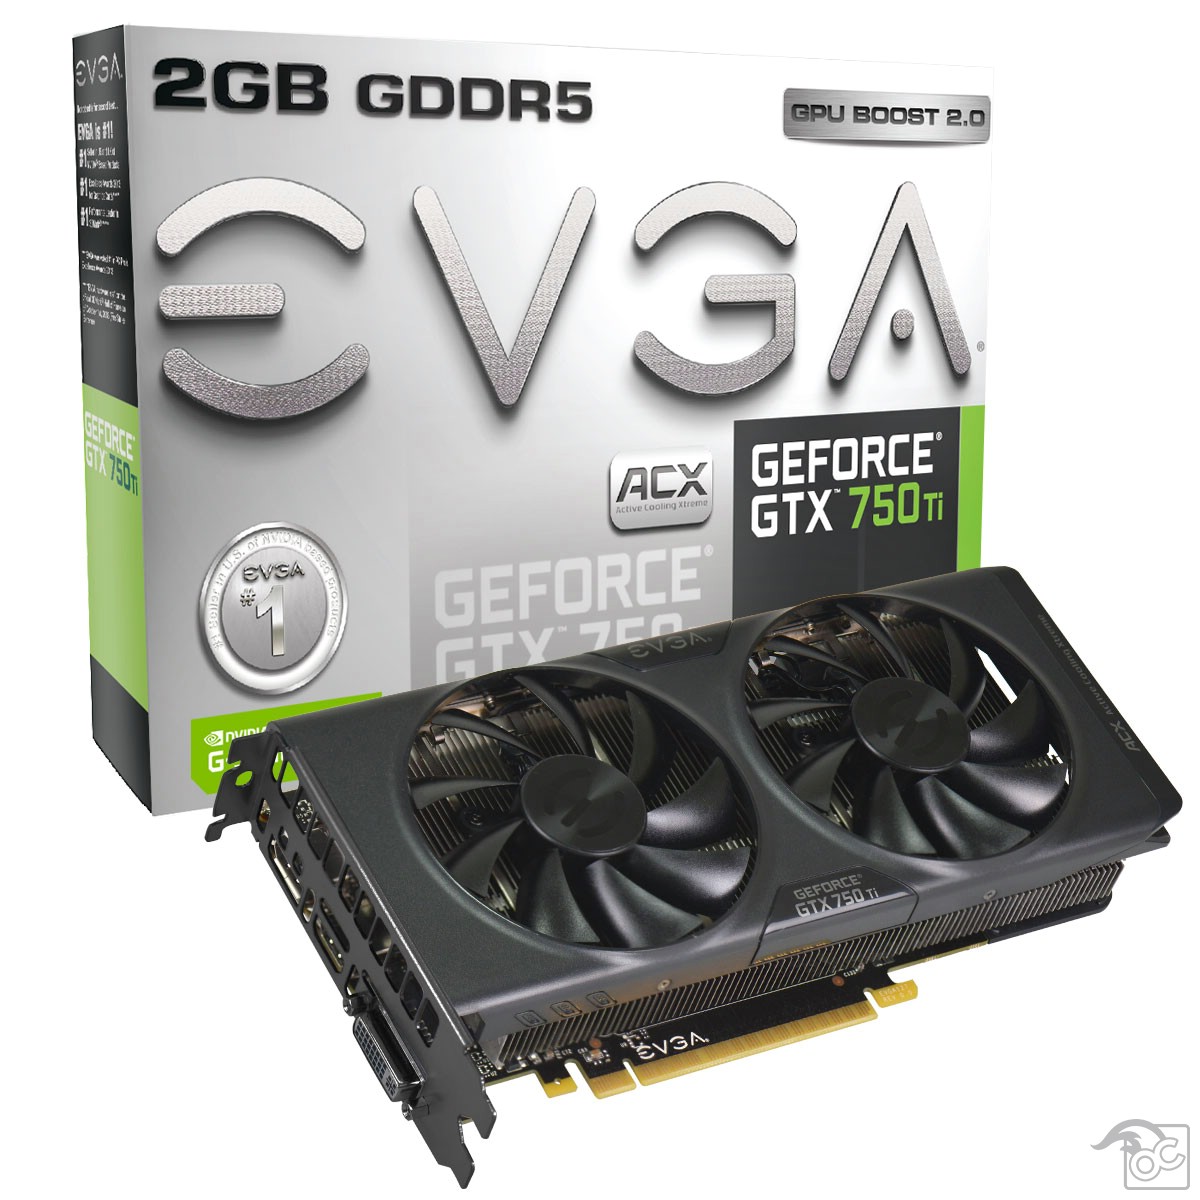
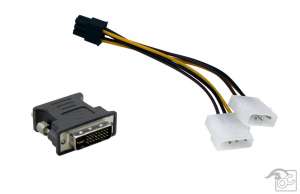
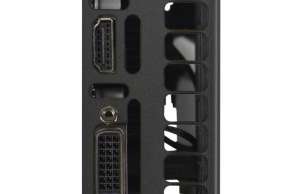
Installation was easy as can be. I simply disconnected my old DVI cable, unscrewed the old card, and then installed the new one in its place. Took me less than a minute. And, there’s no need for added power. This is a low wattage card, so it draws all necessary power from the motherboard itself. Slip into PCI-E slot, screw in retaining screw, plug in video cable, and you’re done.
Stress is the name of the game, so I’m going to be running the 750 TI through a rigorous obstacle course known as 3DMark Pro. And of course we can’t have a video card review without gaming it up. Since it’s still new, and you can read our review of it here, I’m going to test the card using Watch Dogs.
Ready to begin? Not so fast, hot shot. I need to tell you about the rig I’m going to be testing this thing on:
- MSI 970A-G46 Motherboard
- AMD FX-4170 4.2Ghz. (4.3Ghz Turbo)
- 16GB Corsair DDR3 1600Mhz
- EVGA GeForce GTX 750 TI (2GB DDR5)
- 3 TB Western Digital Caviar SATA HDD
Now that that’s out of the way, we can begin stress testing this thing. 3DMark Pro has three tests for graphics cards: Ice Storm (for mobile devices and entry level PCs), Cloud Gate (for notebooks and home PCs), and Fire Strike (for high performance gaming rigs). Obviously the first one doesn’t serve us much purpose at all. But I wanted to be thorough, so I decided to run all three tests in order of severity.
I also ran FRAPS to test frame rate as I went. I’d also like to make a note here about optional downloadable software. Most video cards these days can be controlled using a downloadable software for overclocking and fan control. This is a great idea, as some auto fan controls aren’t that bright. So I downloaded and installed EVGA Precision X and cranked my fan speed up before beginning these tests. Alright, on with the tests.



1 comment
[…] EVGA Geforce GTX 750 Ti Video Card Review […]