One thing you will see me stress throughout this case mod is the use of clean lines. I wanted to create a Radiator mount that was not distracting or looked thrown together. So I started off measuring any and all dimensions of the Radiator.
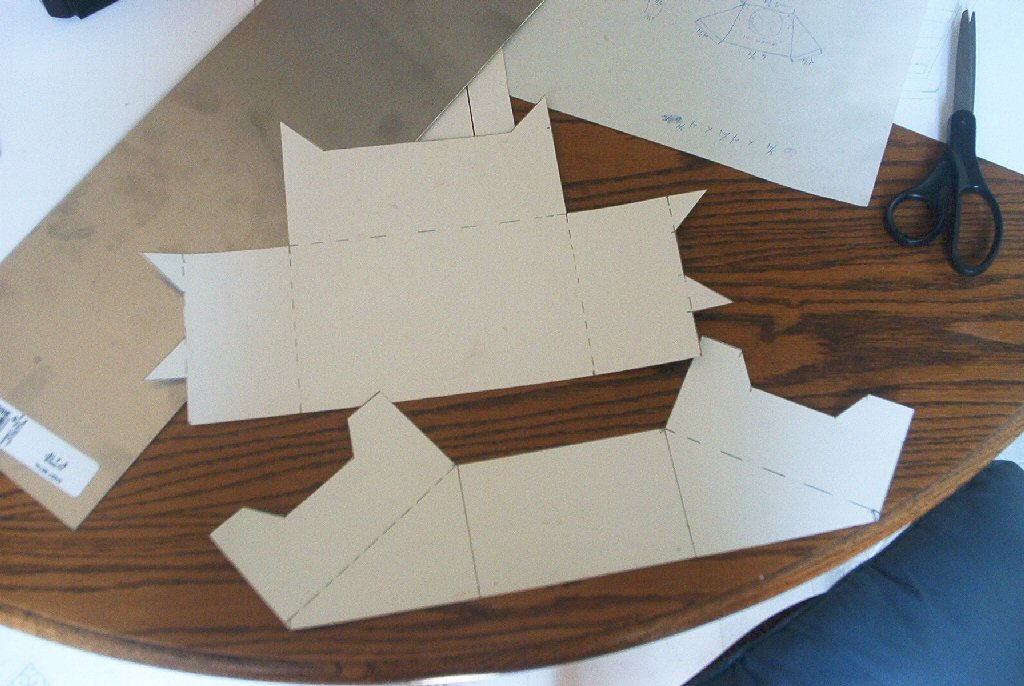
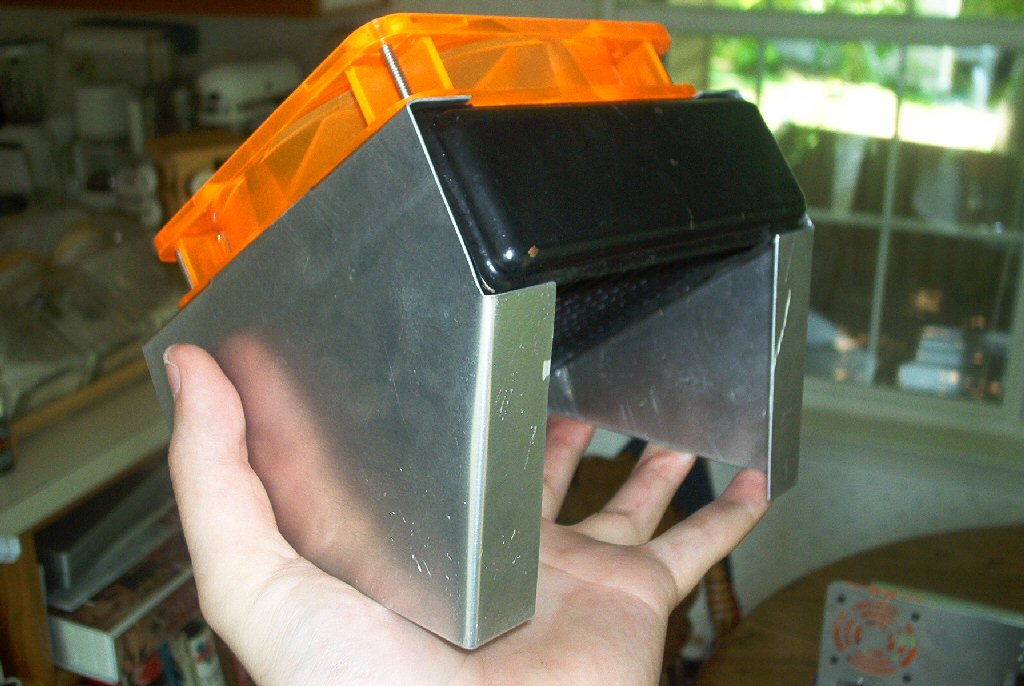
Then I took regular cardboard and created templates for the mounting brackets (the topmost template was for a shroud that was not used). These brackets were made of sheet aluminum and wrap around the Radiator to help stealth it to some degree.
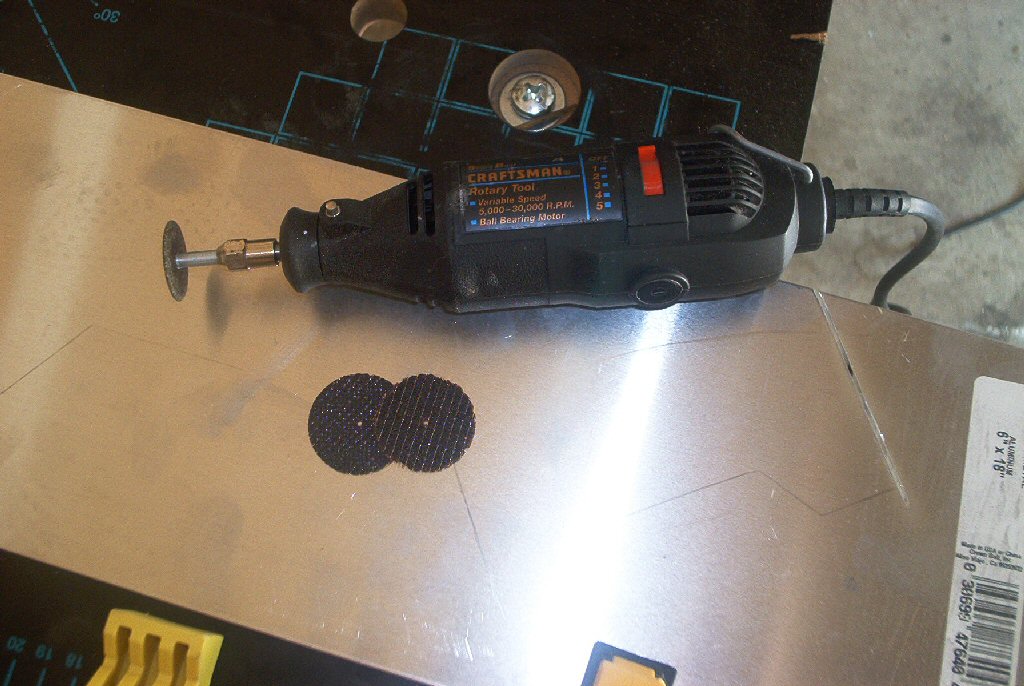
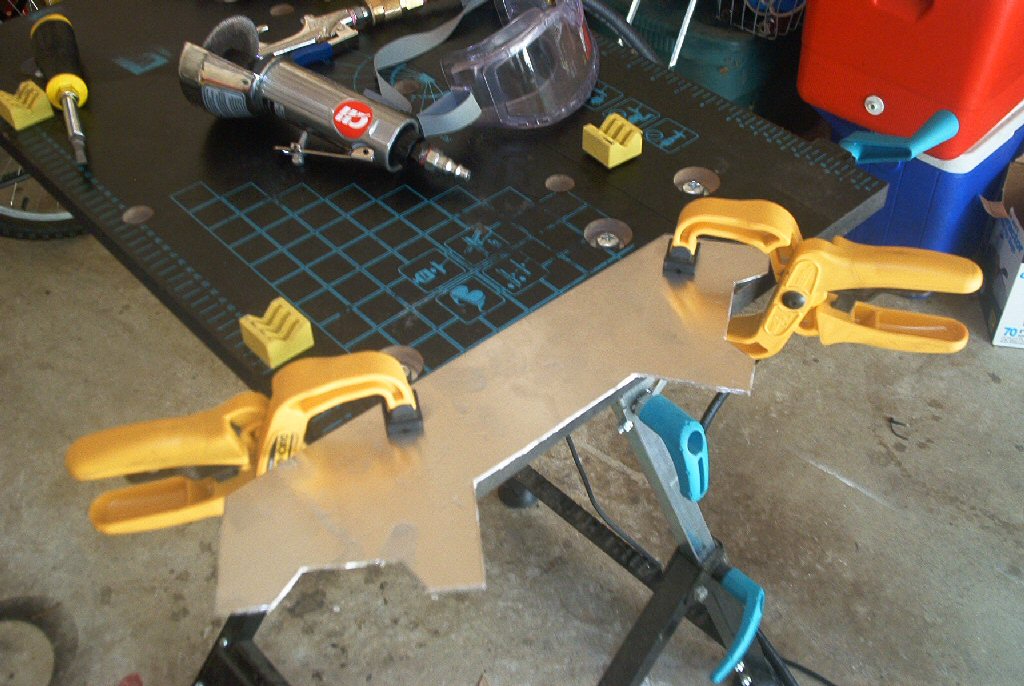
I cut the aluminum with my classic Sears dremel tool using fiberglass reinforced cutting discs, as well as my CH air rotary tool when needed.
Once cut the sheet was bent using a clamping workbench and a rubber mallet.
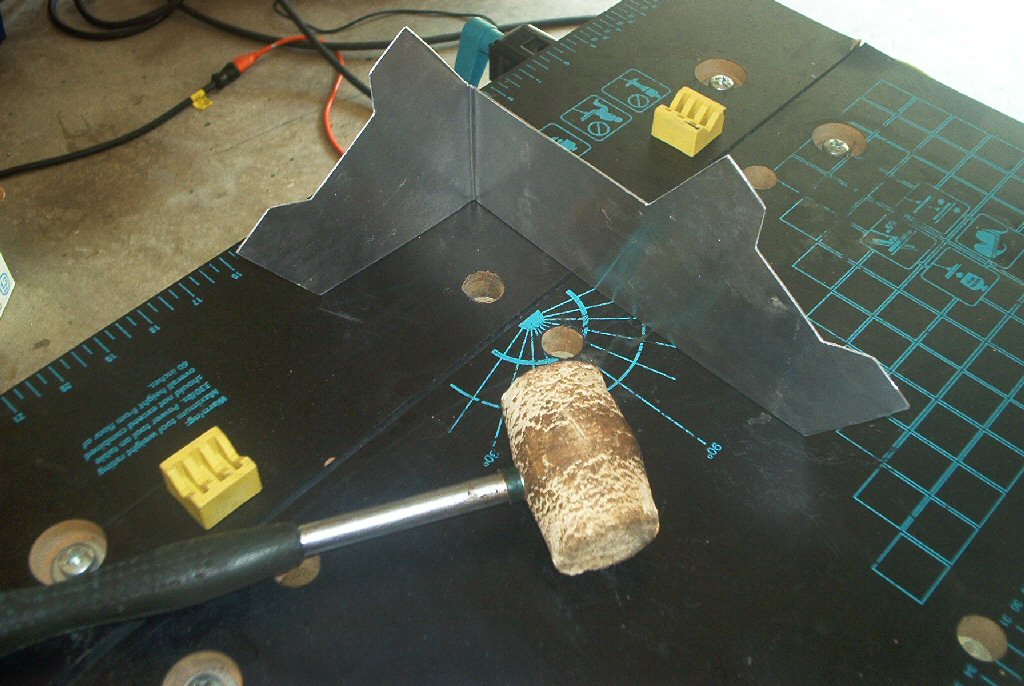
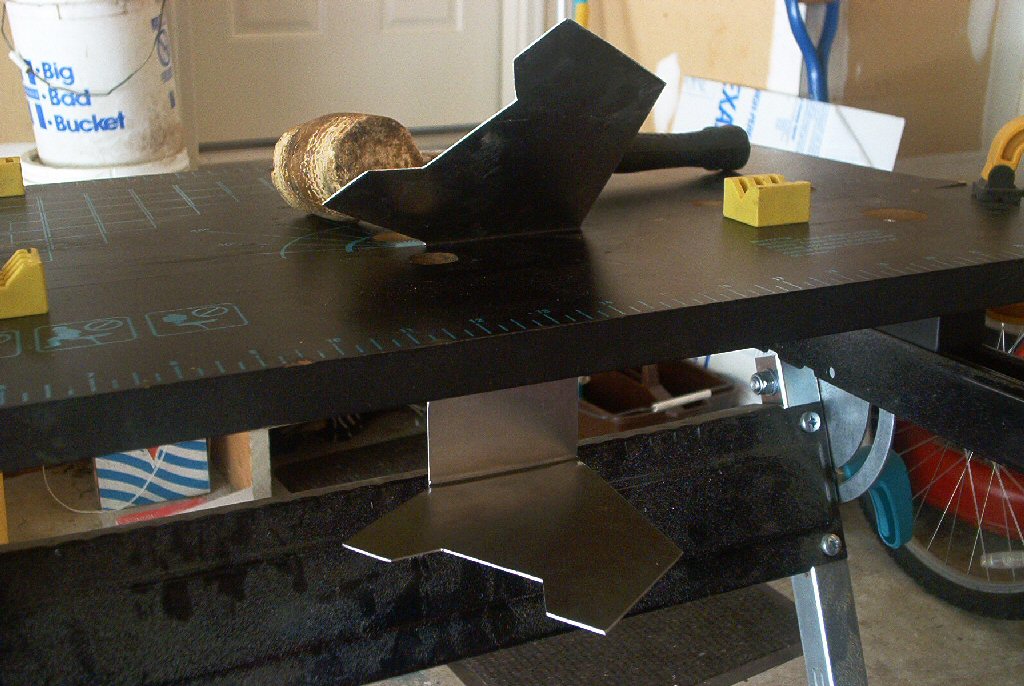
TIP: One thing to note when bending this way is to avoid ripples in the metal by heating it with a torch or heat gun. This helps to make the metal more pliable.
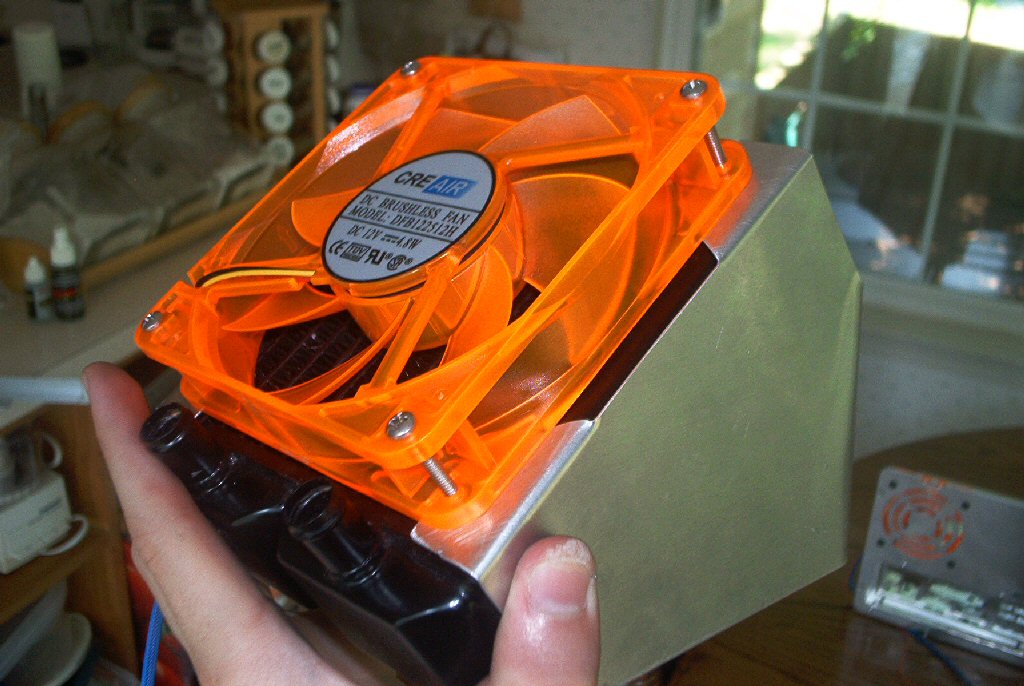
During the bending process I left the bracket as a single piece to make it easier to handle. Later on I cut out the center section making the bracket two pieces and allowing room for airflow. Here is the final assembly fitted with a fan just to demonstrate how everything fits together.
Cutting a Blowhole
Next I moved on to cut the 120mm blowhole at the top of the case. This will allow a large volume of hot air to be expelled at relatively lower noise levels than a smaller 80 or 92mm blowhole would. To cut the blowhole a 120mm hole saw was used. A hole saw is basically a large metal circle with teeth. It can be used in a drill to cut diameters that most drill bits wont cut, but tend to be rather expensive. Some people prefer to use a dremel instead and with a steady hand as well as some practice, will achieve the same professional results.
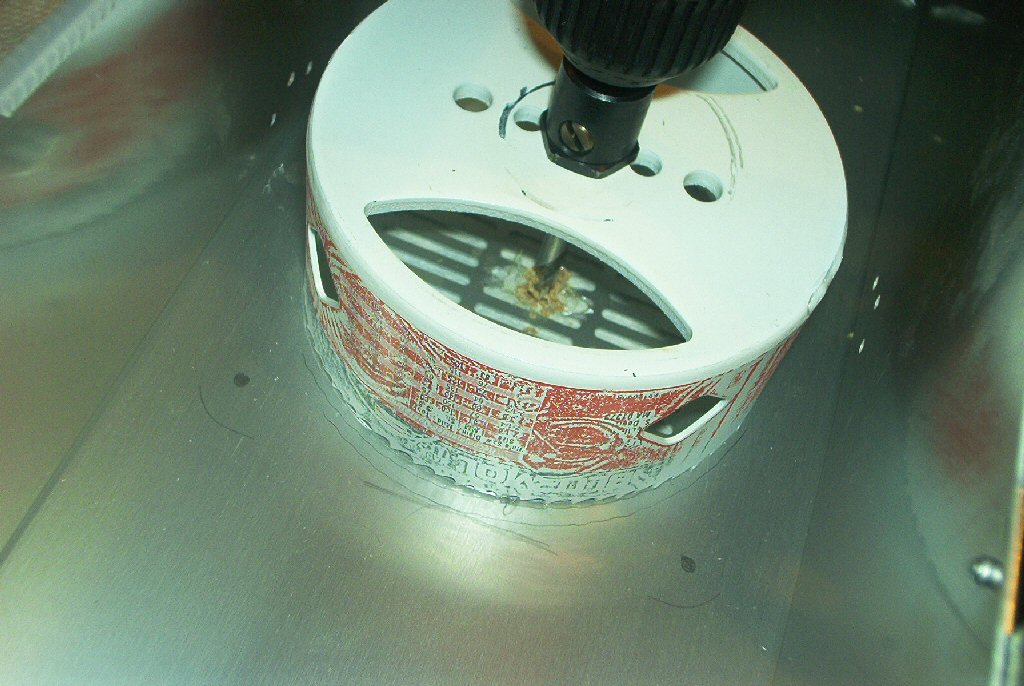
TIP: One thing to note when cutting with a hole saw is to make sure and use a very powerful drill. Torque is key when using large surface area cutters like these. So run your drill at a lower speed and let the saw do the work. Try and force it and the hole saw will buck causing scratches or damage. Also try and use a piece of wood underneath of the area you will cut. This give the pilot drill (the center drill bit) something to drill into and stay on target.
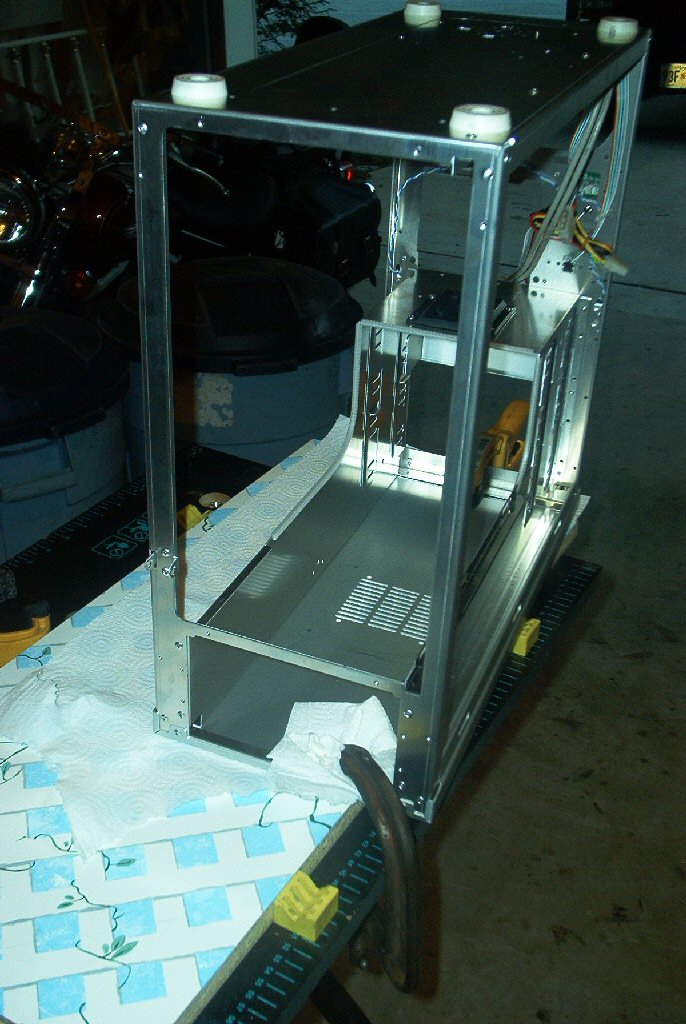
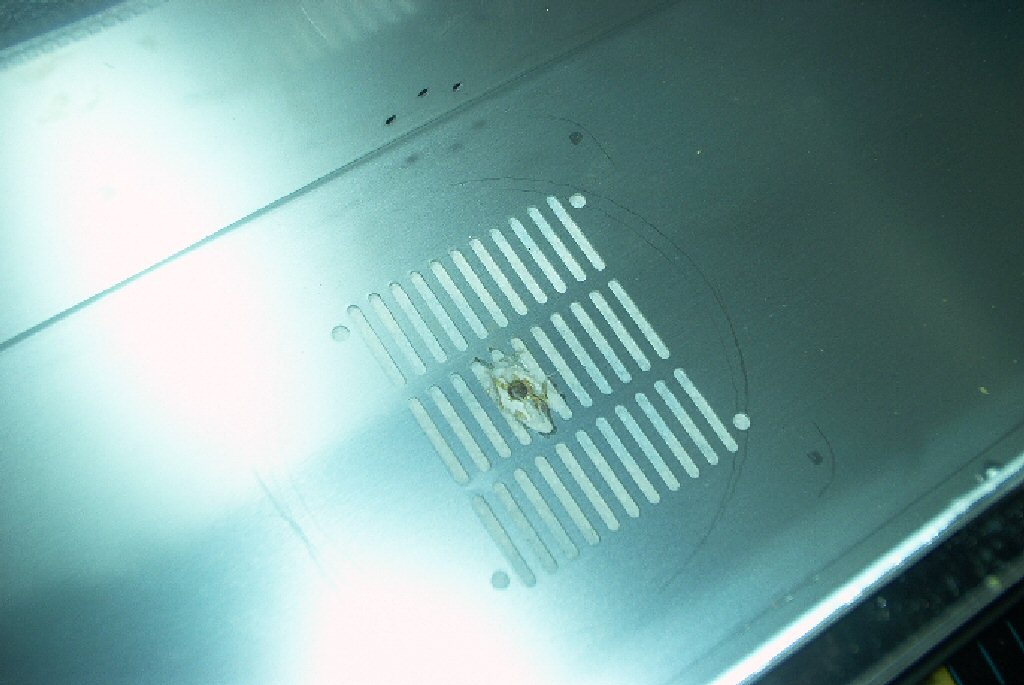
Here is my case clamped down and sketched for the pilot hole and cut, then the final product, a clean 120mm hole.
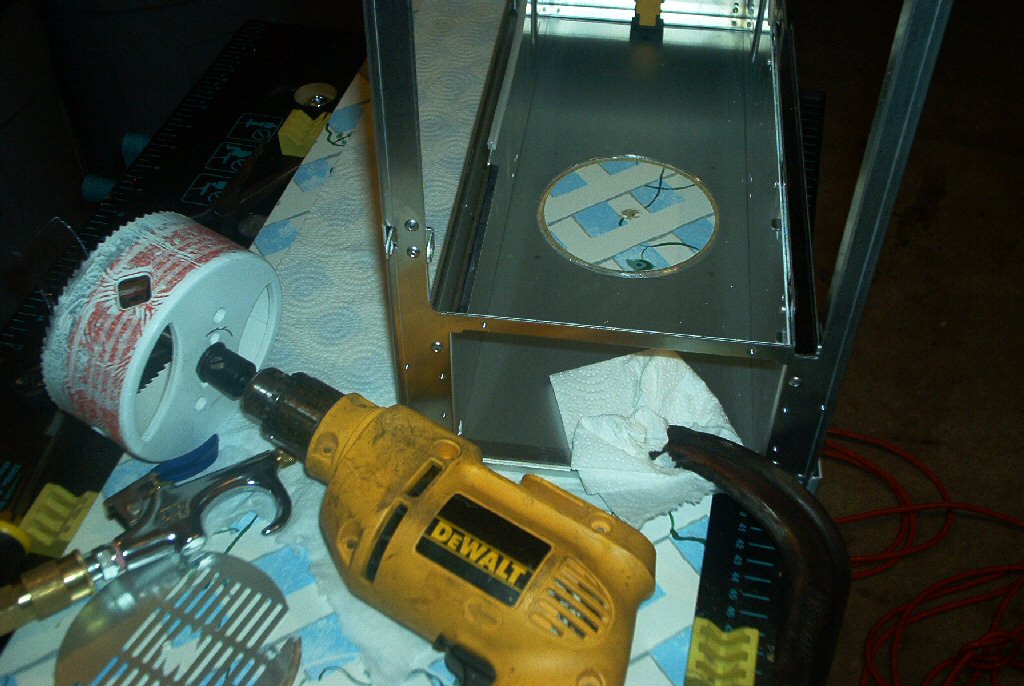
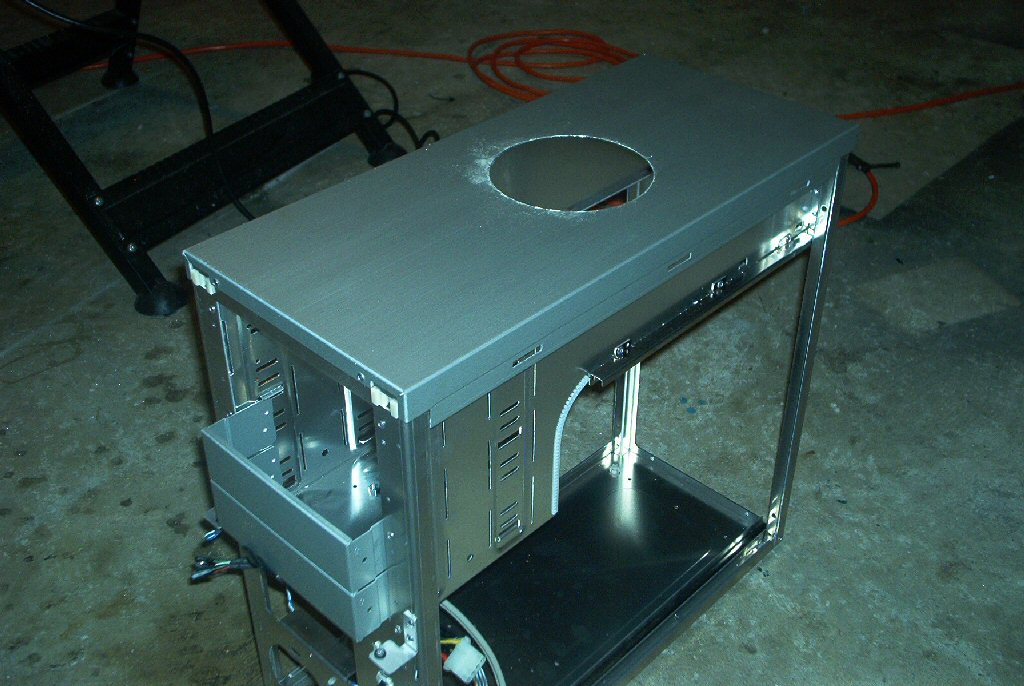
Well… kind of clean, needs some dusting.
TIP: Although I did not do this when cutting into my case, it is generally a good idea to using masking tape over the surface of your case while cutting. The tape will provide a level of surface protection against scrapes and scratches while cutting. It also gives you a good surface to write, draw and leave notes on while working.