To go along with UV cold cathodes you need something UV reactive. I chose UV lighting scheme because I find traditional cold cathode lights a little obnoxiously bright. I find they take away from a case unless hidden effectively. With UV reactive lighting, it’s much more subtle and you can leave the lights on at night without blinding those that pass by your lit case. The idea was to coat the entire interior of the case with a blue UV paint and then to utilize passively lit components and fans to provide a contrasting color. Shortly you will pick up on my overall color scheme.
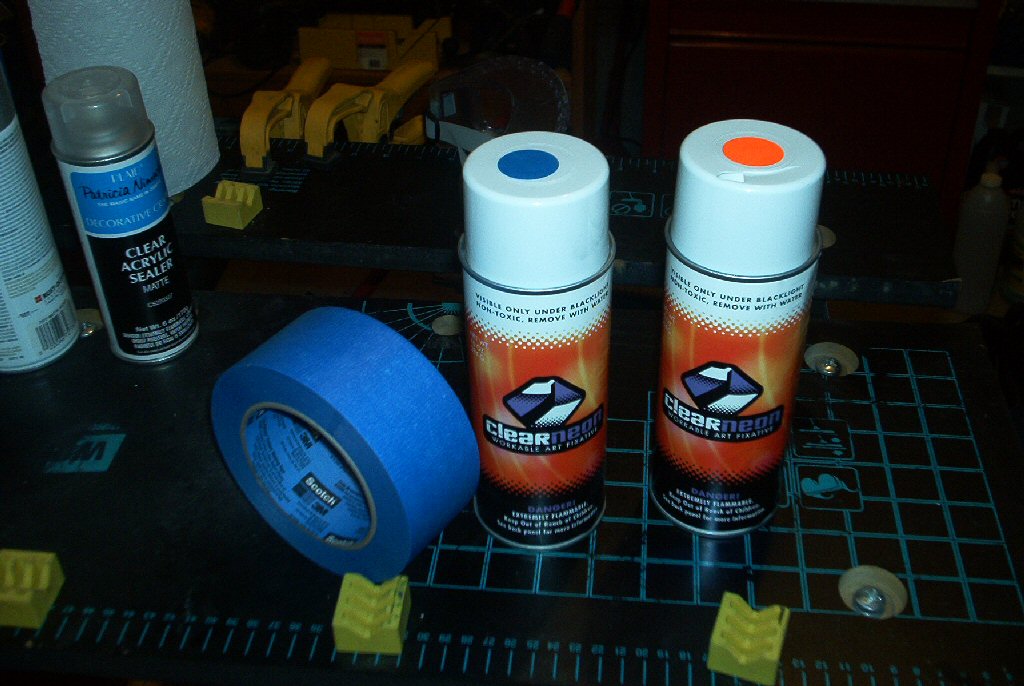
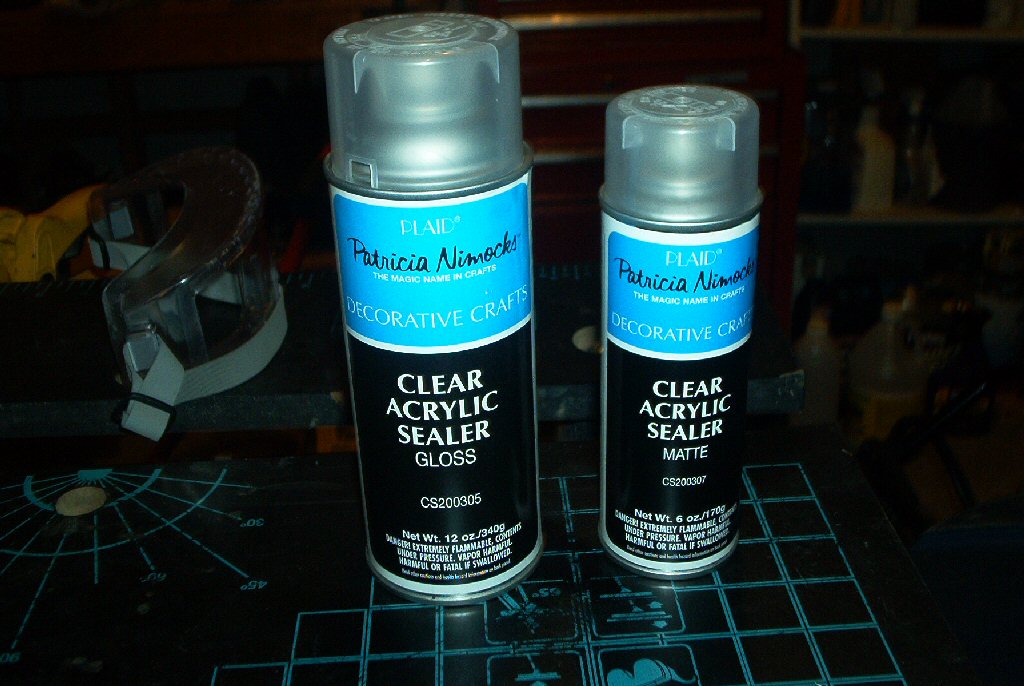
For the coating I used washable UV neon paint. You can pick this stuff up at a variety of modding stores online. To make the coating un-washable, I went to a craft store and picked up clear acrylic coating. This will be put over the UV to make it abrasive, wear and scratch resistant.
First thing before coating was to wash down all parts with alcohol wipes and get all the dirt and grime off. I then masked off the frame of the case to expose only areas I wanted to coat. I used about 3 coats of the UV neon and about 6 light coats of the acrylic coating.
TIP: For all of those that want to use this paint or put a coating over it. First off try and use the UV paint in a very dark room with a suspended Black light or UV cold cathode. This will allow you to see how even your coatings are. Then when you use to acrylic, try and spray a surface that is parallel to the ground with VERY light coats. The acrylic is much heavier than the UV paint and will drip and streak your UV coating. I found this out very quick and had to strip an entire section with gasoline, and then start over.
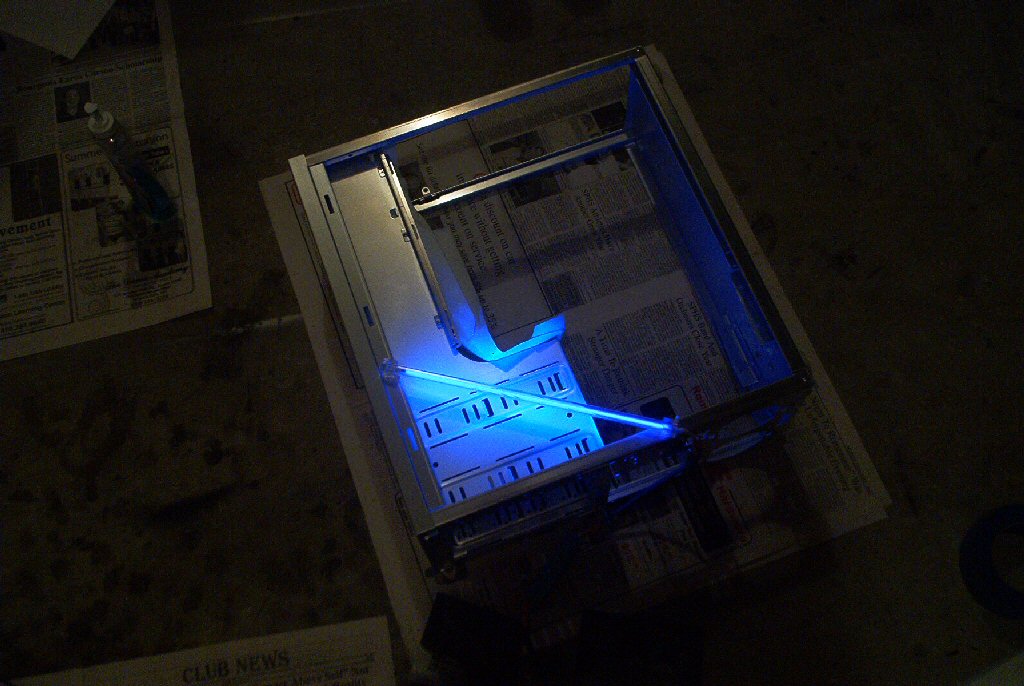
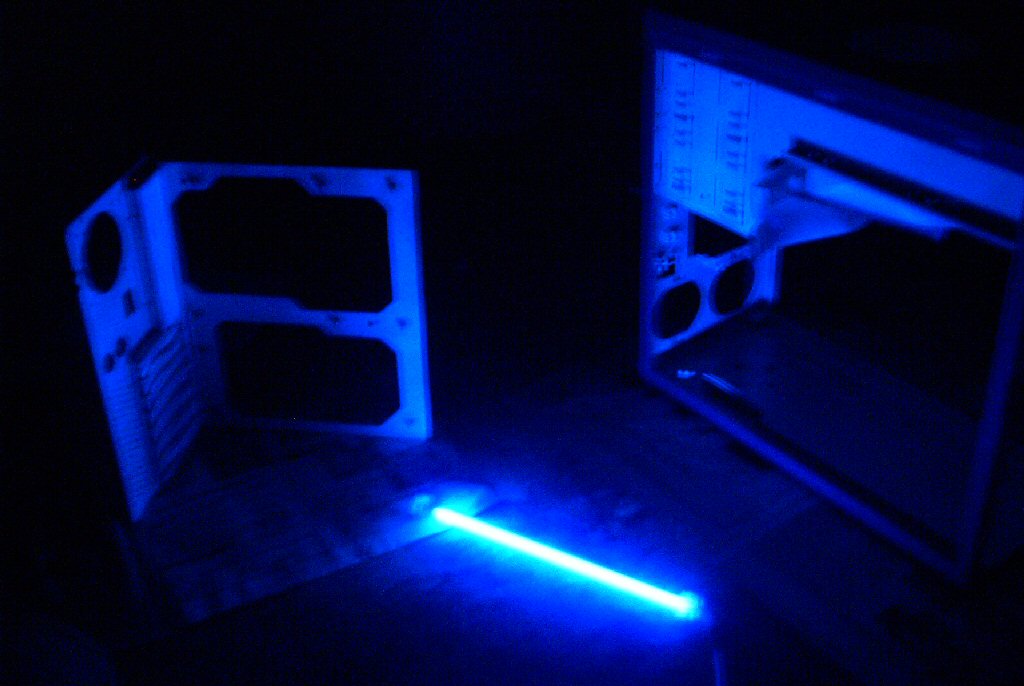
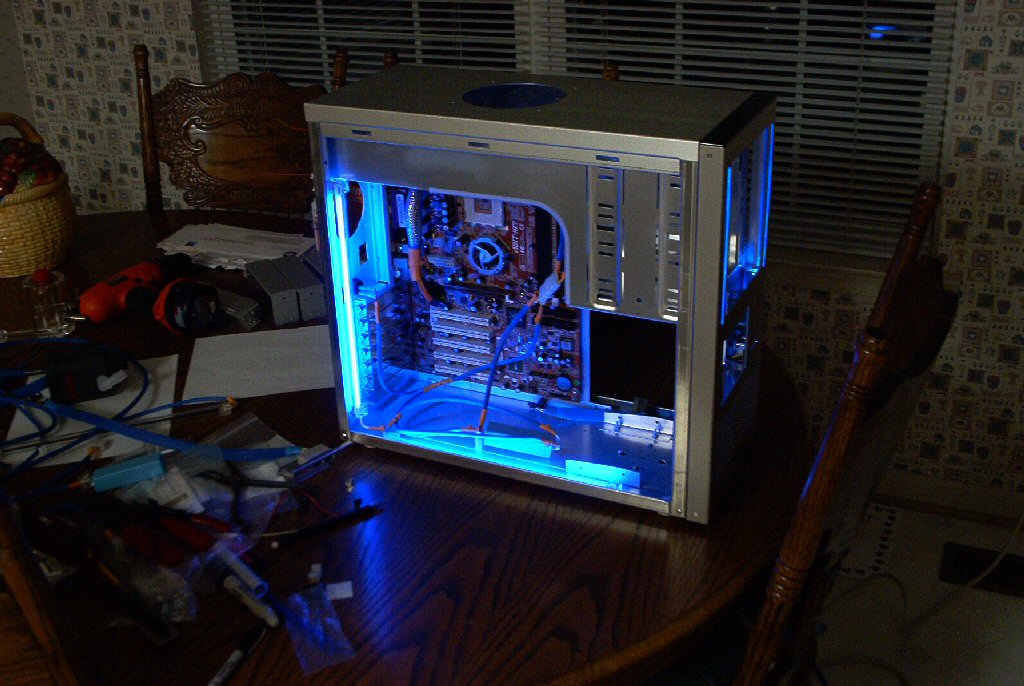
The final results were spectacular, just what I wanted. The UV coating even left an eerie blue opal look to the surface of the aluminum in ambient lighting, and then after the cathodes were turned on, the aluminum surfaces of the case lit up giving off a light sky blue that looked very natural. It almost seemed as if the aluminum was radiated.
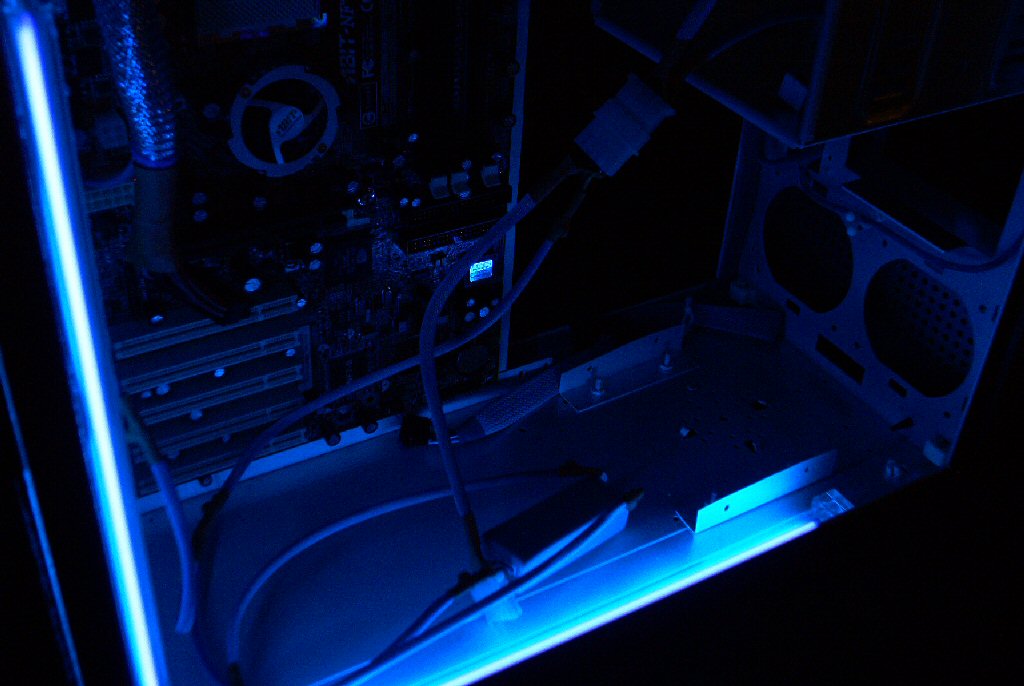
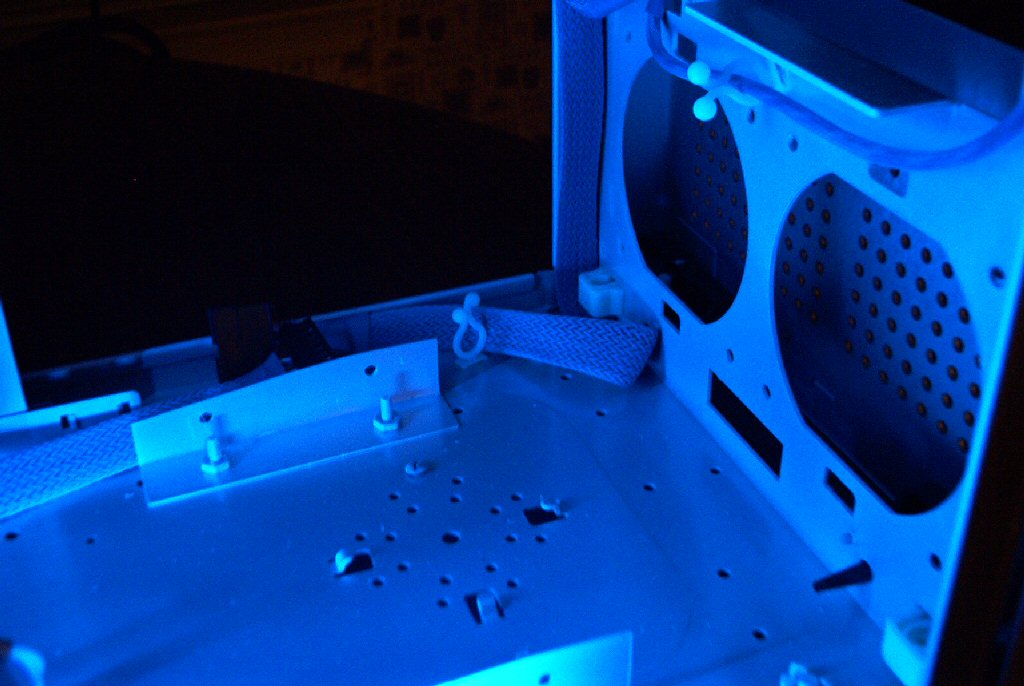
Adding Fans
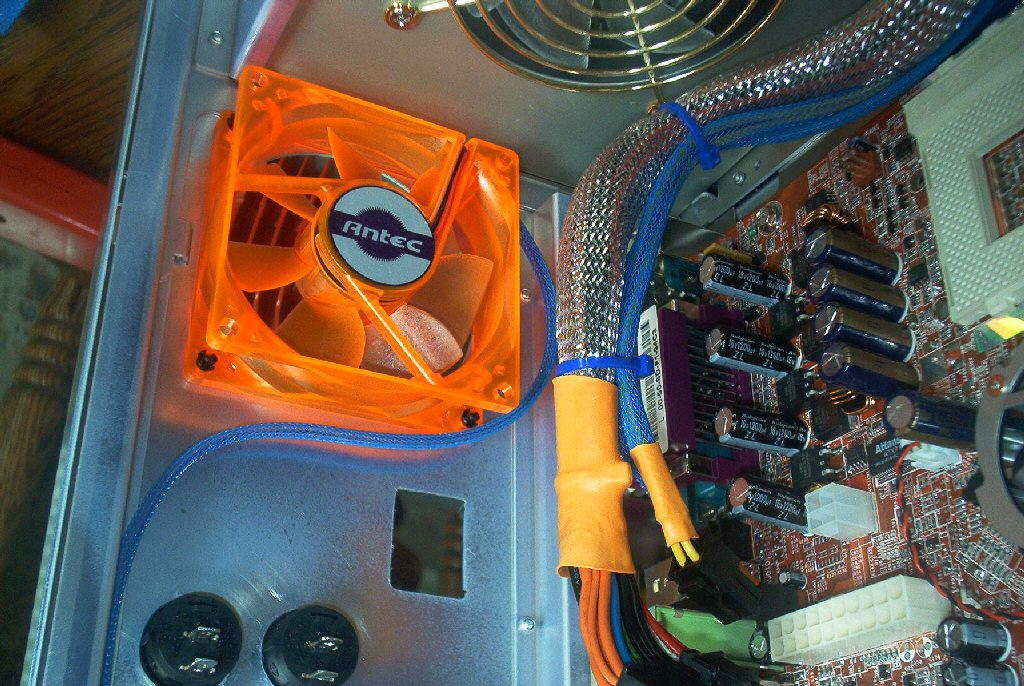
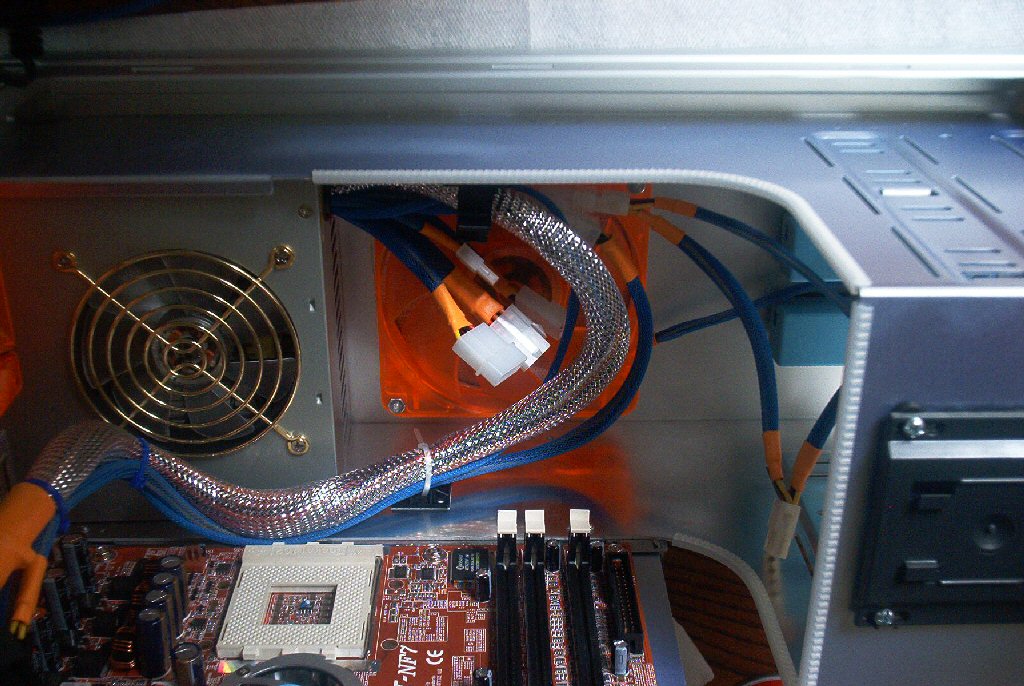
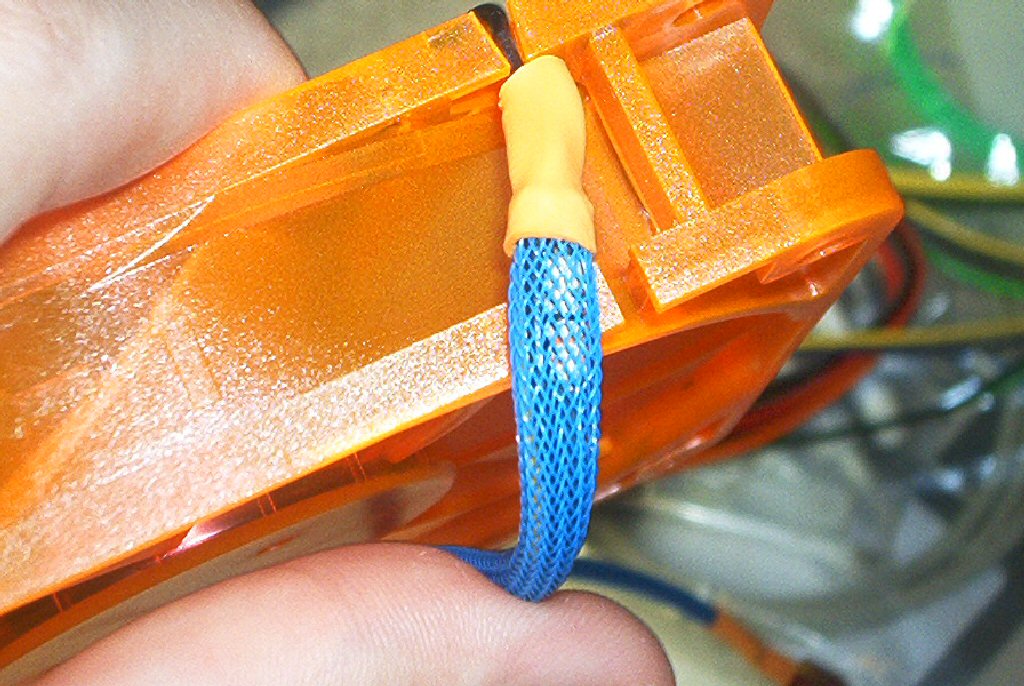
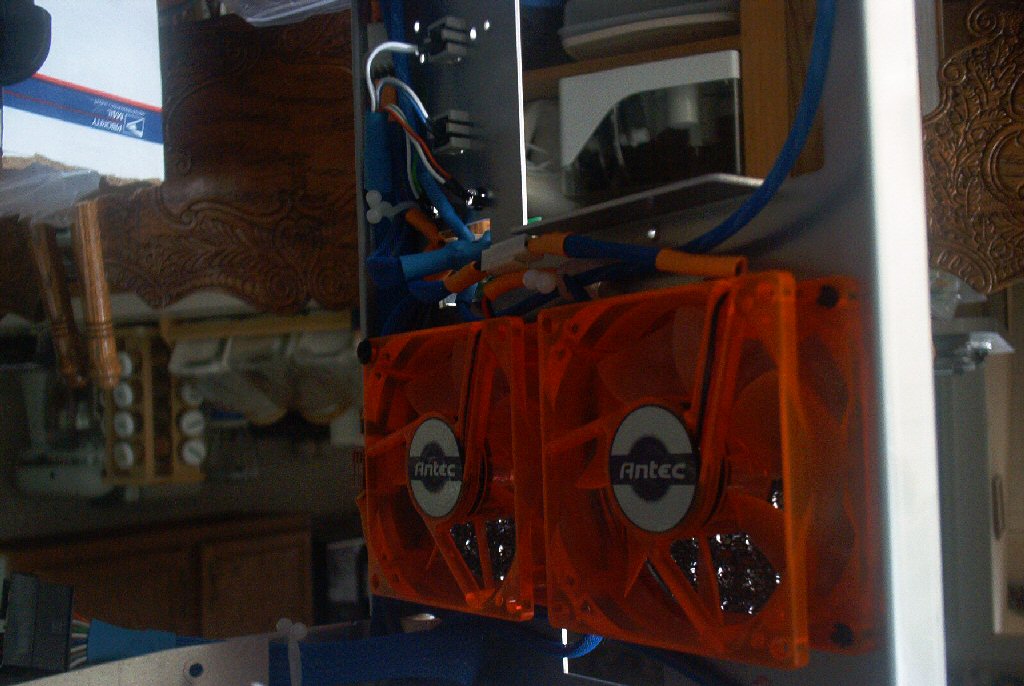
Like I said before I wanted to use passively lit components to provide a contrasting color to the overall scheme of the case. I chose UV Orange Antec 80mm fans as well as non-Antec 120mm UV Orange exhaust fans. All of the fans were rewired to reduce wiring clutter and sleeved in the same UV Blue sleeving and orange heat shrink. The non-Antec 120mm fans tended to be a bit noisy so I soldered in line a 10ohm 2 watt resistor to knock down the voltage a little. It dropped to noise drastically without sacrificing too much airflow.
You can also see how I tidied up the wiring some and hooked the fans up to the Lian Li’s fan speed selector. The selector was split to control the 120mm blowhole fan, the two 80mm intakes and the 80mm on the motherboard tray.