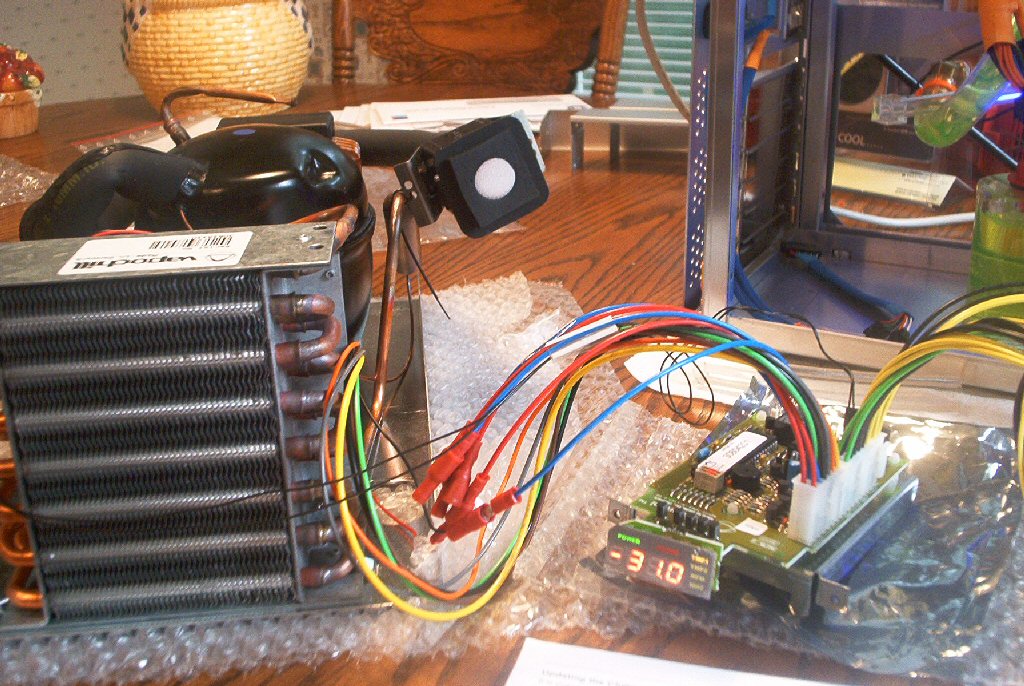
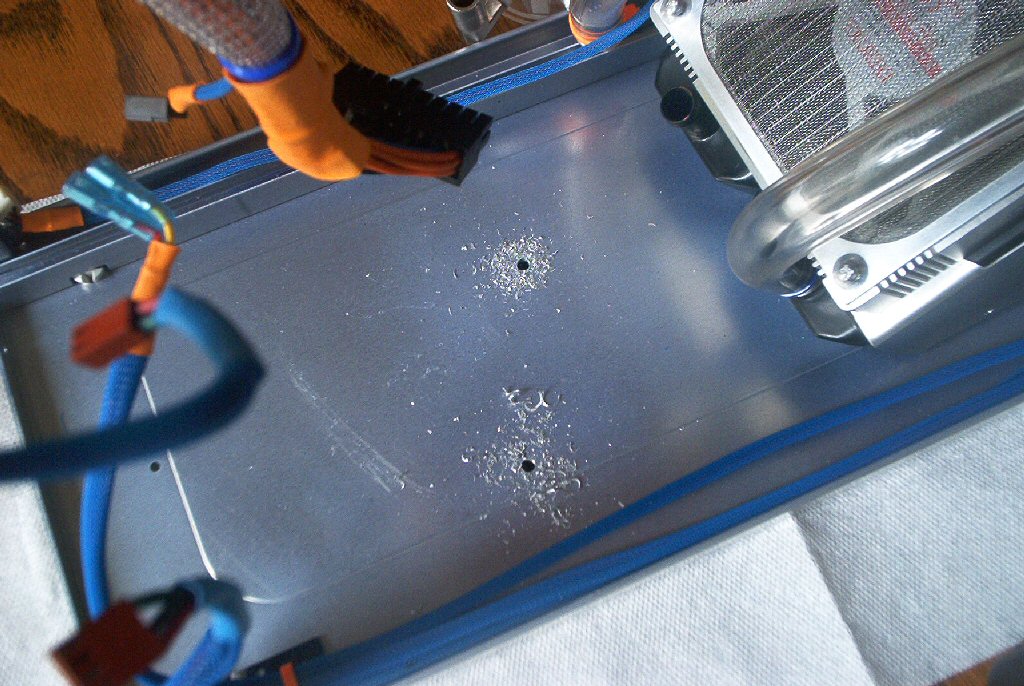
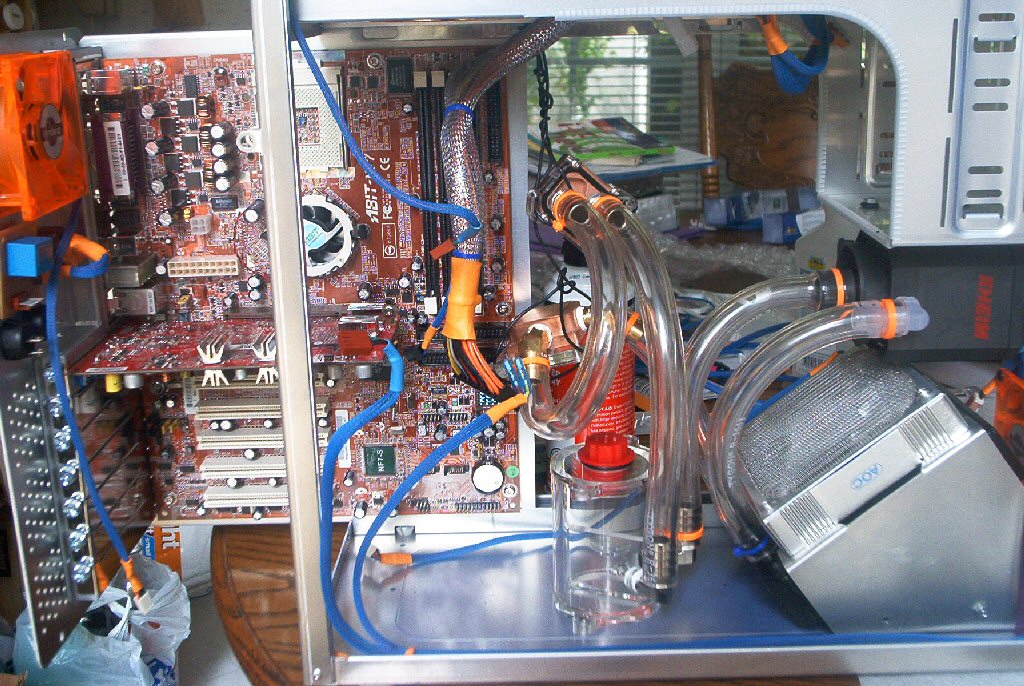
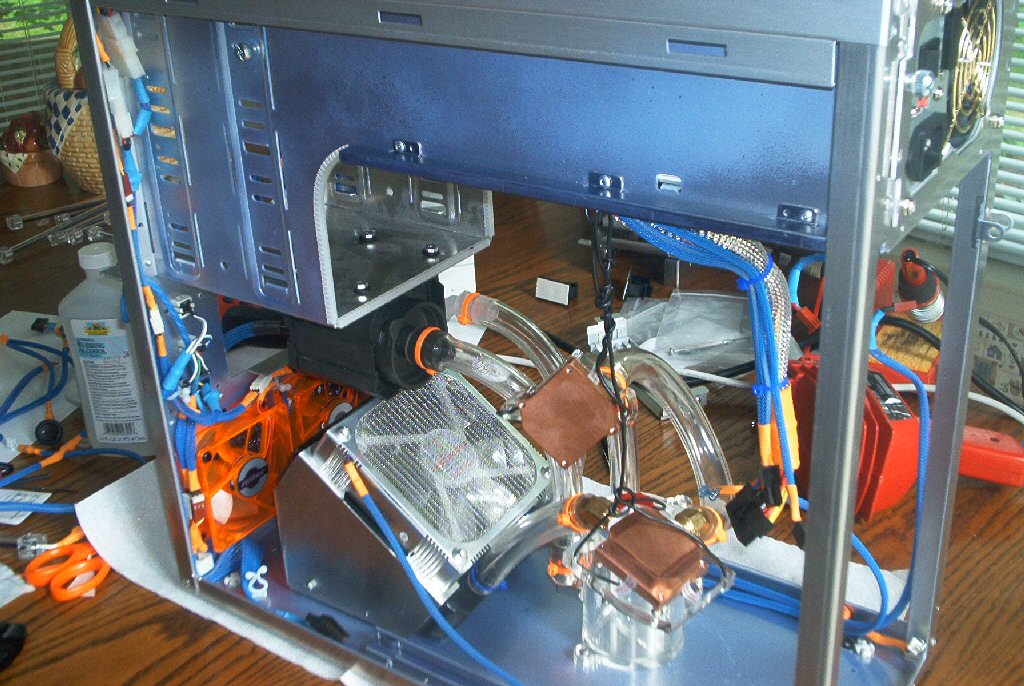
At this point I had decided to hook up the water cooler and leak test it. First thing I did was to choose a position for the Reservoir. I chose right in front of the Radiator then drilled mounting holes (eventually the holes were abandoned for white Velcro for easier filling).
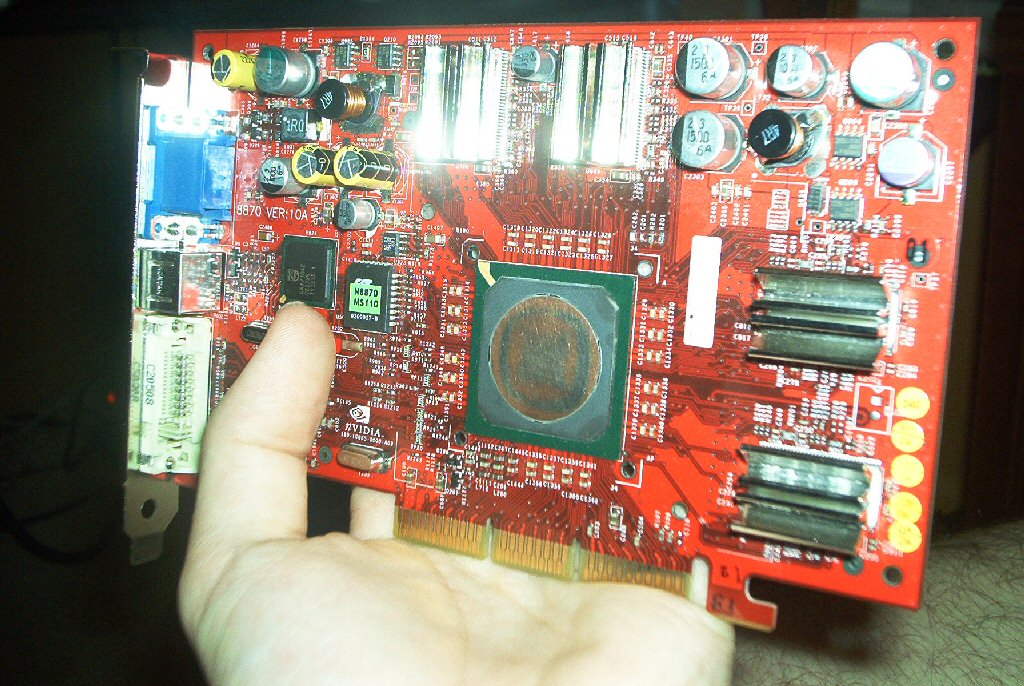
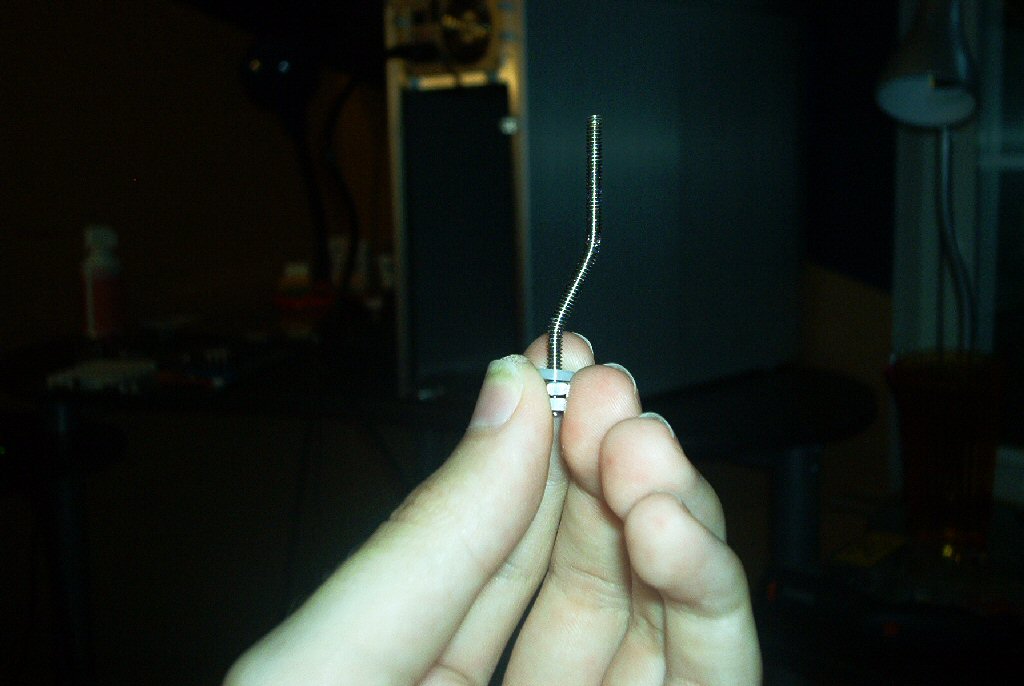
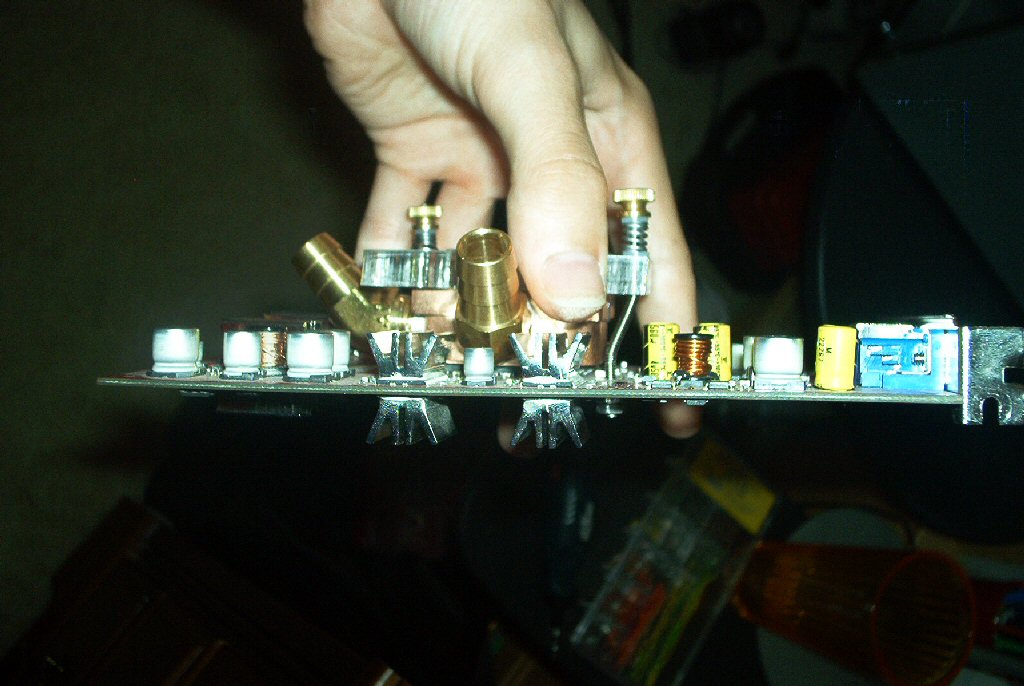
Also while test fitting all of the water blocks I found that the Danger Den GeForce4 block had an issue with the Tweakmonster ram sinks I had installed. One of the 45 degree hose barbs came into contact with the sinks and prevented strait mounting. So I got out my pliers and a hammer and bent the mounting screws. This then made the block about1/8″ offset from the center of the GPU core, but it still covered the entire core. It fit so I was happy.
For tubing I used Tygon Formula R-3603 with 1/2″ inner diameter and 1/8″ thick walls. This is some heavy duty tubing. You can find this and hundreds of other kinds of tubing at McMaster.com (an engineering supply company).
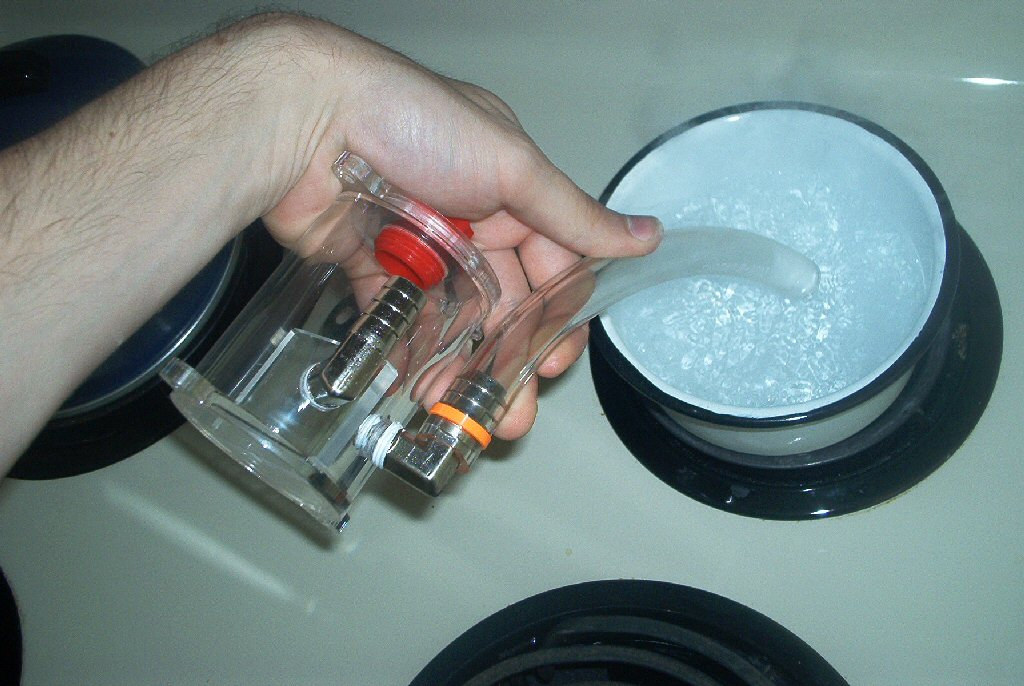
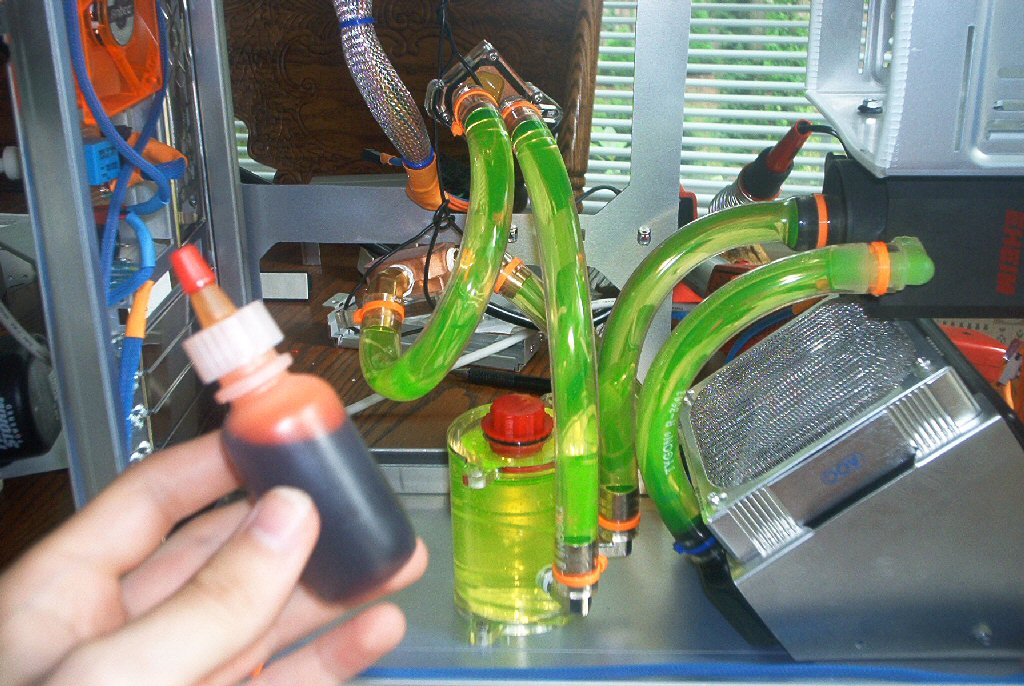
TIP: With very thick, tough tubing try boiling the ends in water. They then just slip over barbs easily. Then instead of using hose clamps, which tend to tear up your expensive tubing, use heavy duty zip ties around the barbs(orange in the picture). Put one zip tie behind each hump in the barb for maximum leak protection. Then take pliers and pull on the loose end for a couple extra clicks and a very tight fit. Zip ties are much cheaper and provide the same level of leak proof operation when installed correctly.
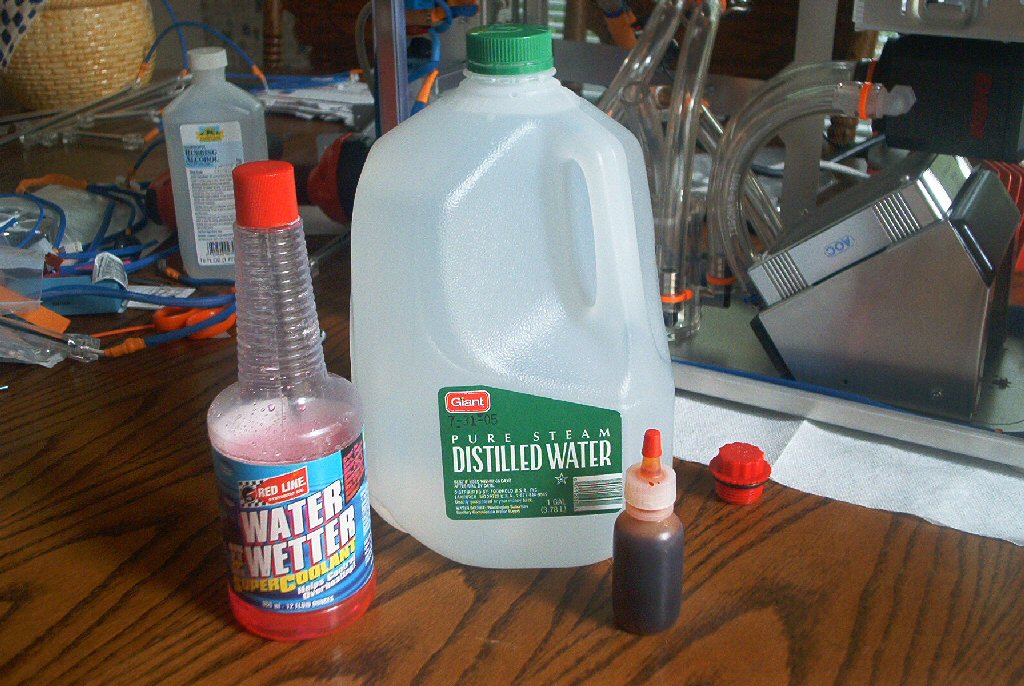
Next I test fit all blocks and attached proper lengths of tubing. Then for leak testing I suspended the blocks with wires to reduce the risk of any expensive hardware being damaged. The system was filled with distilled water, a capful of water wetter (a wetting agent) and a drop of green UV dye.
More to come
Look forward to the rest of the Fush Zero articles. In Fush Zero – Part 3 you can expect to see,
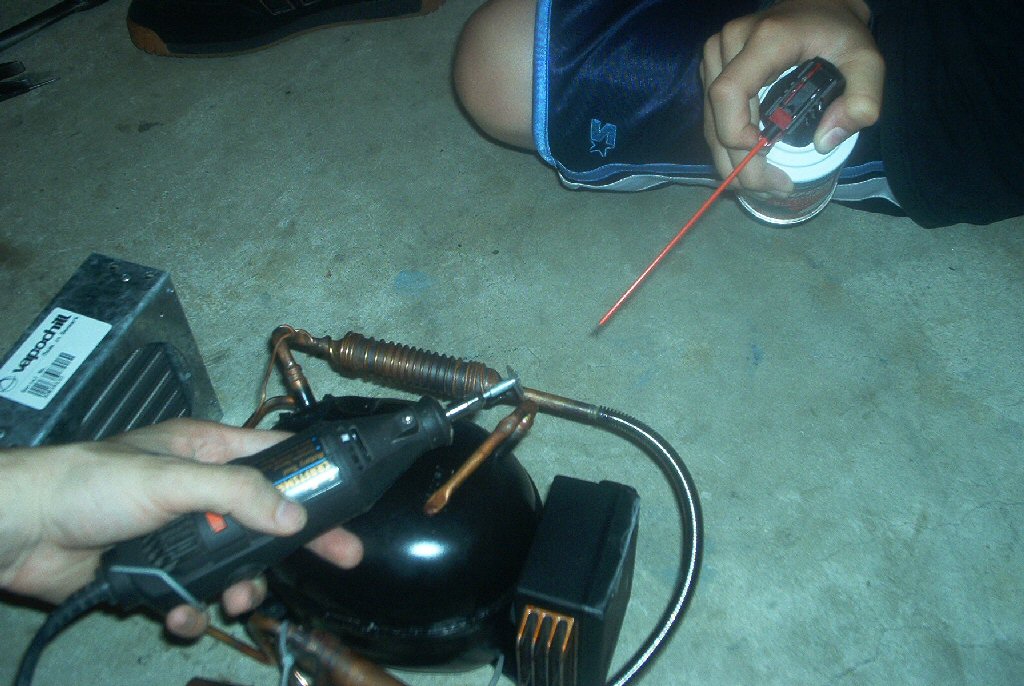
- Vapochill modifications.
- Vapo case fabrication.
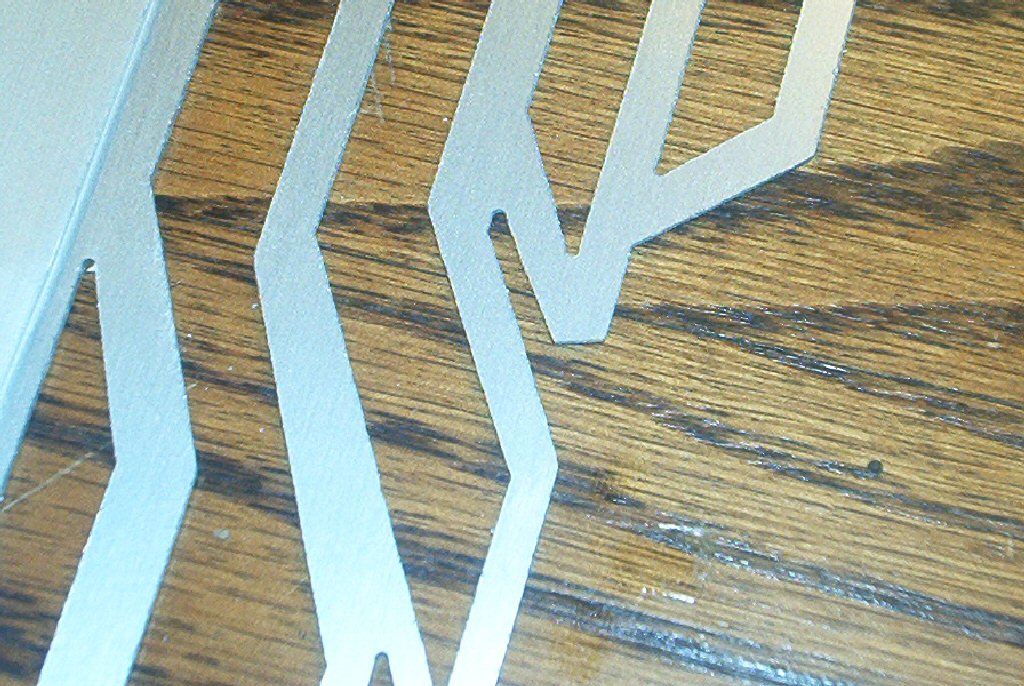
- Water cut side panels.
- Fan grill designs
…and many, many more pictures. Here are a few for the road. Mod On.