

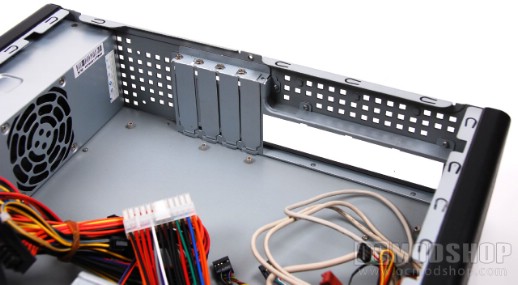
Installation of the motherboard is fairly straightforward. Place the I/O shield and then slap down the motherboard. Since all the mounting holes are integrated into the chassis, there is no need to “map out” the brass mounting standoffs you’re going to use.
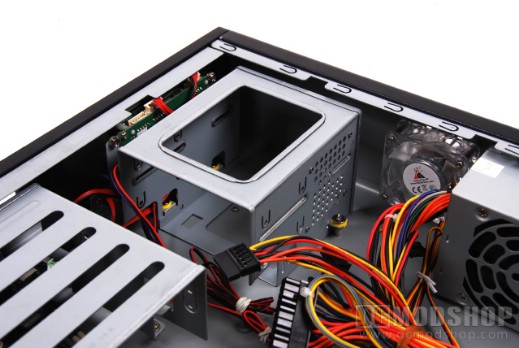
Optical drive installation is fairly straightforward. Just remove the mounting screws on the left and right of the cage and lift up. The optical drive can then be slid in and secured with case screws, but leave them a little loose for the moment. Place the drive cage down, and feel the tension on the front “eject” button. You’ll want this to feel a little loose, or the slightest jar can cause the DVD tray to eject. Once you’ve gotten a good fit, take the drive cage back out and tighten the mounting screws all the way. Then secure the drive cage to the chassis. There is a decent amount of room under this cage, which is a good place to stuff extra cables to keep them out of the main area, where airflow is critical.
Hard drive installation is a little more cumbersome. The cage is secured to the chassis with three case screws, two of which are between the cage and the front panel. There are also a bunch of wires here, which makes finding these screws particularly difficult, even with a flashlight. Once the cage is removed, installation of drives is straightforward…. there’s just something satisfying about using case screws rather than weird plastic mounting brackets. This may also be a good time to connect SATA data and power cables, because space is really tight once the cage is back in position.
As I’ve mentioned in other reviews, this iMon installation method wastes a lot of space, and doesn’t really work properly all the time (some displays don’t turn off after the PC is shut down). If the idea is to let the IR receiver get power, then that could be an option that the user can decide to implement, not force the user into a weird installation dynamic. But I digest…
To connect the front panel, you must plug several leads to your motherboard’s USB headers, and tether power from the motherboard’s 3.3v power lead. To do this, an included motherboard dongle is included, which plugs directly into your motherboard. The power supply’s motherboard cable then plugs into this “proxy cable”. The USB leads are pretty straightforward, but there are two sets of plugs that can be frustrating. One has 5-pins (with the fifth dummy pin filled in), and the other has 4 pins. So, the 5-pin cable will only fit on the top of a standard USB pin array, where there is no fifth “orientation” pin. For the 4-pin USB lead, remember that the black wire is ground, which is next to the orientation pin.
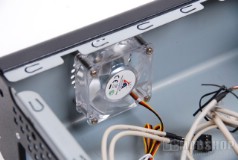
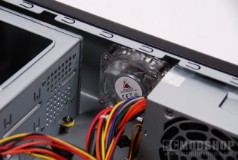
The case has two 40mm case fans with standard 3-pin fan headers (which also have standard Molex connectors). Molex fan connectors make your wiring sloppy, so I always cut them off with a pair of wire cutters. Then just insert the fans onto the motherboard. The case is designed so there is lots of clearance between your components and the fans. One of the fans is near the drive cage, but it would have been nice if this fan blew air directly over the drives to keep them cool.
