
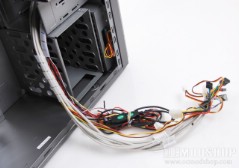
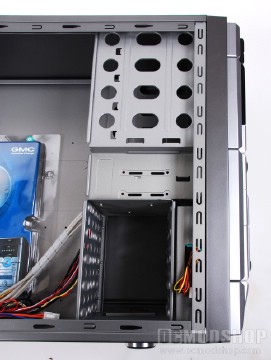
Initial installation of hardware is very similar to installing any other mid-tower case. It’s probably a good idea to get all of these extra cables out of the way, and remove the drive cage so you have room to work. First, you start with the motherboard’s I/O shield and placement of motherboard mounting screws, then align the motherboard with the mounts and secure with the supplied case screws. You’re going to run out of room fast, so it’s good to connect the power button, reset, button, and other standard wires to your motherboard, since these pins tend to be at the bottom of the case.
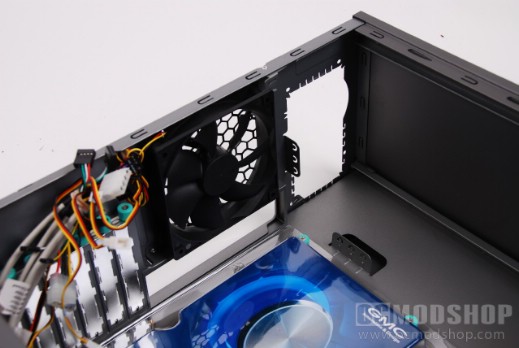
If your CPU and memory isn’t installed, go ahead and do this, as they are a pain to do after other hardware has been inserted. Some heatsinks today actually require retention mechanisms on the back of the motherboard, which is another reason to have your heatsink mounted before installing the motherboard.
Now that the motherboard is in, install your optical drives. Since the 5.25″ bays cannot be installed from the front, you’ll have to slide your drives in through the back (which will be impossible once the power supply is mounted). Attach the included rails to your optical drives and slide them in place. Make sure the front panel open/close button makes good contact with your ODD’s physical Open button.
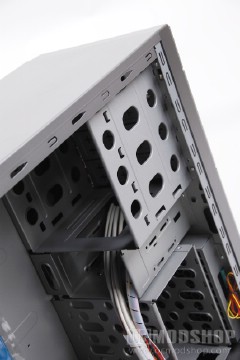
Installing hard drives is rather simple. Attach the included hard drive rails to your HDD, and then slide into place. It’s all rather simple, and the drives don’t rattle around too much, either.
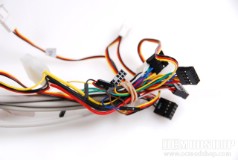
Before connecting up drives and PSUs, it’s probably a good idea to connect all the USB and front panel devices to your motherboard. The front panel uses an implementation of iMedian, which is pretty standard in HTPC cases today. Take the time to route your cables, or they will certainly get in the way as the case becomes more clogged. I won’t go into the details of how complicated the iMedian solution is to install, but I’ve covered this in other reviews (read installation of the Antec Veris)
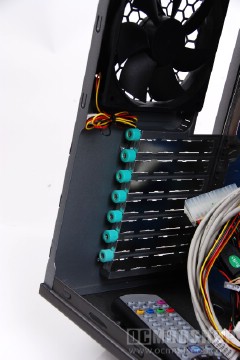
Any option cards can be installed at this point. The K1’s card slots can be easily freed by unscrewing its green thumbscrew. Plug the board into its appropriate socket, and reattach the thumbscrew. The thumbscrews have a ridged plastic coating, and are rather easy to grip. The screws also have a standard Phillips threading if you prefer to use a screwdriver.
 Now connect your drives with cables. Space is a premium in many cases, and you can maximize this space by making good hardware choices. Choosing a SATA-based optical drive will save lots of room with a bulky ribbon cable (even rounded cables take up a lot of room). I also recommend using SATA hard drives wherever possible, as the cables are easily routed, and can be grouped together to maximize case airflow.
The power supply is usually installed last, as its cables would otherwise get in the way. I recommend a PSU with a modular design, especially for a Media case, because you honestly only need 2 or 3 power cables. The unused power cables of a traditional PSU would clog your case’s airflow, and are difficult to tuck away. Depending on your configuration, you may only need a single molex cable (for optical drive and front panel), motherboard cable, 4-pin or 8-pin motherboard power cable, and SATA power cable.
As you can probably gather from my recommendations, installation is pretty standard for a mid-tower ATX case. There is enough room to make installation relatively hassle-free, but only if you install your hardware in a progressive manner.