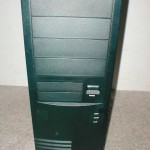
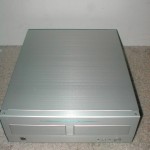
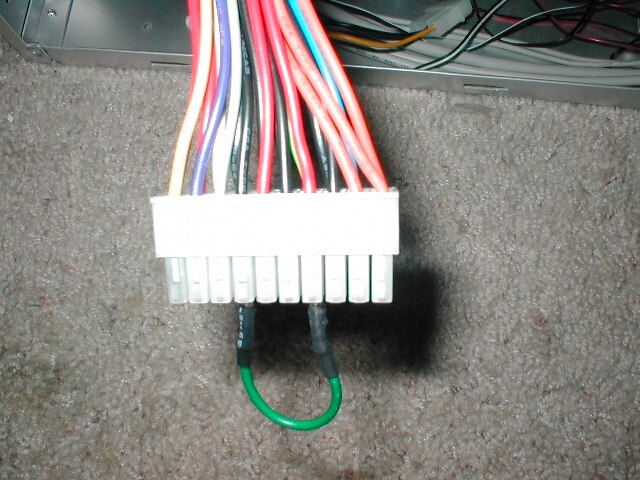
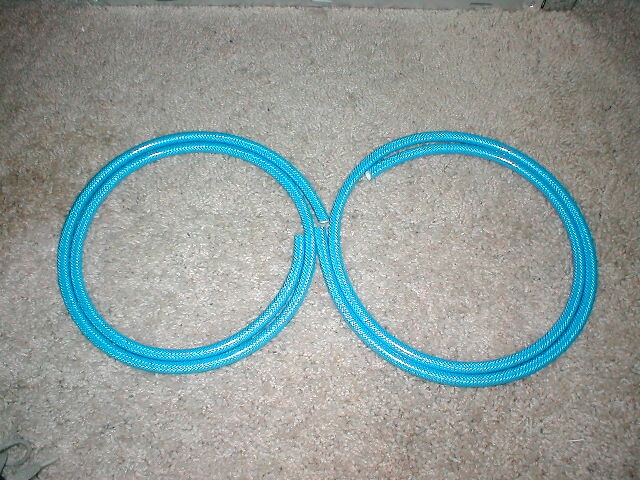
I did two things before I really began to set the Koolance Exos up. I first took the ATX jumper wire and connected one end into the green wire and the other end into one of the six black wires. Jumping the ATX power connector like this will enable you to power up your system without having to turn the computer on. I really like that Koolance provided this with the setup because it’s such a simple thing that makes doing this so much easier. After I had that done I took the blue tubing and cut it in half so that I could use it to connect the Exos and block together.
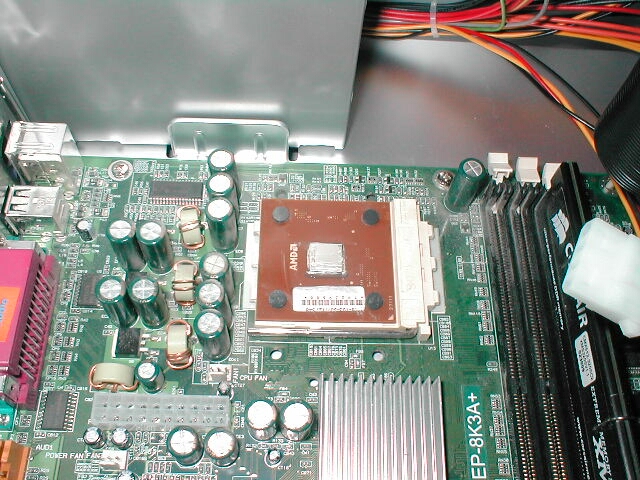
Before I got started with the watercooling I needed to take off my Thermalright SLK-800 heatsink so that I could put the block on. After I had the block off I cleaned the core off with some rubbing alcohol and reapplied Arctic Silver 3 rather than using the thermal compound provided by Koolance. After I had the old heatsink removed I put the thermistor for the Koolance display into the block and then put the tape over it to keep it in place. This doesn’t really matter much to me its only for looks because this is not even going to read an accurate temperature at all because its so far away from the core. To install the block onto a socket A you need to remove the screw from the middle, put the two parts of the clip into it and hook it onto the tabs from the socket. After you have the clips in place and the block where it needs to be you will need to put the screw back into place aligning it with either the top or bottom hole, not the middle one. The middle hole is for the socket 478 clip.
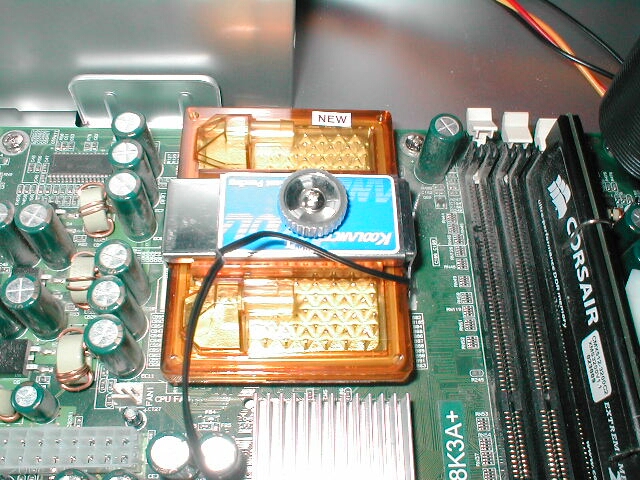
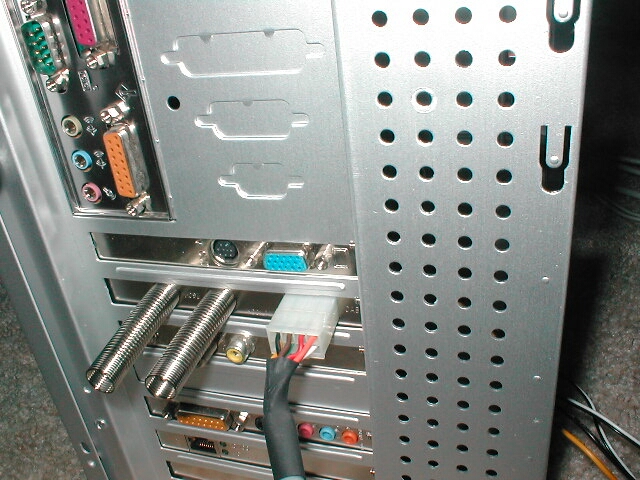
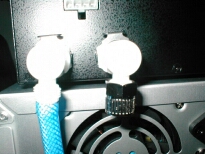
After getting everything prepared and installing the block I went ahead and poped the quick-connect fittings into the back of the Exos. I really like this feature because there is really no work involved all you have to do is push them in to lock then. To release them you just have to pull up on the metal piece above the elbows and pull them out. I also installed the expansion slot interface, after which I plugged the power cord into which was also plugged into the back of the Exos above the elbows.
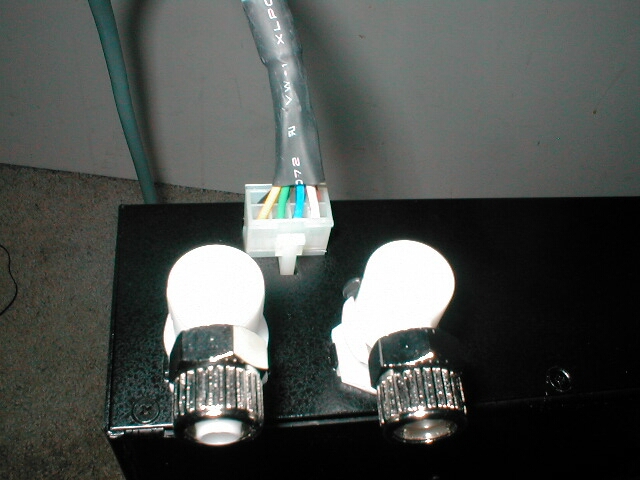
Attaching the tubing to the back of the Exos is really easy just unscrew the fitting which holds the tubing in place. Slide the circular fitting over the tubing so that when you plug it in it will be facing the right way. Attach the tubing to the barb on the elbow and screw the fitting back into place which will secure the tubing to the Exos. After you have done the first one do the same with the second one.
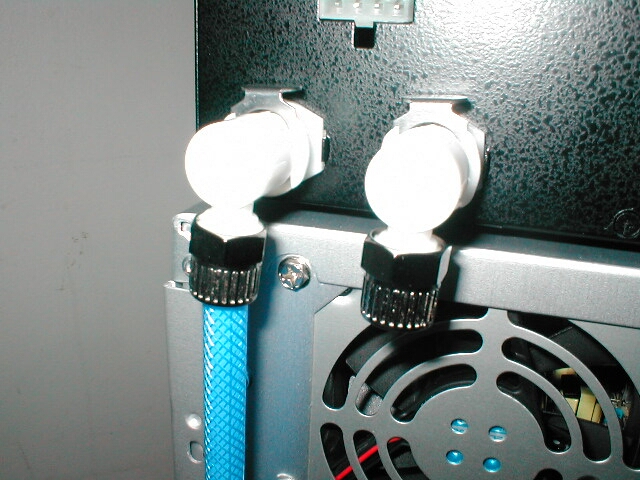
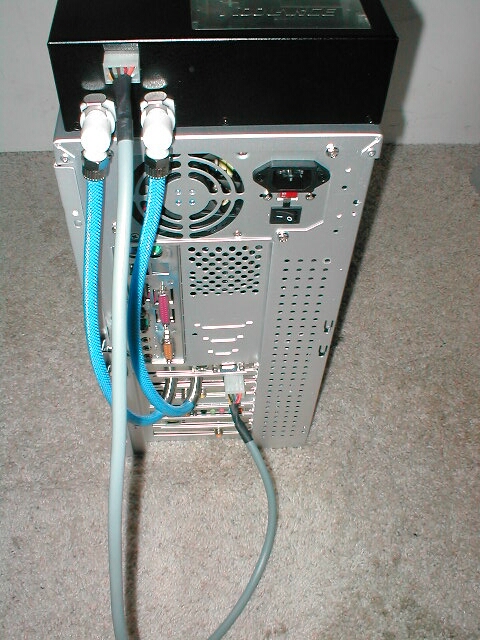
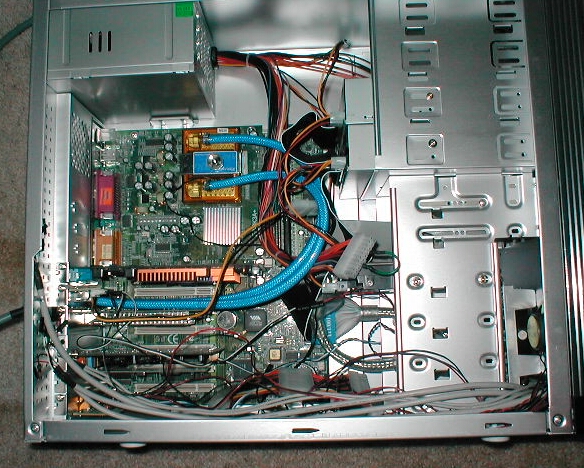
After attaching the tubing to the back of the Exos I routed it through the springs on the expansion slot interface and up to the water block. I cut off the excess tubing to that there would not be any crimping and so that it looked cleaner, sorry for the messy case. Before you attach the tubing to the waterblock take the two clamps on the block and slide them over the tubing. Once you have that done slide the tubing over the barbs on the block. Take your time because you don’t want to be so rough with it that you break something. After you have the tubing attached well take a pair of pliers and squeeze the top part of the clamp so that it tightens down onto the tubing.
Filling the Exos is really easy, you will need distilled water and the water additive that they provided. The best way to do this is to remove the plug from the bottom of the unit which and put the funnel into the fill hole. First pour in about half of the additive into the reservoir and then fill the rest with distilled water. You will also want your power supply to be plugged in so that you can turn on the pump. When the reservoir fills up with water turn on the pump so that it starts the water flowing through the system. After you turn on the pump the water level in the reservoir will drop because it will be running through the system. Continue to fill the reservoir until it is full then screw the plug back in and let the system run for about an hour so that all the air will get out of the system. While the system is running you should move around the Exos so that you will get the bubbles out of the radiator. I thought the pump and reservoir were going to be really loud because they were at first but after the air was taken out of the system it was silent.