

It appears you have all the room you need for a home theater case. With the drive cage removed, you have more room to work as you install the motherboard. Just insert the motherboard’s I/O panel, align the motherboard to the screw mounts, and secure with screws. Go ahead and attach the motherboard, USB, eSATA leads and route them through your case, because things will get very cramped as soon as you put the drive cage back in.
Installing drives is fairly straightforward. Just mount the 5.25″ drive of your choice (BluRay drives are starting to come down in price, so why not throw one of those in). You can fit two 3.5″ drives in the lower part of the cage, which are secured with regular screws. I mounted two drives with their SATA cables facing towards the middle, so the cables look more attractive and are easier to route. You can fit another device on the right side of the upper drive cage, but it has to be internal, so perhaps a hard drive (fitted with 3.5-5.25″ adapter) is your best bet, or this could be a great place to stuff extra cables.
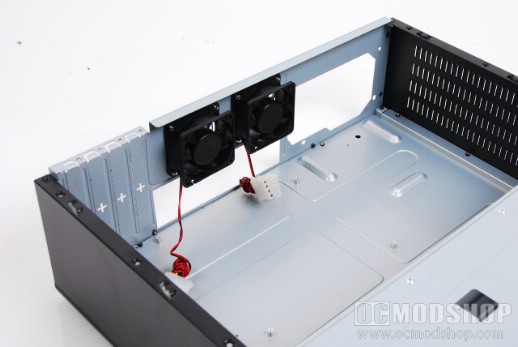
Once you slide the drive cage back in, you will notice you have significantly less room, especially if you have a large CPU heatsink installed. You should have enough room to easily insert some option cards, like a video or sound card, assuming you aren’t using them integrated on the motherboard. At a minimum, you’ll probably have an MPEG-encoder board. Depending on your configuration, you may completely crowd up the option card area (2 slots for video card, 1 slot for audio, 1 slot for encoder board). You would be wise to consolodate any hardware you can by choosing a good motherboard made for home theater, or use a video card that has audio support via HDMI.
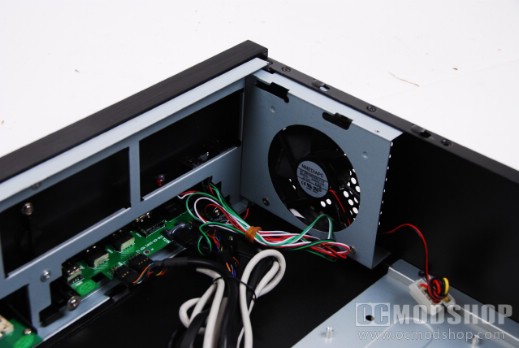
Connecting the front LCD is very straightforward, and not as involved as iMon solutions, which clog your case with unnecessary cables. Just plug the USB lead up to any free motherboard USB pins, and plug in a molex power connector. Ahhhh…. (deep breath)…. how refreshing.
The last step is installing the power supply. I would highly recommend a modular-type PSU, so you’re not clogging up unnecessary space with unused cables. At a minimum you’ll need the motherboard cable, additional power (4 to 8-pin depending on your motherboard), 1 molex connector (for optical drive), and 1 SATA connector (or if you use Western Digital or ATA drives you can use standard 4-pin molex connectors). You can eliminate the need for PCI-e cables if you choose a video card that’s not so power-hungry… let’s face it, unless you’re gaming then a powerful card will be overkill and will generate unnecessary heat.


2 comments
Hey! I'm a cheap bastard! That's right up my alley.
Doesn't look bad for the price. Also saw a video review on Youtube. One thing that isn't mentioned in this review is, you can't use CPU heatsinks taller than 4".
Comments are closed.