

It is recommended to install the Razer software before plugging in the mouse, as the mouse was almost unusable at first. This may be due to the high poll rate of the mouse, and the computer not being ready for it. Once the software was installed, the mouse operated perfectly.
The mouse comes with a default profile that will work with many gamers right off the bat. You can toggle through 5 different DPI settings, from a low 400DPI to an insane 4000DPI, which is an extremely wide range suitable for precise headshots and then wildly running serpantine to avoid enemy fire. Many gamers will want to start configuring profiles for their new “bringer of death”, as the many programmable buttons are just too tempting to be left alone.
Configuration takes place through the Razer Lachesis applet, which can be found on your Start Menu, as well as the Control Panel. There is a main screen, which has four sub-screens that can be toggled open.
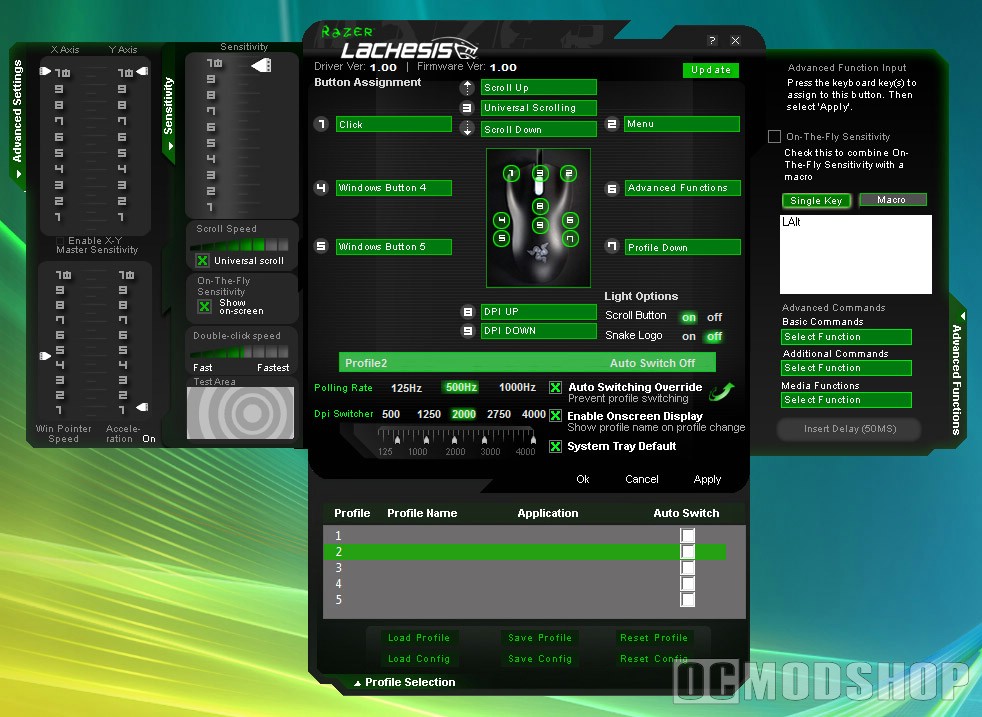
General screen
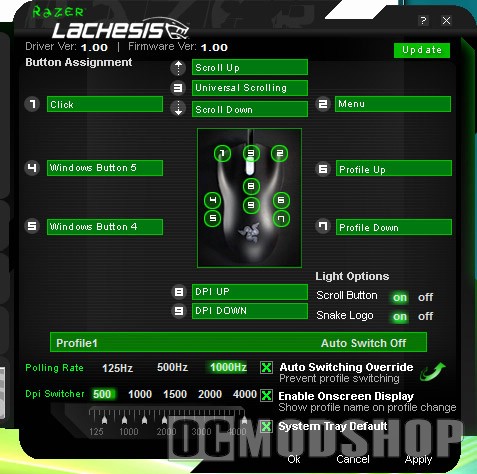
The main screen is the “general” area where you can customize all of the buttons, set DPI preferences, and other general features. You can turn the scroll wheel light on and off, but unfortunately the Snake Logo can only be switched between “pulse” and “off” (there is no constant “on”, and frankly I don’t care for the pulsing logo). It would be nice if the mouse could “pulse” when inactive, or indicate some setting, though.
There is a graph where you can set the DPI settings that you can toggle through, and you can set 5 points in all. To set a DPI for that profile, just click and drag an arrow on the DPI switcher graph. You can also set the USB polling rate for this mouse, choosing between 125, 500, and 1000 Hz. You can feel a noticable difference between 125 and 500Hz, but I could not tell a difference between 500 and 1000Hz. Some people say that 1000Hz put an unnecessary load on your PC, but with today’s hardware you’re unlikely to notice any extra burden.
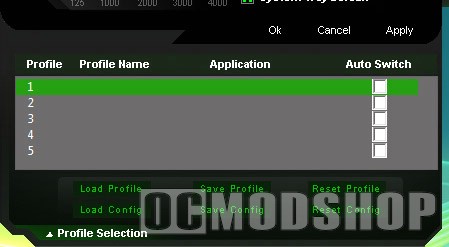
Profile area
You can select several profiles, and give each of them a name. You can also choose to “auto-switch” to a profile when a particular game runs. Unfortunately, there is no way to know which profile is selected just by looking at the mouse. There is an option to show the profile on your monitor, however.
Advanced Settings
You can enable X and Y-axis sensitivity, as well as the Win Pointer Speed and Acceleration. With a bit of tweaking, you can achieve the similar “horizontal smoothing” present in the SteelSeries mouse software, which is actually rather helpful in first-person-shooters (it helps you keep your crosshairs on the horizon). You can also choose to disable mouse acceleration right from the Lachesis applet, rather than going into the Mouse applet in the Control Panel.
You can also adjust the scroll speed, select Universal Scroll (click and hold the middle mouse button as you move the pointer up or down), and adjust your double-click speed.
Advanced Function Input
This area is where you can program macros. Unfortunately, there is no option to program macros in-game, so you must carefully think through what you want your macros to be, and what button to assign them to. You can may any single keyboard key to a button, or build a macro combination. Delays can be set between every single macro element (as quick as 1ms), so your macros execute properly. For example, if you want to execute a double-jump in Unreal Tournament, you’ll want a 1/2 second delay betwen virtual space-bar presses, else everything will execute at once, nullifying the macro. In addition to using any keyboard command, Razer also enables common Basic Commands (page forward, page back, etc) and Media Functions (play, pause, etc.).
Once you set all of the options you want, click the “update” button to write this configuration to the mouse’s onboard memory.

2 comments
I'd love to see and try this one, though I have seen similar cool gaming gadgets at [link removed].
Nice try, Christopher. If that company wants their products promoted, then they can submit some samples for review. I contacted them at PAX and they blew me off.
Comments are closed.