

Casual users may not understand the need for the extremely high DPI (or CPI) used in modern gaming mice. But the need becomes clear once you disable the “mouse acceleration” included in mouse drivers since 1985. Mouse acceleration basically interpolates small mouse movement into a large cursor movement depending on the mouse’s speed. Most FPS games require constant fast movement, so it is very easy to over-turn when running through hallways, and harder to hone in on a headshot with acceleration enabled.
There isn’t alot to the Ikari configuration software, which can be good or bad depending on how you look at it. The software is divided up into three categories: Button Settings, Sensitivity Settings, and FreeMove. At the top is a dropdown list where you can switch between pre-configured profiles or save new ones.
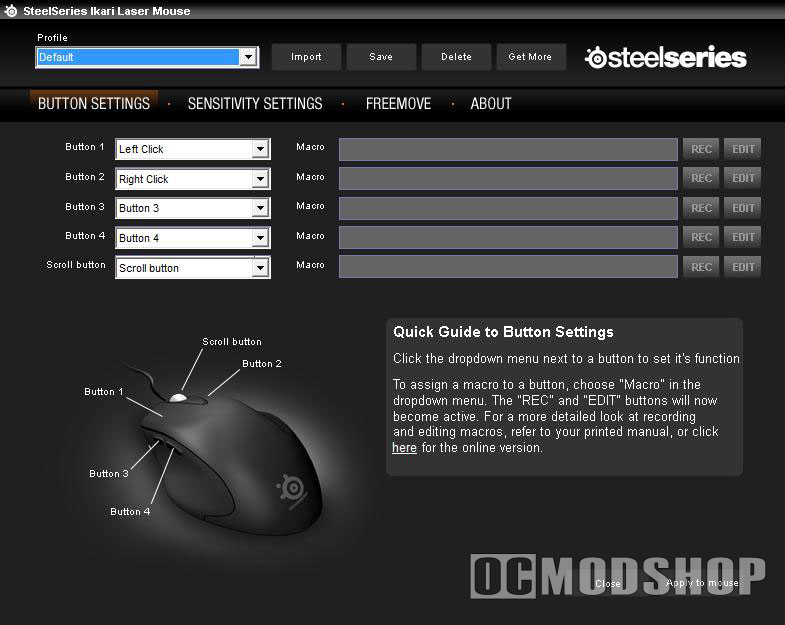
The Button Settings tab allows you to set any mouse button (except the DPI toggle switch) to practically anything. You can select between common tasks such as Copy or Paste, or define custom macros. Macros can be as simple as emulating a keypress, or complex as a series of keypresses and mouse clicks, with configurable delay time.
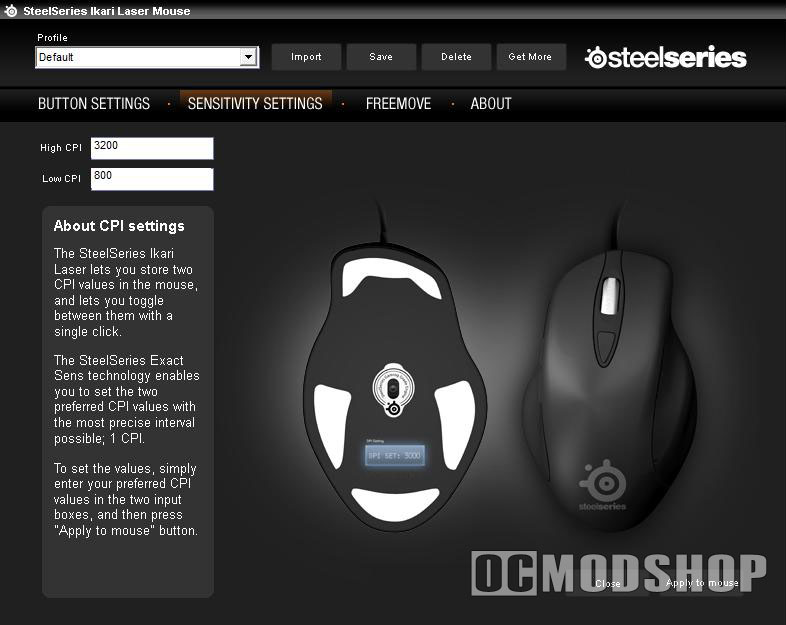
The Sensitivity tab allows you to define the High and Low DPI of this profile. You can enter any number between 1 and 3200.
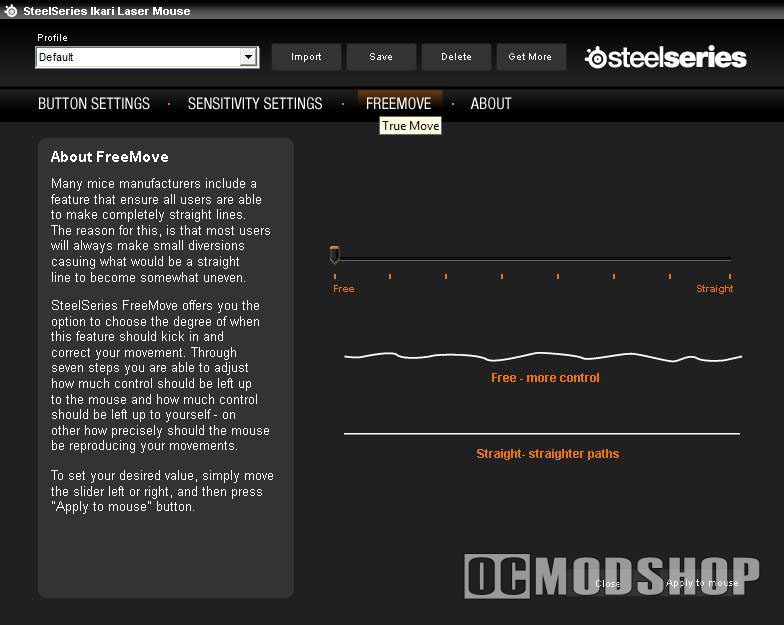
The FreeMove tab is a setting that allows the mouse to “smooth out” horizontal mouse movement. In theory, this could keep your crosshairs on the horizon with minimal jitter, but this feature has yet to be battle-proven. I really didn’t notice when this feature was completely turned off or on during a game. The effects can be easily seen when drawing a straight line in Photoshop, however.
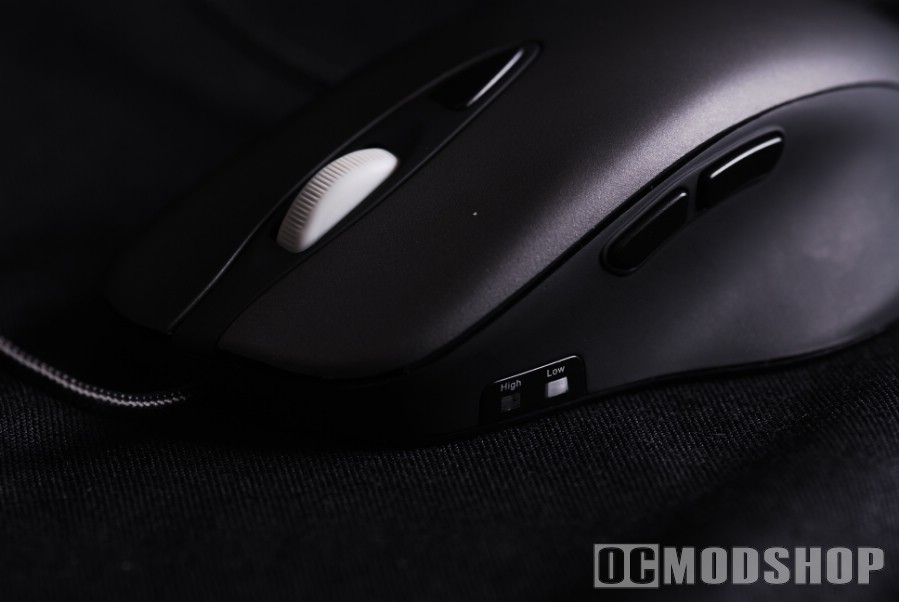
One feature that should be included is the ability to turn off Mouse Accelleration. By default, mouse acceleration is enabled on every Windows PC, which adds fake positioning data through interpolation, and makes movement rough. If you’re a PC gamer, you want this off, and it really should be eliminated for desktop purposes, as well. Other standard features that were omitted are scrollwheel sensitivity and double-click sensitivity. Although these features can be disabled through the Control Panel’s Mouse applet, they should have been included in Ikari’s for one-stop shopping.

Weight Issues
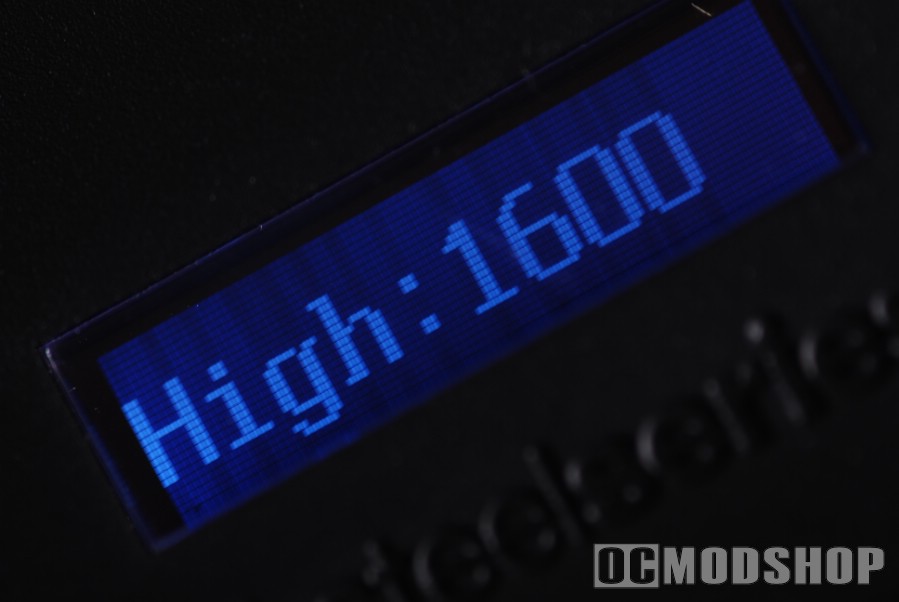
Some people prefer a light mouse, and some prefer a heavier mouse. In all honesty, I feel that this is a gimmick that manufacturers have implemented to their products just to make their product look more customizable. In the real world, a lighter mouse is a better gaming mouse. We add weight to mice just to make ourselves feel better about the paperweights that are wireless mice. A better solution to increase or reduce friction is to change your mousepad, rather than trying to configure weight.
 |
 |
 |
||||||||||||||||||||||||||||||||
|
Gaming Mouse Weight Comparison
|
|
||||||||||||||||||||||||||||||||
 |
|
 |
The SteelSeries Ikari Laser mouse is just as light as other corded mice. The braid on the mouse cord adds some weight overall, but your hand doesn’t have to push this weight around. The braid also serves to reduce friction of the cord against other surfaces (desktop, mouse pad) and also makes the cord slightly stiffer. Because of these properties, the Ikari doesn’t spring back as badly as other mice when your hand is removed.
Laser tracking
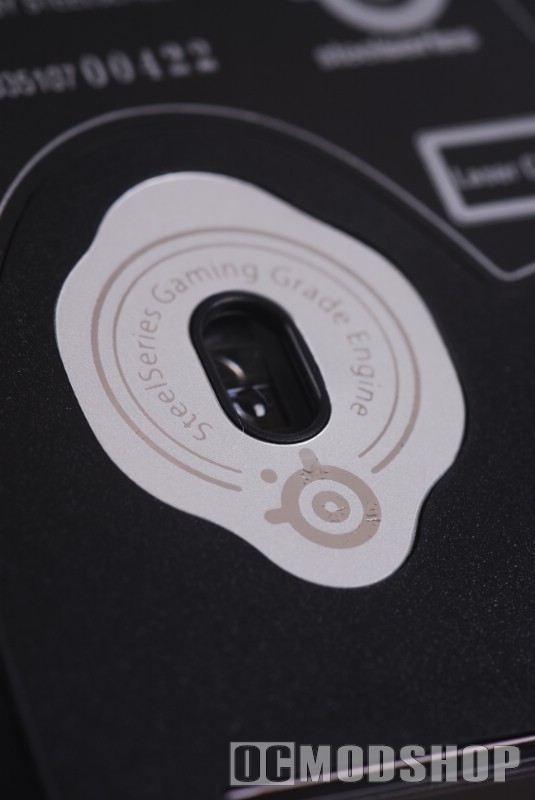
The compact infrared laser of the Ikari tracked well on nearly every surface, including white plexiglass and every mousepad I could throw at it, including SteelSeries’ own SP mousing surface.
Case Study: Unreal Tournament
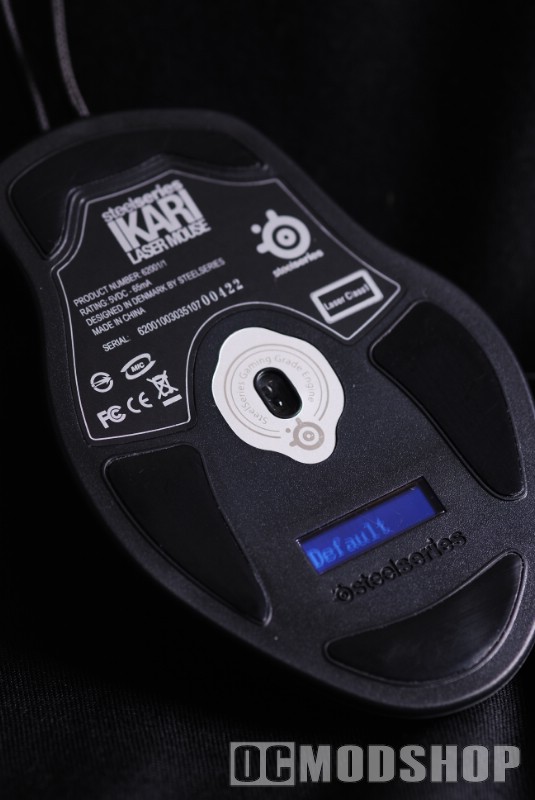
Other gaming mice allow you to toggle through several DPI settings, but most gamers will find themselves frantically running for their lives one second and then perched on a ledge with a sniper rifle a split-second later. You have less control of your movement while toggling through four different DPI settings, especially if you can’t see a visual indicator of the DPI settings. Being able to immediately go from frantic mode to ultimate control mode with one click is invaluable, and has actually improved my game, and the guys at LanPartyNW will confirm that I suck.
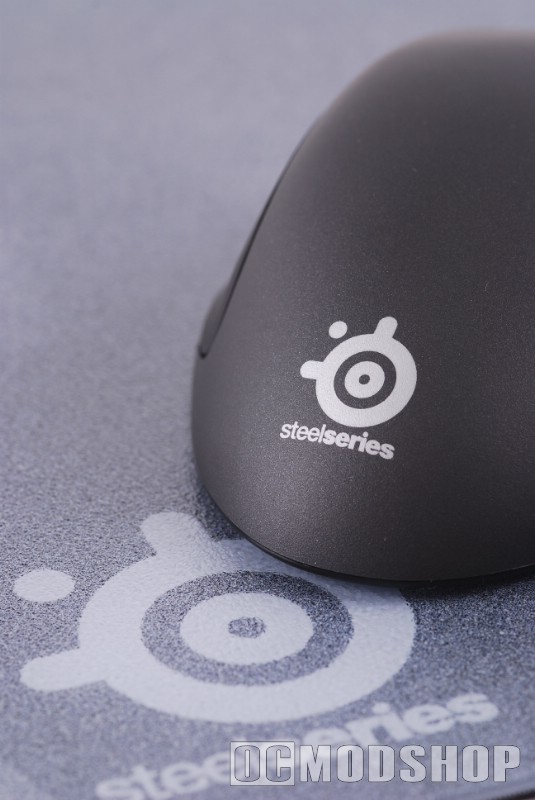
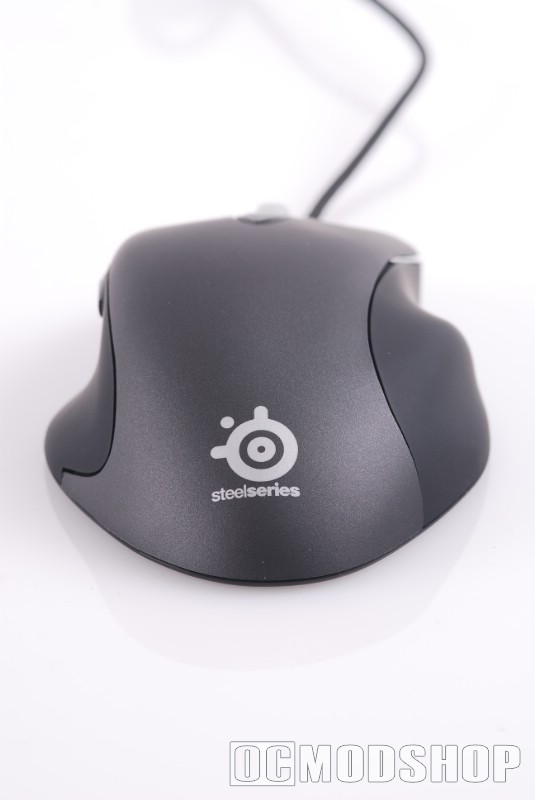
Multiple DPI steps are actually more helpful in a desktop environment, where you can dial-up or dial-down sensitivity depending on the needs of the time. You can quickly move your cursor across multiple monitors, and then tone it down for webpage navigation,and then down further when doing Photoshop work. I do miss the extra steps of granularity on the desktop, but the time saved in games has spared my virtual hide on several occassions.

As mentioned earlier, the only buttons that are realistically re-programmed are the two thumb buttons. I map my main thumb button to Jump, and the secondary thumb button to the Teleport gun (to quickly get my ass out of the way when being chased). If I had more programmable buttons, then I would program them to my favorite weapons or taunts, so my left hand never leaves WASD. Alas, the Ikari has no extra programmable buttons.


2 comments
Unlike you said, it is possible to change the sensitivity setting without the program. One must hold down the switch button for few seconds and then use the scroll button to change the value. Which value (high or low) is changed depends on which one is active at the moment.
That may be true… but it's obviously not very intuitive. There should be readouts or some other visual indicator.
Comments are closed.