

As mentioned on the previous page, the internal layout of the DH-102 isn’t much different from a typical desktop case. There are lots of extra wires from the front panel, so they must be moved out of the way before doing motherboard installation. Although I dislike the U-type covers, having extra space on the sides of the case certainly makes installation much easier than some of the Silverstone cases I’ve installed.
Before installing the motherboard, it is handy to remove the drive cages and retention bar, which are easily removed after pulling the securing screws. The stability bar has a hole for a slotted CPU air duct, but since no duct is included, I don’t know what ThermalTake expects their customers to do with this.
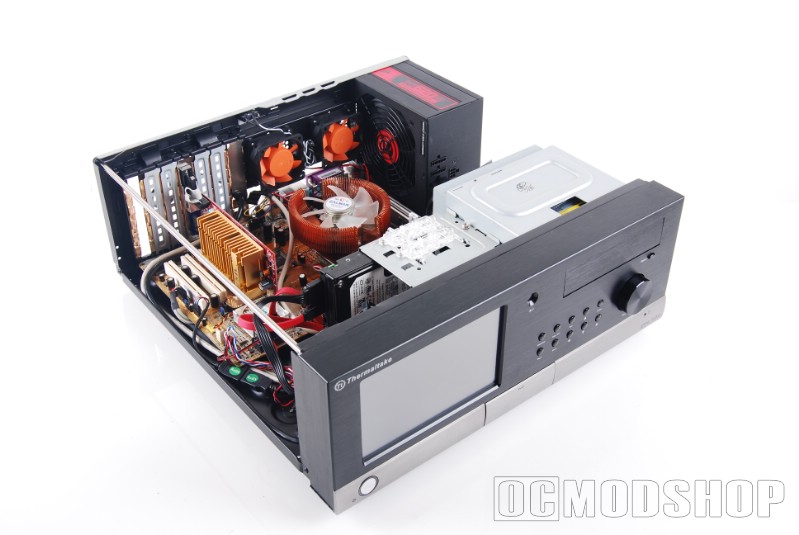
Motherboard installation is rather straightforward. Just identify the holes on the bottom of the case that need brass standoffs, and then align the motherboard appropriately and tighten down with the included screws. There are several motherboard connections that must be made for the front panel to function properly. The LCD touchscreen receives its power directly from the power supply, so you must plug your PSU’s motherboard connector into a special extension cable, which siphons off the necessary power to the LCD screen.
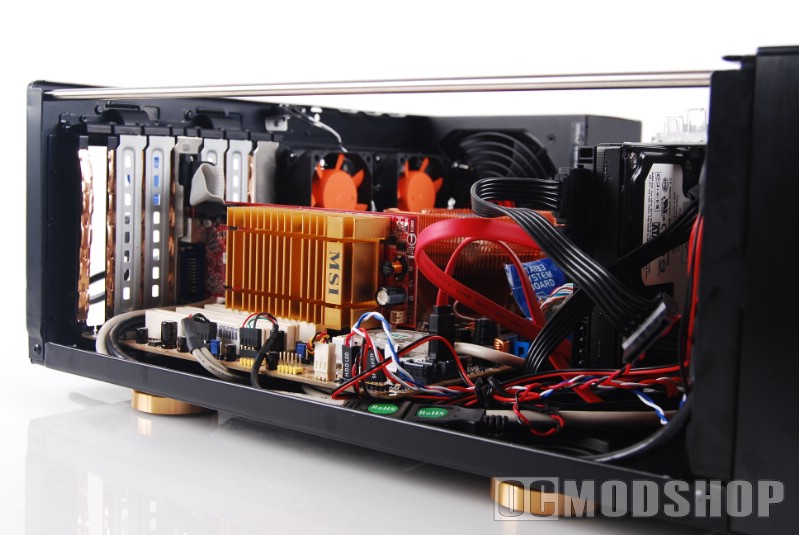
In addition to the standard motherboard pin connectors (power, speaker, reset, etc) are internal leads for the external USB ports, firewire ports, external audio jacks. There is also one special USB cable which receives input for all of the front panel. That’s right… the volume knob, media control panel, and touchscreen all work through a solitary USB connection. The cable terminates into an external “A”-type plug, but an adapter has been included that allows you to connect directly to an internal USB lead.
The included motherboard standoffs provide an unusual amount of space underneath the motherboard, which is great for routing and stuffing internal cables so they stay put.. I was able to route alot of the internal cables underneath, which keeps things very tidy, and also helps increase internal airflow (which is critical in a HTPC installation). I did note that the power lead to the motherboard was unusually short, and easily unplugs from the front panel, which requires the front panel to be removed to reattach.
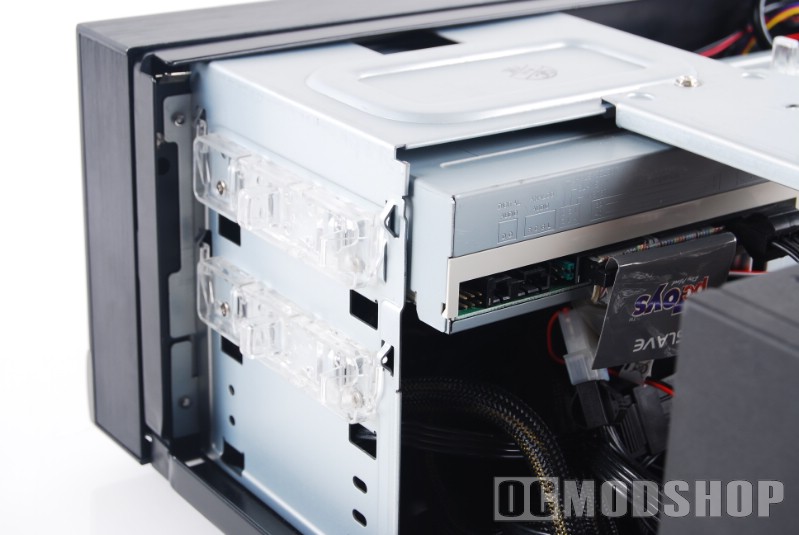
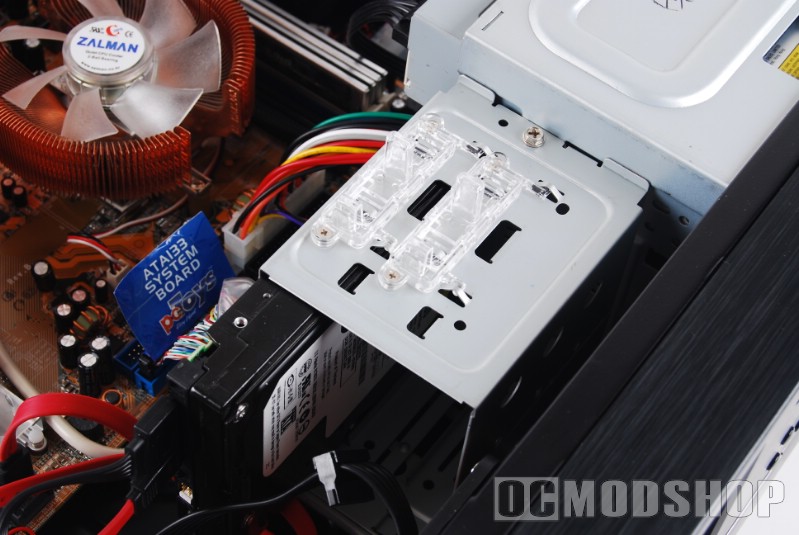
As mentioned on the previous page, the drive cages come with some innovative “screwless” mounting mechanisms. These mechanisms are made from clear plastic and are easy to use… all you do is slide it out and lift up. Insert your drive and then reverse the process. The pins in the plastic mounts keep the drives secure. This is all well and good, but the hard drive cage only has two of these, and the optical drive cage only has them on the right side! What’s the point of having toolless features if you have to use screws to secure the other side of the drive?!?!? Two hard drives can be mounted without a screwdriver, but a third will require screws, which also means removing the drive cage.
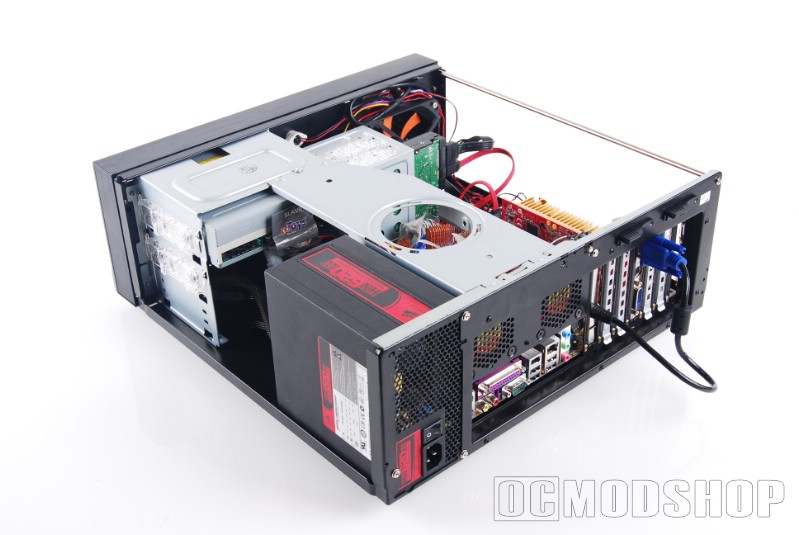
The VGA cable is connected to an external video card’s VGA port, so you must have a video card that has two outputs (or you could use a motherboard that has onboard video). The rear option cards are secured with two plastic levers on the back of the case. Loosen the levers and you can install your cards.


