The Tankstick comes pre-configured to work with they default MAME keyboard layout, so you can pretty much plug it in and go. One of the left “pinball” buttons are used to “insert coin” for player one, and the right side is used for “insert coin” for player two. After inserting your virtual coins, you can then press the Player 1 or Player 2 button to begin, much like being at a real arcade machine. You would think that only 1 “insert coin” button would be necessary, which is true for most arcade games, but some games (like Gauntlet) have their coin slots assigned to a particular character.
For the most part, the default configuration works great and is rather intuitive. You may want to customize your stick to coincide with personalized MAME configurations. For example, you may want to change Player 1’s stick from letters to arrow keys, which can be helpful when selecting a game (otherwise when you press UP on the stick, MAME will show you all of the “E” games you have installed.
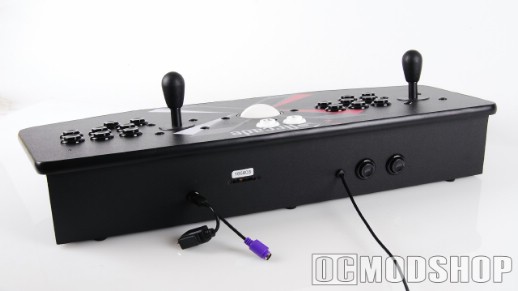
Another anomaly you may want to fix is the fact that there are no single “escape” or “configure” buttons mapped. You can always exit out of a running game by pressing “player 1 insert coin” and “player 1” buttons at the same time, but this has led to closing several games when feverishly inserting coins trying to continue my game before time expired. MAME’s configuration screen can also be brought up within a game by pressing “player 2 insert coin” and “player 2” at the same time, which has caused similar disruption. Having a dedicated button for each of these functions would make things a little more trouble-free.
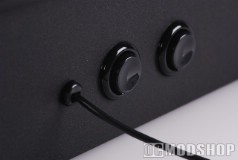
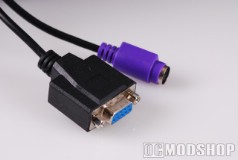
Programming the Tankstick is actually rather simple. To program the Tankstick, first you must select one of the three programmable memory banks with the 4-position switch on the back. You then plug any standard PS/2 keyboard into the female PS/2 port on the back of the unit, and then press one of the back buttons to toggle the Tankstick into programmable mode. You then press the button on the Tankstick that you would like to remap, and then press the corresponding key on the attached keyboard. The Tankstick’s red LED will flash indicating a good program, and you continue on until you’re satisfied. When you are finished, simply press the rear “program toggle” button to bring the stick back into play. You will, of course, have to make sure that your MAME configuration file matches the new keys you’ve just assigned.