

Even though it supports onboard memory and is “driverless”, it is practically impossible to configure without installing software, which Genius dubs the DeathTaker UI.
The software for this gaming mouse is pretty standard, so I won’t go over every little feature and detail. There are five main sections: Assign buttons, Manage Macro, Advanced Settings, Light Options, and Game Profiles. Any changes you make have to be uploaded to the DeathTaker’s memory before they take effect, just like most gaming mice with memory. That way the settings are retained on any computer, regardless if they have the DeathTaker UI software installed.
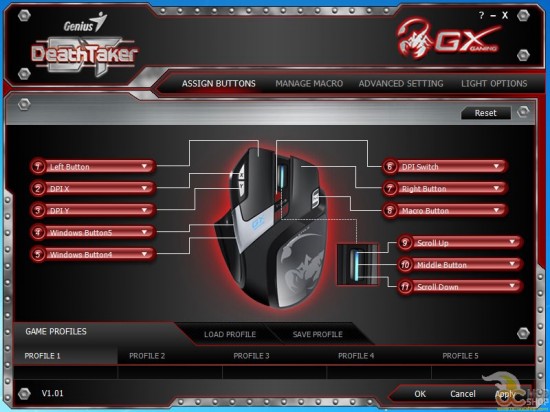
In the Assign Buttons tab, you can assign functions to any of the mouses’ nine buttons, and most of them you will probably want to keep standard. Since you can easily switch DPI settings you might want to reprogram the X, Y, and Macro buttons to another function, like Zoom In and Zoom out. If you don’t want to use the software to change profiles then you may want to use one of these buttons to toggle profiles… remember to do it on each one or you’ll get stuck on the profile that doesn’t have the function programmed.
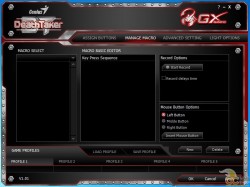
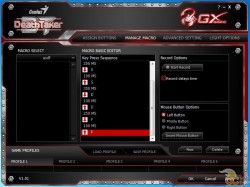
In the Manage Macro tab you can create different macros, and each one can have up to 55 actions. You can record in real time (saving the real-time delay between keystrokes), or you can have no delay. Of course you can edit the macro by selecting each function and moving or deleting it.
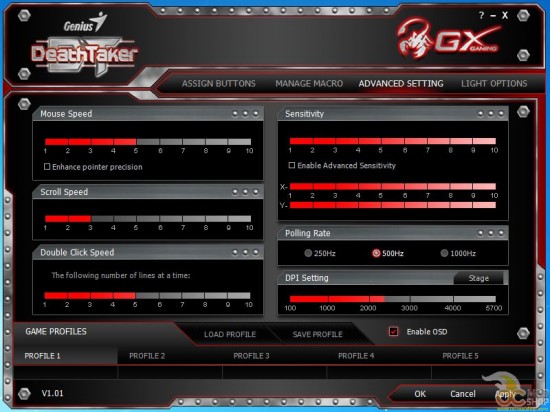
Advanced Settings let you change the things DPI resolution, scroll speed, double click speed and polling rate of the mouse. Genius says the DeathTaker supports “up to” five DPI stages, and by that they mean “exactly five”. You cannot customize the mouse to use less, as I prefer to have a “high” and “precise” setting when playing first-person shooters. You must toggle through each of the five settings before you get back to the first one. You can set the DPI from any level between 100 and 5700. Despite the claim on their box, the DeathTaker does not “overclock”… they just wanted to use a buzzword that means that it goes really high.
Finding the screen to configure each DPI stage is also hidden, again thanks to the folks who designed the UI that apparently don’t have UX degrees. The “Stage” button is black, and very easy to overlook, but it’s to the right of the “DPI setting” header. Within this sub window you can assign any DPI to all of the five slots. Thankfully you can set X and Y resolution independant of each other, which can be helpful for first-person shooters that want to keep their crosshairs over the horizon (quick left-to-right movement but slower up-and-down movement). This screen practically eliminates the need to change to change X and Y on-the-fly by using the default function of the X and Y buttons.
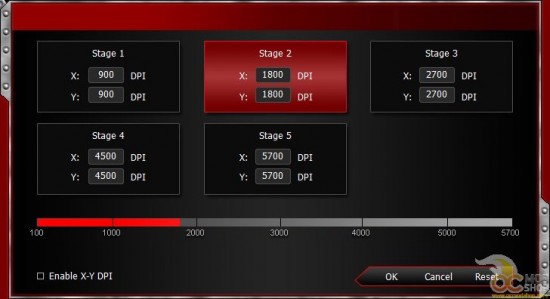
As mentioned before, you are stuck with five even if you don’t want them. I could have “faked” a high/low setting by making a ABAB pattern if there were an even number of DPI stages, but because I’m stuck with five I have to do ABABA or ABCBA or something like that.
We explore more of the software on the next page.

3 comments
sh*t.. mine died just like the one in your update info even with the same error "USB device is not recognized”… any info about this error? and possible solution (Win8-64bit)… thx
Looks like mine was dead. No way to revive. Just goes to show how cheap Chinese electronics may look cool at first, but then die.
mine is already on the way back to the dealer… I've tried 3 different OS's and 4 computers… It was not bad mouse at all, but dead after 4 months.. shame..
Comments are closed.