Walk It Off
Into the opening cutscene you will need to look up and down. That is all.
When you finally get a gun in your hand you can follow the group along the jungle path. Be sure to press A to jump over the log in your way. Keep going until the group stops. You will split from the rest and follow the Arbiter.
Him and you will take point up high in preparation for the coming enemies. Look down the river once you’re to the sniping position and watch as the Grunts appear. Let them sorta get out into the open and then start firing. Your buds will help, and it’s not a tough fight. You can even go for the big guy on higher ground if you want.
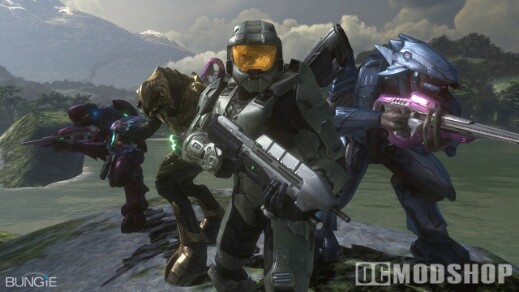
After the encounter, your group will move further down the river. They stop in front of a bunker for a spell, and then they keep moving. There is a pod to the right of the bunker with a gun inside, but you don’t need it. Soon a dropship appears and spills more Covenant into the river below. Again, so long as you don’t die, you’ll be fine.
Get down there (there is a ramp to the left) and look for a gun called a Spiker near the big guy. Dual-wield it with your handgun if you want to test it out.
Follow the path to a shadowy area to the left of the waterfall. There will be another group just like the last two; so just focus on the big guy and pick off the rest.
*NOTE: It’s a good time to let you know that the Pistol is actually a decent gun. Headshots are brutal, so keep that in mind.*
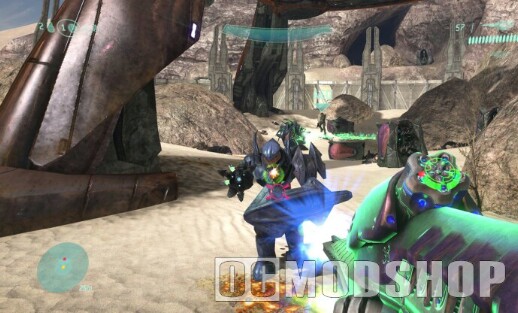
Go the the red flares at the back and get through the tunnel. Keep going and stop when you overlook a wide open area. Don’t shoot at the Grunt you see. Your group lets you know that they are sleeping. You can jump down, jump over to that guy, and press B to knock him out. There should be another one down below. There should be a total of five in this area, but don’t wander too far or you’ll run into the big group of Covenant across the swamp-water.
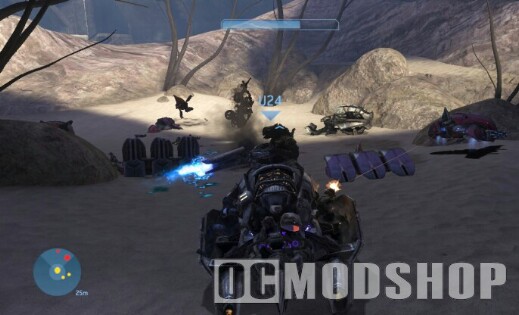
When you’re ready, begin your attack on that small army. They are really just two groups of what you’ve faced so far, so no need to worry too much. I found it best to just attack from the open area in the middle where the sun shines down, but any way to kill them is fine. Your marines will help on the ones that get close, and the Arbiter will snipe from on high.
After the place is clear, go up and finish off any survivors. There are plenty of Needlers in the area, but it’s up to you if you want to use them. I would advise that you test out dual-wielding two Spikers, if you can find another. When you move along the ledge three final Grunts will be in your way, so get rid of them and move on.
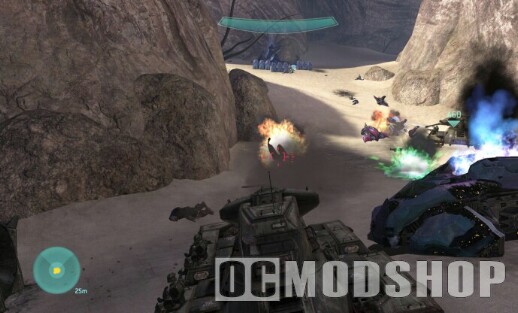
When you go around the corner you should see a marine in the arms of a Brute. Quickly unload on the Brute to save him. Finish off the minions and then take the ramp at the back to get on the path. After you cross the log there will be some Jackals. Remember, don’t aim for the shield. Behind them will be yet another group of Grunts and a Brute. Be sure to look at the mice for no reason and then follow the flares.
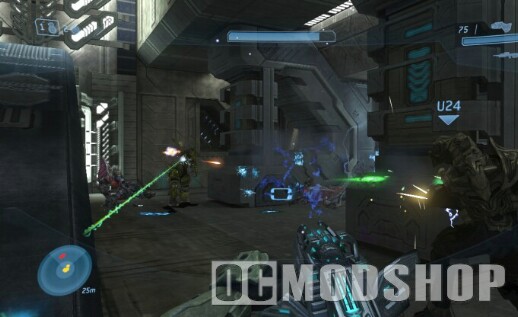
When you drop off a ledge you get a Cortana moment, which freaks out everyone else. Checkpoint.Quickly run out after you free the Sergeant and get back to the bridge. Against the Brutes here would be a good time to see what the Gravity Hammer is all about. Then fall back and return to using your Carbine or whatever to pick off the new bad guys. You should be stocked up on munitions, so I take it you can handle this fight with ease. The problem is avoiding the Phantoms that actually stick around this time. But all you have to do is take care of the battle on the ground and let the Pelican handle the air. When the fight is won, go to the cargo bay of the ship and hold RB to exit the level.