Know Your Role
After a bit of talking, follow a marine to the lower area. At the bottom of the stairs there will be some ammo racks on a wall. Pick up the two kinds of rifles and full ammo and keep moving. In the open cavern there are more guns on the sides, but the rifles are your best options. Move up and toward the green door to meet your allies. There are some grenades by the door, and when you are ready just hold RB to open the door.
There is only one way to go, so follow your crew down the corridor. Open the next door they stop at and you will be greeted by an explosion. Run out with your Battle Rifle in hand and start picking off the enemies coming from the left side. Since they are so far away, snipe the little guys, then take out the Brutish fellow in a game of peek-a-boo. And try not to kill your friends, they will get in the way.
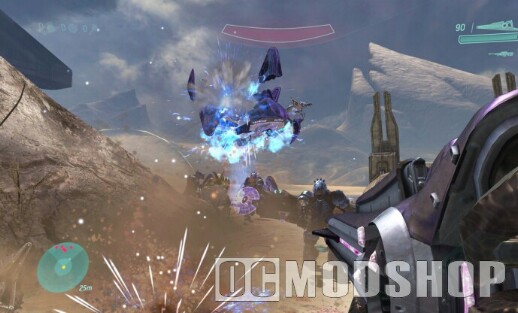
Go to where the dead lie and pick up the many grenades. Your guys will enter a hallway, so help them out. But then go back out into the drive-through tunnel and follow it to the end for a fun bit with some marines (humor in uniform, classic). Now back on the warpath.
Move down the hall and take a left to reach another checkpoint. You’ll hear some friendlies under fire in the next area, so go help them out, and please keep trying not to kill them. But don’t dilly around too much. Jump down on either side to a turret platform that overlooks the loading bay. Kill the Grunts and whatever scurry about and then try to bust the two shields on both sides. Soon there will be two Phantoms that stop by and spill more Covenant into your presence. Now, you can detach the turret, but you have unlimited ammo as long as it’s still attached, so leave it alone for now. You want to start in on the laser guns at the fronts of both Phantoms, the first ship and then the second ship. Once that is done then start focusing fire on the smaller game; and by smaller I mean start with the big guys and then work your way down to the Grunts. Another ship will come by, so repeat the goodness.
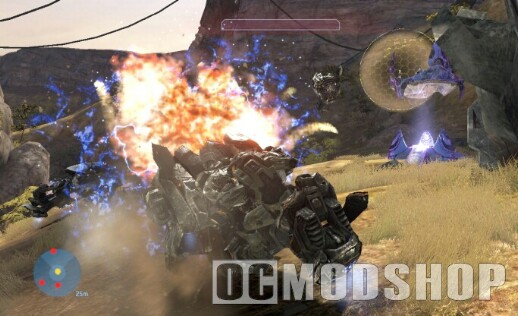
When your guys start moving, pick off any survivor, careful not to kill your own. When all is well, go ahead and take the minigun with you (press B). You may think that Pelican is your ticket out of here, but it’s not. Watch as your friends load up and wave bye bye. You can go to the edge of the bay and look out to the insanely pointless battle in the air, or never-ending shall I say. Not much else to do; trust me, I explored this whole area and there wasn’t much for it. Just turn around and start backtracking.
You’ll pick up two scare’dy cats along your way, and you might start getting worried yourself. Make your way back through the long corridor from before and it would appear everything is okay back at the base. And alas, twasn’t meant to be. After you see a marine get jacked-up, run out and start unloading on the Drones. Look up to find their source, a cracked open pipe. So while you frantically fire all around in the air, try to focus your fire near the break. After like five seconds into your firing, you might notice the damage you may be taking from your side. That means your friends didn’t handle the buggers around you, so back behind some cover, take out the ones near you, and let your shield recharge. If you do this, the fight really isn’t tough, especially with your Machine Gun Turret. FYI, only like two well placed bullets from your turret is all it takes. Now go back to the starting point of the level.
*NOTE: You might still have a few bullets in the one turret, and if so you are doing great. If you ran out and are considering going all the way back for that other one, don’t. There is another one coming up.*
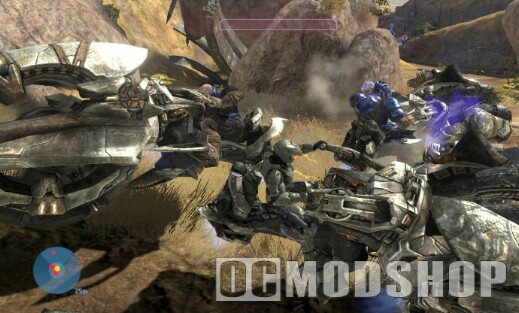
Gift With Purchase
Return to the computer room to get your next duty. Johnson leads you to the doors to the barracks, but first swap out your weakest gun for one of those new Shotguns in the crate. Open the first and next door and you’re in. You got lots of options on how to tackle this little room. As you can see it is infested with Brutes. I had success just standing behind the green cover barricade (as soon as you enter the room) and sniping the dudes in the head.
But there are other ways. For one, there are some new toys all around. Near the entrance are some Grav Lifts. You simply hold RB to swap out whatever other equipment you might have and then press X to deploy a lift. Use the lift to get up to the second level and you will find a Brute maning a turret. Simply run up behind him and whack him and then use the turret to slaughter. Well placed grenades into groups always works too. And there are some shotguns in the ammo racks all over this room, so if up close is more your style, go for it. Don’t forget to pay extra attention to the dark Brute who will carry and hammer and try to get close; he is always the first priority in a gun fight.
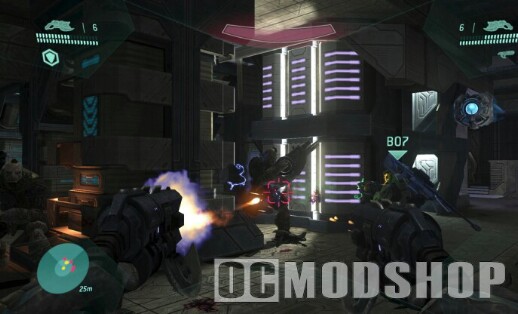
After you clear the place, stock up. Go and grab the turret after it’s use here is done. And on your way out of the room, don’t forget to grab either a Deployable Cover (the red sharp things) or a Grav Lift (the blue things).
*NOTE: Deployable Cover just makes a big blue shield in front of you. You can destory these if you encounter them by shooting toward the front.*
Move into the next room which looks like a dead end at both ends. But go the the right and fall down through the hole for another Cortana moment. Look down the way and you will see Drones flying back and forth. Move up closer and use your quick reflexes to shoot at them as they move. More will appear if you hit one, so be ready. Keep moving and fall down another hole, again. You will meet up with who I am 99.99% sure is the Arbiter. Drop down to shake hands and then move through the door on the left.
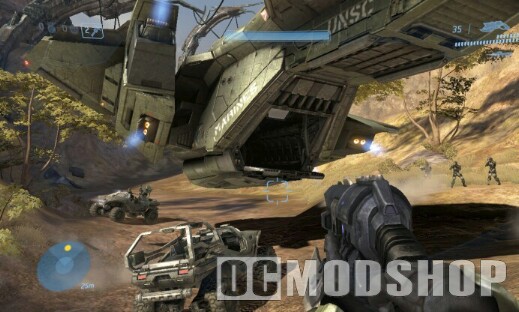
The next area is heck. All I can honestly say is move swiftly, tear through the Brutes with you turret, and save as many Marines as you can. At the bend in the room, with the shower area in the corner, you might get into a game of hide and seek with a few bad guys, so just play it until one of you is dead. By then you should be out of turret ammo, so switch to the sniper gun. Look down the way and aim for the heads of enemies in your sights. Now go all the way around the bend in the room to get on the other side where you fight the last group of Brutes. These guys are tough because they have lots of weapons and equipment at their disposal. Just snipe, dodge, toss grenades, and hide until they are all dead.
*NOTE: There is a door in the middle section of the room, what I refer to as the bend in the room for some reason. You can use that door to sneak up on the Brutes in the second area, but maybe just for a grenade and then you’re gone. Up to you.*
After the carnage you will notice a large following of humans behind you. This is your chance to explore the area for supplies. In the shower area I found a new piece of equipment called a Power Drain, so you might want to pick it up for kicks later. You don’t have to explore too much, but I will say there is an interesting ventilation system in the ceiling that you can reach by some ladders; nothing up there, but it’s nice to know you had options.
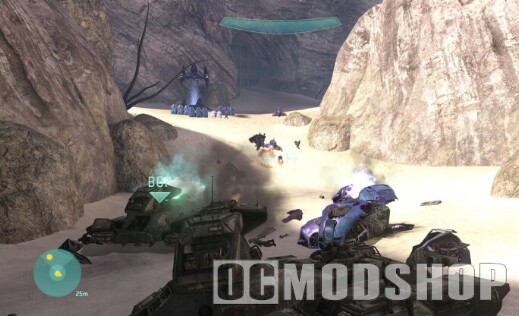
When you’re ready you can leave through the door on the other side of the room. If your team gets stuck and doesn’t follow you, they are probably stuck behind some debris from the battle. Just ram yourself into the obstructions, or nudge your friends in the right direction. Also, there is a Plasma Turret from a dead enemy, or Carbines, take your pick, or bring both (just make sure you keep your Battle Rifle).
With your team in full force and waiting for you at the elevator, call it down. Step inside, make sure all the kids are tucked in, and get going up. Go out through the other side and move onto the landing pads for some heavy fighting with the Brutes, Brutes with jetpacks! No, with all your friends around it’s actually not that tough; though they do like to toss the grenades at you and you only. Just tear through the enemies as you see them, look up for more, and make sure to shoot at whoever shoots at you. Not as tough as you would think, especially with that Plasma Turret.
Well, after the Pelican flies down you think this time it’s for you – wrong again. Watch your friends depart to the news that you must go back and do the heroic stuff. Also, if one of your friends is stuck, and the Pelican isn’t flying away, nudge him to the back of the ship and then all is well. You can go out the door at the bottom, or you can take a door behind you that leads up to the control room. There you will find a piece of equipment called Cloaking among other toys. In the landing area you may also find something called a Trip Mine, so it’s your choice. Stock up with ammo, hop down, and follow the tunnels.
Last One Out, Get the Lights
Another Cortana moment toward the end. Go through the door and quickly shoot the gunner. Take the turret and make your way down to the next turret, shooting enemies as you go. Look down from this new position and clear the way, then take the new, fresh turret. Make your way to the barricade that has two turrets and take out the enemies that you can see. Don’t be afraid to waste ammo, drop one turret, and then pick up another. Three turrets will be in this room, which is a place you have been before (remember the first fight with the Brutes?).
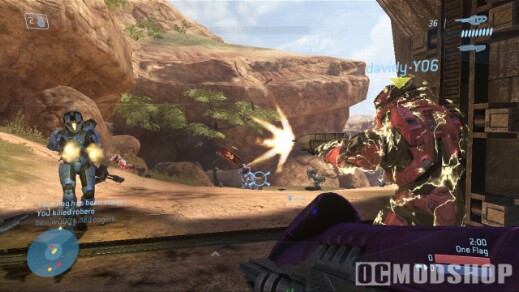
Follow your footsteps back to the control room, with a fresh turret in hand. The old room is packing about four Grunts, two Brutes, and one big Brute. You can take out the normal Brutes before they notice you, and then pick off the Grunts. The big guy is tough because of a Fuel Rod Gun, but you can simply drop your turret and toss a grenade at him to get the job done.
When the place is cleaned, go arm the bomb (hold RB). Now don’t get confused, you are to go back down to the cave area and basically retrace your steps of when you first started this level. The caves are crawling with Grunts, but most are in a state of panic and won’t bother you. There might be some Jackals in the area, but you can just run through without bother. A Cortana moment in the corridor.
When you re-enter the tunnels, don’t worry about the Drones, they are fleeing. But the Grunts might get in your way, so toss a grenade or two and bolt past them. Enter the hall that you took to reach the first loading bay. In fact, that is where you’re going. Make your way there, after another moment, and there is more panic, but again, the Grunts aren’t a treat. Let the Phantom fly away and then you go pick up that one turret you left behind. Use it to tear up the Jackals on the bay as you make your way to the elevator on the right side of the room. Or you can just make a mad dash, the game doesn’t really care. Use the elevator when you get there. Cortana moment, scene, and end level.