

Name: Alterac Valley Min Level: 51 Team size: 40 Objective: Deplete the other team of 600 reinforcements, or kill their boss
There is a lot going on here. First is the fighting, and usually the more powerful team will win. More so than other BGs, pure power can win this map 90% of the time; meaning 10% of the time can superior strategy beat better power.
Towers/Bunkers – There are two outside of each teams base. These provide powerful buffs to the boss, so they must be capped. Aside from GY’s, these are usually left alone after a cap, so they are almost always easy to cap with four players. If you cap them, be sure to ask for help. Four players can hold a node most of the time. You must hold them until they burn, or recap them if they are yours.
Captains – There is Galv for the horde and Balinda for the alliance. Galv is farther south while Balinda is nearer the middle. These guys provide support for the boss as well, so kill them. Usually easy with just five or so players and no enemy players near.
Graveyards – Easy to overlook control of these, but if all are capped then everyone goes back to their starting cave. Your starting blitz will be for nothing if you hold no graves and the other players stop you.
Quests – There are quests you can get from the staging area, and then more from your base. Quests from the staging area ask you to enter a cave to get a flag so you can get a trinket, and others ask you to attack the nodes and such. Quests from your base require you gather supplies from fallen players to equip your NPCs and some more that require a lot of effort, but I’ve never seen them used, so I won’t even mention them. Refer to wowwiki.com for info on those quests, you’ll be the only one doing them if you do.

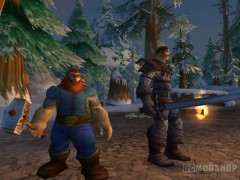
Base – Each team’s base has a graveyard, two towers/bunkers, and the boss. Once you cap the base’s GY you probably need anywhere from 10-20 players to attack the last boss and hold the base. Beware rogue caps of the nodes, they are quite common.
Boss – The boss is the most common way to win. He has guards equal to all of his team’s nodes, and buffs for some nodes. The boss will not last against a solid group of healers and DPS, even with some buffs and guards. But ideally you want all four bunkers/towers destroyed before you go all in.
There are many ways to go about this map, tons. You could blitz and hope enough of the other team get stuck fighting you, you could play more defense and bleed out a win, or you could do any number of things where holding the nodes will help you win. Above all, it’s still about defending the flags you have and the ones you capture until they burn.
Advanced tips includ quickly capturing and defending the graveyard in the enemy’s base, which ensures your attack on the boss will have a nearby zerg- point, or allow more players to appear here for the final push.
Another is making sure you kill enemies early on. The reason is that if they were on the attack, they will appear in a defensive graveyard and not be a part of the attack. Combine with this solid efforts at holding and defending all the nodes you can will severely stretch the other team’s forces.
It’s very interesting to see both sides just let each other run to the other team’s base. What’s happens is the same as always, the team that defends one node, recaps one bunker, takes back just one tower, usually means they will win.
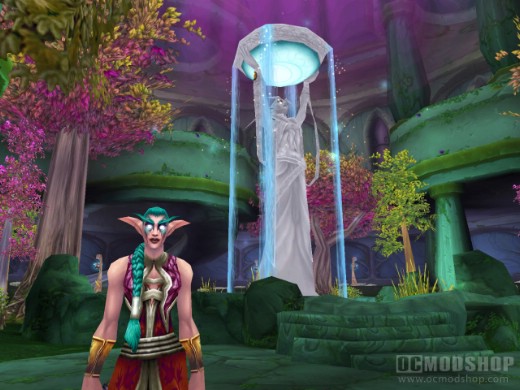
Name: Eye of the Storm Min Level: 61 Team size: 15 Objective: Amass 2000 points from flag captures and controlling nodes
This BG is Warsong and Arathi in one. You have two options to get points, take the flag from the middle and capture it at your nodes, or simply hold nodes. This BG is more about NOT fighting on the roads more than others because you hold nodes simply by standing on them. It’s very common for teams to keep swapping nodes four nodes back and forth, and that’s where the flag comes into play.
The flag is open for either team to take in the middle, and it takes a while to pick it up, so there are usually big fights for the control of the narrow area the flag is on.
The nodes are more important than the flag, and if you abandon the flag and control all four nodes then you will win in no time. The flag is simply a way to unbalance games with even teams. Besides, you can’t cap a flag if you have no nodes.
Ideally you can hold three nodes and not defend the middle one. No matter what, both sides will be in constant battle for many different things and hopefully you fight for the right things.
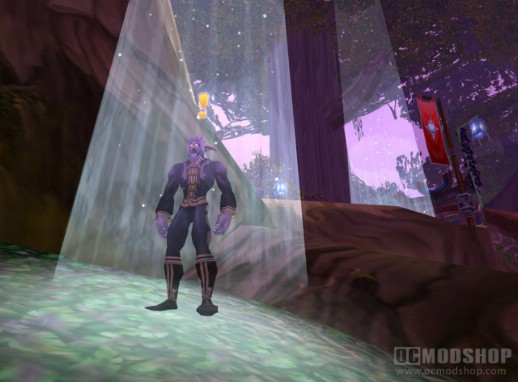
Name: Strand of the Ancients Min Level: 71 Team size: 15 Objective: Touch the orb in the relic chamber
This map is almost the same as Wintergrasp, almost. The difference is that up until the final wall there are two lanes to attack. The attackers have the advantage because they can spread out or focus on one side, and if the defenders do not fall back with the attackers then the game is basically over.
The defenders have the advantage when they fall back to the third wall in time. If the third wall is defended and the attackers are not that strong, there is almost no way to break through.
I believe Alliance always starts on attack, then they play defense for the next round. The time the next team has to attack is set by how fast the first team took the chamber, or ten minutes if there was no cap. I have not seen a game where neither team could get the chamber, but if that happens then the game ends with no winner, only memories.

Rules for winning SotA:
*Vehicles are for attacking gates, nothing else; if you use them to only attack players then you will lose.
*Turrets will eat tanks, but don’t stay on them when your gate is broken.
*Graveyards are not important.
*Shops open beyond the first wall after a while once the first wall is broken. Use those vehicles and also the ones that spawn at the beach.
*Rogues and everyone else can grab bombs and run them to gates, place them, get out of the way, and cause a decent amount of damage. This helps when that third wall is defended. Bombs are at the sides of each gate, far to the sides.
*If your intial attack focuses on one side and the defense does not pick it up, you will win.
*Run bombs if you have stealth, you don’t even need to dismount to pick them up. Just run up to the gate, plant, and go get more. This is best when at the final gate and it’s a stalemate.
*For the touch of the relic, either send in a pally or run with a rogue, anything really.
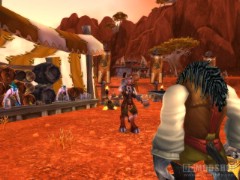
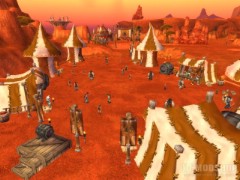
Name: Wintergrasp Min Level: 55?, but should be 80 (it’s basically 80 only) Team size: As many as are on the server Objective: Hold or defend the keep until time runs out
This is set in the world of Northrend, an actual zone you can fly in and out of at any time. There are 2.5 hours between battles, and the faction defending is the faction that won the last battle. However, there are four things to keep track of during the fight.
1. Your rank. I say this because you can sit in WG and do nothing for a single mark of honor. If you win and you’re at full rank, you will get three. However, the more important thing is that your rank determines what vehicles you can build at the shops. You advance in rank by killing five enemies, either NPCs or players. The order is catapults, demolishers, and siege engines, with increasing power and armor for each but decreasing speed.
2. Control of shops. You cannot build vehicles without shops. Each shop allows you a total of four vehicles, but only the defenders can hold all six with two being in the keep. Shops can be captured by standing at them with more players or destroying them and standing at them. There are other reasons to hold the shops, such as the next point…
3. The southern towers. If you are attacking the keep, then you must defend these three towers. If you are defending the keep, you must destroy them. Aside from a tower bonus, which is 5% for each one, the game is shortened by 10 minutes if all three are down. The bonus transfers to the defenders if they take them down. Near these towers are two shops, so if the defenders control those and the attackers do not make an effort to reclaim the south, then there is little the attackers can do to prevent the towers’ destruction.
4. The keep. This is the least important thing because you should get a high rank before making vehicles, the total vehicles from the shops determines who will win, and losing the south will give way to losing one of the forward shops and having a huge force attacking the attackers. But for those that start attacking the keep, which is not wise, or if you do get to attacking then you should attack at least in two places. It requires a superior team and more of the other factors in order to push through the front. You break down one wall, another, and then the relic chamber gate. Once a wall is broken then all the defenders should fall back to the courtyard, but if they don’t need to fall back then they have the advantage.
Basically the map is meant to force players to spread out, not just focus on the keep. Defenders lose if they don’t have enough and are sitting behind the keep. Attackers lose if they neglect to defend their towers and lose control of the shops.
From my experience, this map is horrible because of a number of factors. One is that most players do not know the map. Two is that there is a Tenacity buff for the outnumbered side, which is supposed to account for the lack of players, but not all players in WG are playing, some are fishing or collecting mats (such as bots). Finally are the spies, and yes they do exist. Players will build a catapult and drive it to some hidden area and leave it there so that that faction will have less vehicles. It happens for all BGs, but this map affects more than hurt feelings.
Rewards:
*Vault of Archavon raid opens inside the chamber, which only has two bosses, but great lootz.
*Collection of Stone Keeper Shards from all bosses in Northrend. Helps buy stuff in WG.
*WG quartermaster sells stuff for WG marks of honor and SK shards.
Daily Quests, from various NPC’s either at your camp or in the keep, they award honor, SK shards, and gold:
*Win
*Kill 10 players and/or NPCs
*Destroy 3 vehicles
*Destory a southern tower
*Defend or pilot vehicles that destroys structures
*Several collection quests meant for times when the battle is not on


5 comments
Briefly buzzed over your article, there are over 8 dailies with the Argent tournament ones and all the faction, you could fill up your limit of 25 if you wanted…
@Linexeus: Have you SEEN how many really long and complete guides Brad has written? He is definately a video game authority. Come back once you've written over a thousand pages of game guides.
@Gruppa: Isn't yo mama like 4 years late?
This article is FULL of incorrect statements. Obviously written by someone who has played only a minimal amount of WoW. Next time maybe get a long term player to write the article.
Isn't this article about 4 years too late?
Comments are closed.